AUX
OPEN/CLOSE
STANDBY/ON
OK
Instruction Manual
DVD-V540DVD-V440
PAL/SECAM
www.samsungvcr.com
00413E DVD-V540/AFR-ENG 5/12/04 4:09 PM Page i
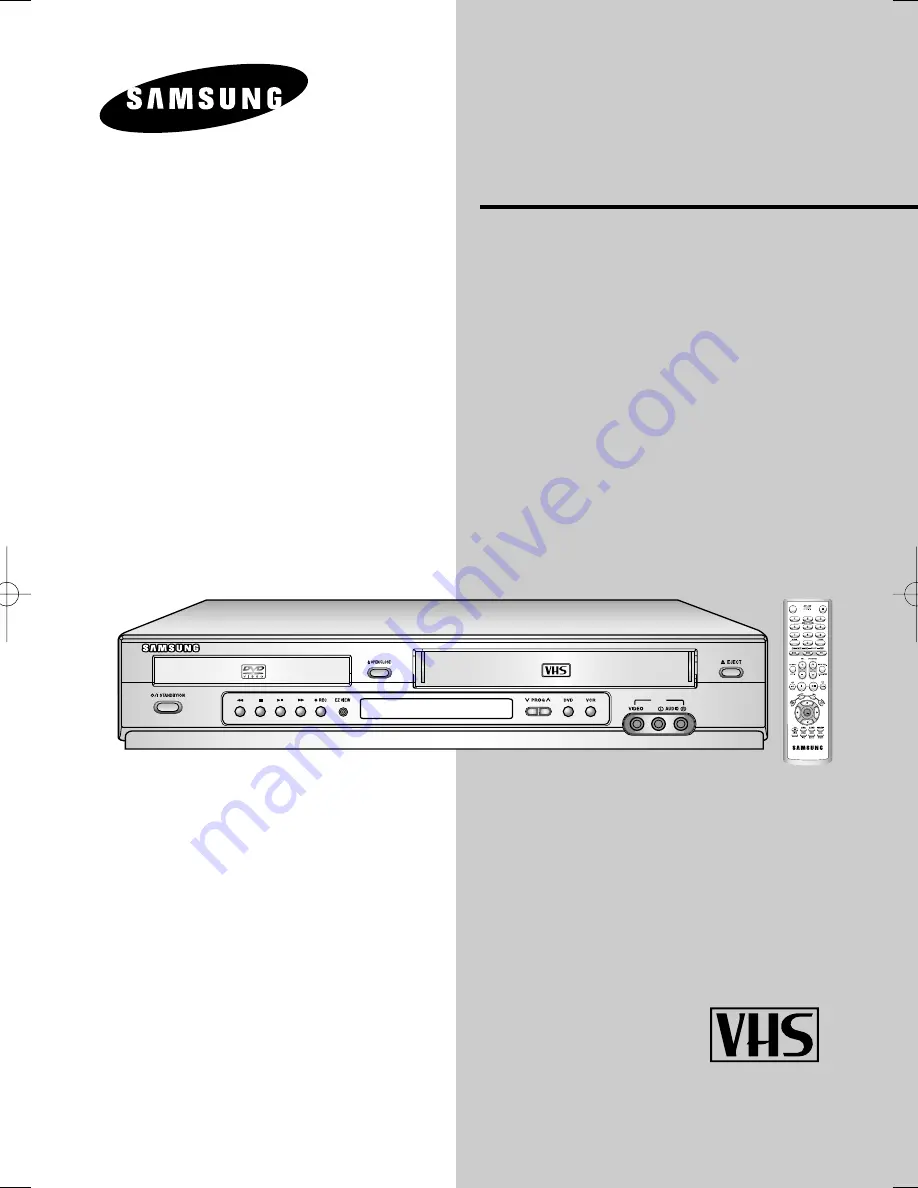
Page 1: ...AUX OPEN CLOSE STANDBY ON OK Instruction Manual DVD V540 DVD V440 PAL SECAM www samsungvcr com ...
Page 2: ...Remote Control Overview OPEN CLOSE STANDBY ON OK OPEN CLOSE STANDBY ON OK DVD V440 DVD V540 ...
Page 3: ...h Automatic Stop 20 Using the ShowView Feature DVD V540 Only 21 Modifying ShowView Programming DVD V540 Only 22 Using the Timer Programming Feature 23 Checking a Preset Recording 23 Cancelling a Preset Recording 24 Playing Back Playing a Cassette 24 Adjusting Picture Alignment Manually 24 Selecting the Audio Output Mode 24 Playing a Cassette in Slow Motion 25 Playing a Sequence Frame by Frame 25 P...
Page 4: ...a storm and or lightning unplug the DVD VCR from the mains socket and aerial If the remote control is not used for a long period of time remove the batteries and store it in a cool dry place THIS DEVICE IS NOT FOR USE IN INDUSTRIAL ENVIRONMENTS This product incorporates copyright protection technology that is protected by method claims of certain U S patents and other intellectual property rights ...
Page 5: ...min Single sided 80 min Double sided 160 min Audio Video VIDEO CD AUDIO CD DVD DVD contains excellent sound and video due to Dolby Digital and MPEG 2 system Various screen and audio functions can be easily selected through the on screen menu 12 Cm 8 Cm 74 min 20 min 74 min 20 min Audio Video Video with CD sound VHS quality MPEG 1 compression technology 12 Cm 8 Cm Audio An LP is recorded as an anal...
Page 6: ...ON 14 VCR SELECT BUTTON 15 AUX VIDEO INPUT JACK 16 AUX AUDIO L R INPUT JACK AUX 1 2 3 4 5 6 7 8 9 10 11 12 13 14 15 16 1 2 3 4 5 6 7 8 9 10 11 12 13 14 15 16 1 DVD DECK 2 VIDEO CASSETE COMPARTMENT 3 STANDBY ON BUTTON 4 REW SKIP BACK BUTTON 5 STOP BUTTON 6 PLAY STILL BUTTON 7 F F SKIP NEXT BUTTON 8 RECORD BUTTON 9 EZ VIEW BUTTON 10 OPEN CLOSE BUTTON 11 PROGRAME SELECTION BUTTON 12 DVD SELECT BUTTON...
Page 7: ... AUDIO VIDEO CABLE OWNER S INSTRUCTIONS COAXIAL CABLE DVD V540 DVD V440 1 AUDIO L R OUT SOCKETS 2 AERIAL IN CONNECTOR 3 AV2 DEC EXT SCART EURO 21 SOCKET 4 AUDIO L R OUT SOCKETS DVD ONLY 5 VIDEO OUT SOCKET 6 OUT TO TV CONNECTOR 7 AV1 EURO AV IN OUT SCART EURO 21 SOCKET 8 DIGITAL AUDIO OUT SOCKET COAXIAL 9 DIGITAL AUDIO OUT SOCKET OPTICAL 10 S VIDEO OUT JACK AUDIO LINE OUT COAXIAL DIGITAL AUDIO OUT ...
Page 8: ...SCART cable see next page if your television is equipped with this type of connection 6 1 The DVD Deck is active 2 A DVD CD VCD or SVCD is loaded 3 The time counter position time remaining or current deck status is displayed 4 VHS tape is inserted 5 The VCR Deck is active 6 A Timer Recording is programmed or in progress 1 2 3 4 5 Inserting Batteries in the Remote Control You must insert or replace...
Page 9: ...the television SCART Cable TV RF coaxial cable 3 Aerial 2 Connecting DVD VCR to a Satellite Receiver or Other Equipment You can connect your DVD VCR to a Satellite receiver or other DVD VCR using the SCART cable if the appropriate outputs are available on the equipment chosen The following illustrations give a few examples of the connection possibilities 1 AV1 EURO AV By means of 21 pin Scart Cabl...
Page 10: ...ins for the first time TV stations will be stored in memory The process takes a few minutes Your DVD VCR will then be ready for use 1 Connect the coaxial cable as indicated on page 7 Connecting Your DVD VCR to the TV Using the Coaxial Cable 2 Plug the DVD VCR into the mains Result The Language Set menu is displayed 3 Select the required language by pressing the or buttons 4 Press OK to store the l...
Page 11: ... button on the remote control to select and watch DVD Tuning Your Television for the DVD VCR You must tune your television for the DVD VCR only if you are not using a SCART cable To view pictures from your DVD VCR when a Scart cable is used the television must be set to the audio video mode AV 1 Switch on the television 2 Switch on the DVD VCR by pressing STANDBY ON on the front of the DVD VCR or ...
Page 12: ...d 2 Press the corresponding buttons to select the Clock option 3 Press the OK or to select this option Result The Clock Set menu is displayed 4 Press or to select the hour minutes day month and year Result The option selected highlight 5 Press the or buttons to increase or decrease the value Result The day of the week is displayed automatically You can hold the buttons down to scroll more quickly ...
Page 13: ...second station and so on When the automatic scanning procedure has finished the DVD VCR switches automatically to programme 1 The number of stations automatically stored by the DVD VCR depends on the number of stations that it has found 7 If you wish to cancel the auto scanning before the end press the MENU button to exit the menu The time and date are set automatically from the broadcast signal I...
Page 14: ...er respectively 14 If you Then Wish to store the Press the buttons station displayed until the MFT is selected Press the buttons to adjust the picture if necessary Press OK to store the station Do not wish to Press the buttons store the station until the CH is selected displayed Press the buttons to go on scanning the frequency band and display the next station Go back to the beginning of Step 14 ...
Page 15: ...tem K VCR Output CH CH 36 4 Press the corresponding buttons until the Manual Setup option is selected 5 Press the OK or to select a Manual Setup option Result The TV STATION TABLE menu is displayed 6 Press the corresponding buttons until the required preset TV station PR is selected 7 Press the CLEAR button 8 Repeat the same procedure from Step 6 onwards until all the required stations have been c...
Page 16: ...on is displayed on the screen 1 After pressing the MENU press the OK or Result The Setup menu is displayed 2 Press the corresponding buttons to select the Install option 3 Press the OK or to select this option Result The Install menu is displayed 4 Press the buttons until the VCR Output CH option is selected 5 Select the required output channel CH21 CH69 by pressing the OK or buttons and buttons C...
Page 17: ...lected by the DVD VCR B W Black and White 6 On completion press RETURN three time to exit the menu NICAM programmes are divided into 3 types NICAM Stereo NICAM Mono and Bilingual transmission in another language NICAM programmes are always accompanied by a standard mono sound broadcast and you can select the desired sound Please refer to page 24 1 After pressing the MENU press the OK or Result The...
Page 18: ...ccording to your preferences If you do not press a button within ten seconds the PICTURE menu disappears automatically 9 On completion press the RETURN button Intelligent Picture Control Colour System Auto NICAM On IPC On User Set On Off On Off To prevent delays or over runs the VCR has a function called ShowView EXTEND allowing you to extend the recording time by up to 60 minutes Only use if PDC ...
Page 19: ...ns until the Auto Power Off option is selected 3 Press the OK or buttons until you select the time of Auto Power Off interval Off 1Hour 2Hour 3Hour 4 On completion press return twice to exit the menu Auto Power off Language English User Set Screen Messages On Install Auto Power Off Off Off 1Hour 2Hour 3Hour The Auto Power Off feature automatically turns off your DVD VCR if no signal is received an...
Page 20: ... Press the corresponding buttons until the Tape Select option is selected 4 Press the OK or buttons as many times as required until the correct cassette length is displayed E180 E240 E 300 E260 5 Press RETURN twice to exit the menu Repeat Play Off S VHS Off VCR Setup Tape Select E180 E180 E240 E260 E300 Tape Select E180 Repeat Play Off S VHS Off VCR Setup Off On Type Recording Time in SP E 180 180...
Page 21: ...ly Recording a Programme with Automatic Stop This function enables you to record up to nine hours LP of programmes Your DVD VCR stops automatically after the requested length of time 1 Switch on the television 2 To monitor the programme being recorded select the television channel reserved for use with your DVD VCR or the AV input if used 3 Insert the cassette on which the programme is to be recor...
Page 22: ... first time with stored stations the programme number flashes This one time you must enter the station number manually by pressing the or buttons Refer to the following page if Before presetting your DVD VCR Switch on both the television and your DVD VCR Check that the date and time are correct Insert the cassette on which the programme is to be recorded safety tab intact Up to six programmes can ...
Page 23: ...be selected before changing any other value Record a programme every day Press the or buttons until the DAY selection mode Monday to Sunday at the same time Press the or buttons until the DLY Daily value is displayed Record a programme every week Press the or buttons until the DAY selection mode on the same day and at the same time Press the or buttons until the W Week value is displayed followed ...
Page 24: ...ress to select the recording speed 14 Press the buttons to select the SP Standard Play LP Long Play Auto Auto Tape speed Select recording speeds 15 When you have finished press the RETURN button 16 Press the STANDBY ON button to activate the timer Result Before starting recording the DVD VCR compares the timer duration with the remaining time on the cassette You can check your preset recordings Wh...
Page 25: ...ls When playing back tapes recorded in Hi Fi the sound switches to Hi Fi after five seconds of Mono To select the sound mode simply press the AUDIO button on the remote control until the required option is displayed Adjusting Picture Alignment Manually The Picture Adjustment feature allows you to adjust the alignment manually to obtain the best possible picture When noise bars or streaks appear du...
Page 26: ...peed Example You wish to analyse a sportsperson s technique movement by movement The Shuttle function is available on the Remote control No sound is heard when playing a sequence at variable speeds 1 Press ll during playback SHUTTLE to play the cassette backwards SHUTTLE to play the cassette forwards 2 Each time you press a SHUTTLE button the speed is changed as shown in the following illustration...
Page 27: ...o 0 00 00 option is selected 2 Press the OK or End Search Use this feature when you want to search for a blank position to record a program on a cassette The VCR will fast forward searching for a blank position and then automatically stop at that position If the VCR reaches the end of the tape during end search the tape will be ejected Intro Scan 1 After pressing the SEARCH press the corresponding...
Page 28: ... time and counter Twice to display the counter only Three times to display the time remaining on the cassette Four times to clear the display 0 00 00 Connecting an SCART Audio Video Input Cable AUX 1 AUX 3 3 You can connect other audio video equipment to your DVD VCR using audio video cables if the appropriate outputs are available on the equipment chosen Examples You wish to copy a video cassette...
Page 29: ...ou have finished recording press on both VCR and DVD VCR If you wish to view the cassette being copied Your DVD VCR must be connected as usual to the television see page 7 8 for further details Using the Assemble Edit Function This function allows you to start a new recording at a specific position on the cassette while maintaining a very smooth scene change 1 Insert the cassette to be edited in y...
Page 30: ... until you find one that works When you change the batteries in the remote control you must reprogramme the code following the same procedure You can then control the television using the following buttons Button Function STANDBY ON Used to switch the television and DVD VCR on and off TV or VCR Used to switch between the TV and VCR modes INPUT SEL Used to select an external source VOL or Used to a...
Page 31: ...tomatic Setting Up the Language Features If you set the player menu disc menu audio and subtitle language in advance they will come up automatically every time you watch a movie Using the Disc Menu Language This function changes the text language only on the disc menu screens 1 With the unit in Stop mode press the MENU button 2 Select DVD using buttons then OK or button 3 Select Language Setup usi...
Page 32: ...omatic 1 With the unit in Stop mode press the MENU button 2 Select DVD using buttons then OK or button 3 Select Audio Setup using buttons then press the OK or button 4 Use the buttons to select the desired item Then press the OK or button Dolby Digital Out 1 PCM Converts to PCM 2CH audio Select PCM when using the Analog Audio Outputs 2 Bitstream Converts to Dolby Digital Bitstream 5 1CH Select Bit...
Page 33: ...ance If this is not the case you can choose to leave PAL60 as is DVD Out RGB Sends RGB signal from the AV JACK SCART terminal S Video Sends S VIDEO signal from the AV JACK S Video terminal Video Sends COMPOSITE VIDEO signal from the AV JACK SCART terminal Setup Setup Setup Display Setup Setting Up the Display Options Setting Up the Audio Options Dynamic Compression 1 On To select dynamic compressi...
Page 34: ...d The Re Enter Password screen appears to confirm the password Enter your password again The Parental Control screen appears Yes About the Rating Level The Rating Level will work only when Use Password is set to Yes To unlock the player use or OK to select No Use to select Rating Level Press OK Use to select the level e g Level 6 and press OK Discs that contain Level 7 will now not play To cancel ...
Page 35: ...ically 2 Frame Advance Step While in playback mode press the F ADV STEP button on the remote control to advance one frame at a time Audio is muted during Frame Advance mode Press ll to resume normal playback NOTE Frame Advance operates only in the forward direction 3 Skip Forward Back While a CD or DVD disc is in Play mode press the Skip l l buttons on the remote control or front panel to jump for...
Page 36: ...n are cut off and the full screen appears The picture will look vertically stretched Zoom Fit The top bottom left and right of the screen are cut off and the central portion of the screen is enlarged To play back using aspect ratio DVD For 16 9 aspect ratio discs 4 3 Letter Box Displays the content of the DVD title in 16 9 aspect ratio The black bars will appear at the top and bottom of the screen...
Page 37: ...oundtrack In the example the soundtrack is played in English 5 1CH A DVD disc can have up to eight different soundtracks Refers to the subtitle languages available in the disc You will be able to choose the subtitles language or if you prefer turn them off from the screen A DVD disc can have up to 32 different subtitles A surround sound effect is generated using only two front speakers When in VCD...
Page 38: ... display press the ANGLE button again You can select a desired subtitle quickly and easily with the subtitle button Using the SUBTITLE button 1 Press the SUBTITLE button 2 Use the buttons to select the desired subtitle language 3 Use the buttons to determine whether or not the subtitle will be displayed The subtitle languages are represented by abbreviations This function depends on what languages...
Page 39: ... the Audio button 1 Press the AUDIO button 2 Use the buttons to select the desired language on a DVD The audio languages are represented by abbreviations 3 Use the buttons to select Stereo or On VCD CD Off Chapter Title A B Off Track Disc A B DVD VCD CD DVD VCD CD 3 Press OK 4 To return to normal play press REPEAT again then press the buttons to select Off and press OK It is available to press CLE...
Page 40: ... the CLEAR button to delete a mark number Press the MARK button to turn off the display Up to three scenes may be marked at a time When in VCD 2 0 mode MENU ON mode this function does not work Depending on the disc the mark function may not work CLEAR MP3 WMA Play If you insert an MP3 WMA Disc into the DVD player you can see the folder directory Select the desired folder in the root directory Use ...
Page 41: ...de mark of The SDMI Foundation You cannot copy such files Important The above recommendations cannot be taken as a guarantee that the DVD player will play MP3 recordings or as an assurance of sound quality You should note that certain technologies and methods for MP3 file recording on CD Rs prevent optimal playback of these files on your DVD player degraded sound quality and in some cases inabilit...
Page 42: ...y not play at all If a number of files in 1 Disc is over 500 only 500 JPEG file can be played If a number of folders in 1 Disc is over 300 only JPEG files in 300 folders can be played CD R JPEG Discs Program Play Random Play 1 Press the MODE button 2 Use the buttons to select PROGRAM Press the OK button 3 Use the buttons to select the first track to add to the program Press the OK button The selec...
Page 43: ...gin the picture interval must be set When this icon is selected and OK is pressed the pictures change automatically with about an 6 second interval The pictures change automatically with about an 12 second interval The pictures change automatically with about an 18 second interval Depending on the file size each interval between images may take longer or shorter than the manual suggests 1 Open the...
Page 44: ...ck NOTE Frame Advance operates only in the forward direction 3 Slow Motion During playback press the ll button to Slow the image Then use the Search to play in slow motion at variable speeds Each press increases the slow motion speed playback to 1 8 1 4 or 1 2 normal speed Audio is muted during slow motion playback DivX XviD MPEG4 Special Playback Features 4 Stop Resume Press the button once to st...
Page 45: ...ific time while viewing the movie press the INFO key The file format of the current file or and time information will be displayed 2 Use the numeric keys on the remote control to enter the time to jump to that time in the movie Total 1 3 ROOT D CD1 ROOT DivX D CD2 DivX D CD3 DivX DivX 1 1 XXX DivX XviD MPEG4 Feature Table MPEG4 Supported Avi files are used to contain the audio and video data these...
Page 46: ... CH36 Audio DVD VCR RCA jack Euro Scart socket Output Audio DVD only Digital audio out OPTICAL COAXIAL Video DVD VCR RCA jack Euro Scart socket Video DVD only S Video out RGB out Euro Scart socket Tape format VHS type video tape S VHS type video tape Playback only Color system PAL SECAM MESECAM NTSC4 43 NTSC playback on PAL TV VCR Tuning system B G D K Video S N Above 43dB standard recording Resol...
Page 47: ...aning If poor pictures appear on a variety of cassettes the video heads may need cleaning This is not a common problem and unless it appears the heads should not be cleaned When cleaning the video heads read all instructions provided with the head cleaning cassette Incorrect head cleaning can permanently damage the video heads If when tuning in your TV to the DVD VCR 1 Remove the aerial input plug...
Page 48: ...t support the feature e g angles 3 The feature is not available at the moment 4 You ve requested a title or chapter number or search time that is out of range Some of the functions selected in the Setup Menu may not work properly if the disc is not encoded with the corresponding function The Screen Ratio is fixed on your DVDs Make sure you have selected the correct Digital Output in the Audio Opti...