AW05N0 Series
Window-type Room Air Conditioner (Cooling)
DB98-26792A(1)
USER'S MANUAL
E S
DB98-26609A.indd 21
2006-10-12 10:19:15
Page 1: ...AW05N0 Series Window type Room Air Conditioner Cooling DB98 26792A 1 USER S MANUAL E S ...
Page 2: ...he plug should be easily accessible after installation The breaker of the air conditioner should be all pole switch and the distance between its two contacts should be no less than 3 5mm Such means for disconnection must be incorporation in the fixed wiring DISPOSING OF THE UNIT Before throwing out the device it is necessary to pull back the battery cells and get rid of them safely for recycling r...
Page 3: ...CONDITIONER Cooling Your Room 6 Ventilating Your Room 6 Switching the Air Conditioner Off 7 Adjusting the Air Flow Direction Horizontally 7 RECOMMENDATIONS FOR USE Power Failure 8 Temperature and Humidity Ranges 8 Cleaning Your Air Conditioner 9 Solving Common Problems 10 Technical Specifications 10 INSTALLATION 11 Contents ...
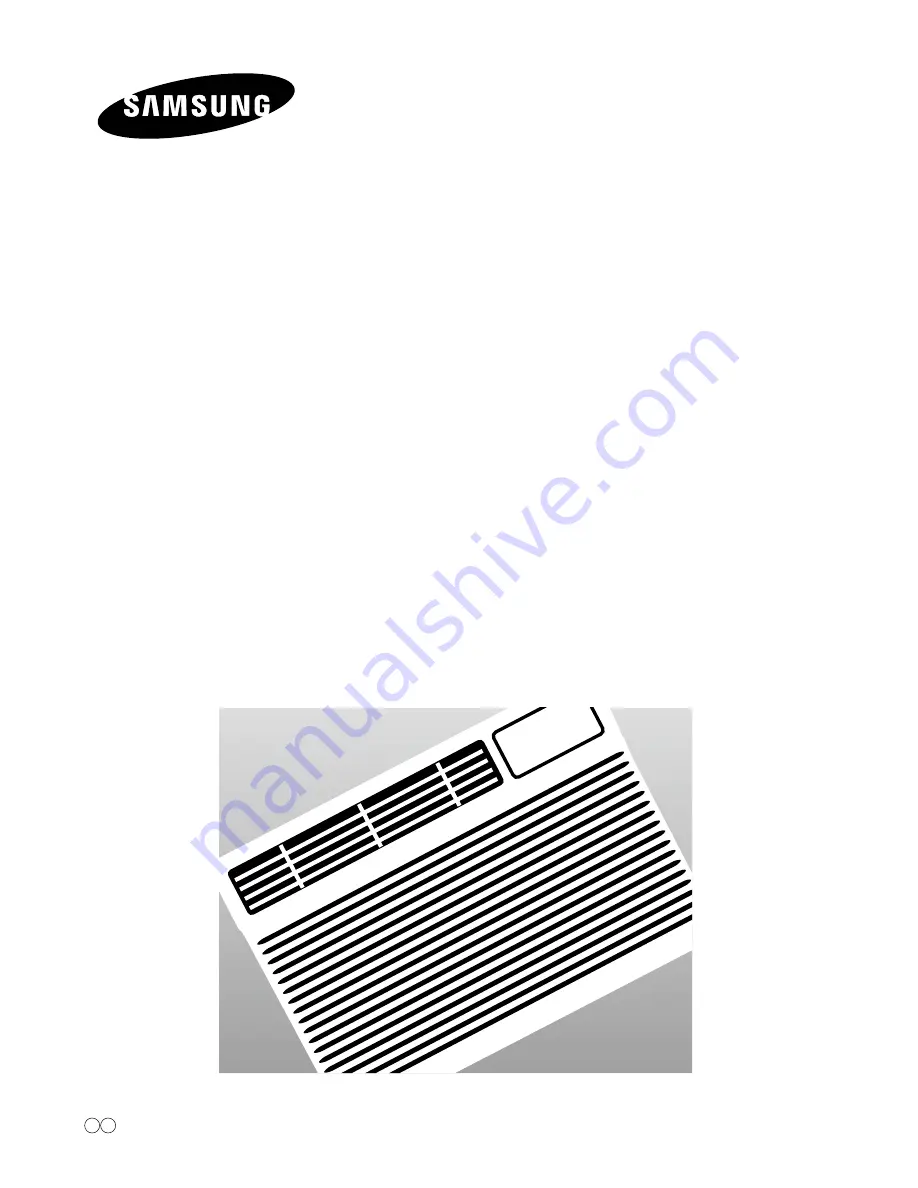
Page 4: ...right left orientation Air inlet Outside Air inlet Outside The design and shape are subject to change Power plug The type of the power plug may differ depending on the local power supply Air filter Inside Power Control selector Thermostat Dial Air outlet Fan Mode selector ...
Page 5: ...hould be installed following your Owner s Instructions Your Owner s Instructions contain much valuable information on using your air conditioner Please take the time to read them as they will help you take full advantage of the unit s features The illustrations in the step by step procedures use four different symbols ...
Page 6: ...perature is higher than the selected temperature 3 Press the Fan Mode selector to the High or Low position Result The Fan speed is adjusted 4 To control the direction of the air flow refer to page 7 1 To switch the unit on simply press the Power Control selector to the On position Result The air conditioner starts operating 2 Turn the Thermostat dial and set it to Fan only position Result The air ...
Page 7: ... off simply press the Power Control selector to the Off position Adjusting the Air Flow Direction Horizontally Depending on the position of the unit in your room you can adjust the orientation of the inner air flow blades on the unit Adjust the air flow blades to the desired position by pushing them side to side ...
Page 8: ...er temperatures The automatic protection feature may be triggered and the air conditioner will stop Lower temperatures A water leakage or some other malfunction may happen if the heat exchanger freezes Higher humidity levels Water may condense on and drip from the surface of the unit if it is used for long periods Temperature and Humidity Ranges If a power failure occurs the air conditioner is swi...
Page 9: ... brush 4 When you have finished insert the air filter back into its original position 5 Wipe the surface of the unit with a neutral detergent and then wipe it again with a dry cloth Be sure not to use benzene solvent or other chemical products If you Then Will not be using the air conditioner for a long period of time Set the fan going for a few hours to thoroughly dry the inside of the air condit...
Page 10: ...there is any obstacle adversely affecting the flow of air inside and outside the room Remove the obstacle or change the position of the air conditioner Check to see whether the air filter is clogged with dust or contaminated with foreign substances Clean the air filter Check to see whether there is any direct sunlight facing the air conditioner Block the sunlight with a sunshade Check to see wheth...
Page 11: ...nt work should be performed separately 2 It is advisable to install the air conditioner in the north or west side to prevent the effect of direct sunlight When installing it in the south or east side due to unavoidable circumstances it is advisable to install the sunshade to prevent the direct sunlight In this case take care not to cause any hindrance to the flow of outside air 3 When installing t...
Page 12: ......