background image

33

T

roubleshooting Guide

Before requesting service (troubleshooting)

No operations can be
performed with remote.

The screen ratio can-
not be changed.

No audio.

Playback mode differs
from the Setup Menu
selection.

Disc Menu doesn’t
appear.

The      icon appears
on screen.

Forgot password

If you experience other
problems.

5.1 channel sound is
not being reproduced.

Disc does not play.

•  Check the batteries in the remote. May need replacing.
•  Operate the remote control at a distance of no more than 20

feet.

•  Remove batteries and hold down one or more buttons for

several minutes to drain the microprocessor inside the
remote to reset it. Reinstall batteries and try remote again.

•  Ensure that the disc is installed with the label side facing up.
•  Check the region number of the DVD.
•  This player cannot play CD-ROMs, DVD-ROMs, CD-R, etc.

Insert a DVD, a VIDEO-CD or a CD.

•  5.1 channel sound is reproduced only when the following

conditions are met. :

1)The DVD player is connected with the proper amplifier
2)The disc is recorded with 5.1 channel sound.

•  Check whether the disc being played has the “Dolby 5.1 ch”

mark on the outside.

•  Check if your audio system is connected and working properly.

•  The features or action cannot be completed at this time

because:

1. The DVD’s software restricts it.
2. The DVD’s software doesn’t support the feature (e.g., angles).
3. The feature is not available at the moment.
4. You’ve requested a title or chapter number or search time

that is out of range.

•  Check if the disc has a Menu.

•  Some of the functions selected in the Setup Menu may not

work properly if the disc is not encoded with the correspond-
ing function.

•  The Screen Ratio is fixed on your DVDs.

•  Make sure you have selected the correct Digital Output in

the Audio Options Menu.

•  Press power on from a cold start with no disc in the unit. Press

the STOP and PLAY buttons simultaneously on the front panel
for three seconds. The Select Menu Language display will
appear. Select the desired language button. Press the SETUP
button on the remote control to select the Parental Mode. The
Parental Mode is now unlocked as indicated on the display.
Press the DOWN button to select Parental. Press ENTER and
the Create Password display will appear. You can now set your
rating level and change your password to a new number.

•  Go to the contents and find the section of the instruction

book that contains the explanations regarding the current
problem, and follow the procedure once again.

•  If the problem still cannot be solved, please contact your

nearest authorized service center.

Action

Problem

Page

P4

P7

P13-14

P17-20
P23-27

P22-23

P27-32

P32

P31

P30

32

S

etting Up the Display Options

1

1

With no disc playing, press the SETUP

button.

Use the UP/DOWN button to select DIS-

PLAY OPTIONS. Then press the ENTER

button.

Use the UP/DOWN button to select the

desired item. Then press the LEFT/RIGHT

button.

TV ASPECT 
Depending on the type of television you have, you
may want to adjust the screen setting (aspect ratio).

4:3 LETTER BOX :
Select when you want to see the total 16:9 ratio
screen DVD supplies, even though you have a TV
with a 4:3 ratio screen. Black bars will appear at the
top and bottom of the screen.

4:3 PAN-SCAN :

Select this for conventional size TVs when you want
to see the central portion of the 16:9 screen.
(Extreme left and right side of movie picture will be
cut off.)

16:9 WIDE :
You can view the full 16:9 picture on your widescreen TV.

STILL MODE 

Prevent picture shaking in still mode and display
small text clearer.

FIELD : Select this feature when the screen shakes

in the AUTO mode.

FRAME : Select this feature when you want to see

small letters more clearly in the AUTO
mode.

AUTO : When selecting AUTO, FIELD/FRAME mode

will be automatically converted.

SCREEN MESSAGES 
Use to turn on-screen messages on or off.

FRONT DISPLAY
Adjust the brightness of the unit’s front panel display.

BRIGHT : Makes the Front Panel Display bright.
DIM : Makes the Front Panel Display dim.
AUTO DIM : Makes the Front Panel Display dim auto-

matically when playing a DVD.

BLACK LEVEL

Adjusts the brightness of the screen.
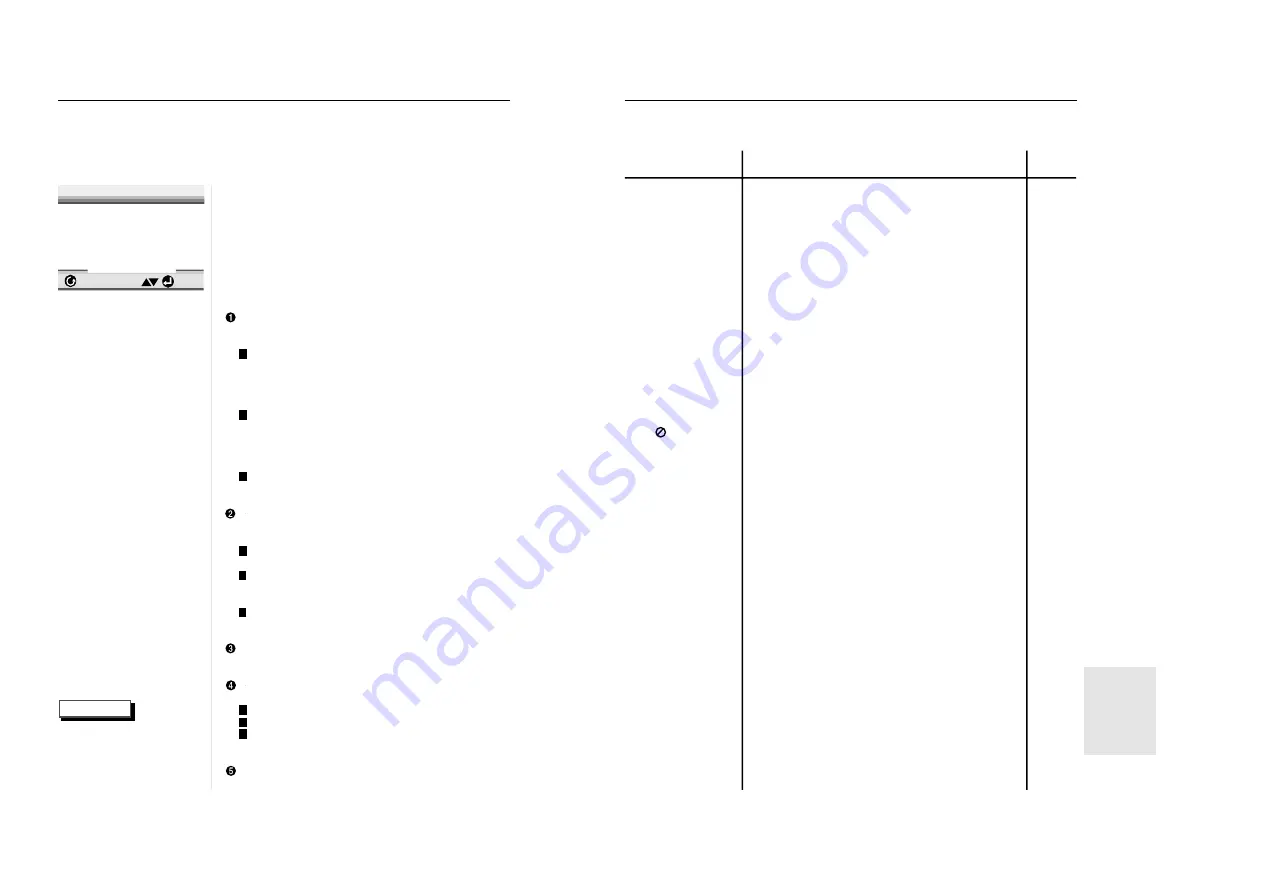
1  Tv Aspect            

4:3 L-Box

2  Still Mode                              Auto

3  Screen Messages                  On

4  Front Display                         Auto

5  Black Level                           Off

ENTER

RETURN

DISPLAY OPTIONS

1

2

3

1

2

3

1

2
3

NOTE

• How to make the SETUP

MENU disappear or
return to menu screen
during set up;
Press RETURN button.

REFERENCE

Summary of Contents for AH68-00367B

Page 1: ...0367B V I D E O DVD PLAYER DVD VIDEO CD CD DVD 611 511 SAMSUNG ELECTRONICS AMERICA INC 105 CHALLENGER ROAD RIDGEFIELD PARK NJ 07660 U S A FOR YOUR NEAREST SAMSUNG SERVICE CENTER DIAL 1 800 SAMSUNG ELECTRONICS ...

Page 2: ... ADJUSTMENTS OR PERFORMANCE OF PROCEDURES OTHER THAN THOSE SPECIFIED HEREIN MAY RESULT IN HAZARDOUS RADIATION EXPOSURE DO NOT OPEN COVER AND DO NOT REPAIR YOURSELF REFER SERVIC ING TO QUALIFIED PERSONNEL Note This unit can be used only where the power supply is AC 120V 60Hz It cannot be used elsewhere This DVD player is designed and manufactured to respond to the Region Management Information If t...

Page 3: ...ng Up the Audio Options 31 Setting Up the Display Options 32 Troubleshooting Guide 33 Specifications 34 Warranty 35 General Features 6 Disc Type and Characteristics 7 Description 8 Front Panel 8 Front Panel Display 9 Rear Panel 10 Tour of the Remote Control 11 Before You Start 1 Open the battery cover on the back of the remote 2 Insert two AA batteries Make sure that the polarities and are aligned...

Page 4: ...Sound Dolby Digital a technology devel oped by Dolby Laboratories pro vides crystal clear sound reproduc tion Screen Video with MPEG 2 compression technology Both regular and widescreen 16 9 pictures can be viewed Slow Motion An important scene can be viewed in slow motion Programmed Play You can program tracks to play in desired order Parental Control The parental control allows users to set the ...

Page 5: ...DOM no DISC No disc loaded OPEN The disc tray is open LOAD Player is loading disc information 8 Description Front Panel Front Panel Controls SKIP STOP PLAY PAUSE OPEN CLOSE DIGITAL VIDEO STANDBY ON DIGITAL VIDEO OPEN CLOSE SKIP STOP PLAY PAUSE OPEN CLOSE STANDBY ON STANDBY ON When the unit is first plugged in the indicator lights When STANDBY ON is pressed on again the light goes out and the playe...

Page 6: ...udio input jacks of your television audio video receiver or VCR VIDEO OUT JACK Use a video cable to connect to the Video input jack on your television S VIDEO OUT JACK Use the S Video cable to connect this jack to the S Video jack on your tele vision for a higher quality picture The S Video must be selected in the VIDEO OUT SELECT COMPONENT VIDEO OUT JACKS Use these jacks if you have a TV with Com...

Page 7: ... or status displays from the screen BOOKMARK Button PLAY PAUSE Button Begin Pause disc play RETURN Button Returns to a previous menu DISPLAY Button Displays the current disc mode ANGLE Button Use to access various camera angles on a DVD SUBTITLE Button When a disc is playing press this button to make subtitles appear and disappear on the screen CONNEC TIONS ANALOG AUDIO OUT R R L L OPTICAL COAXIAL...

Page 8: ...UME function 14 Choosing a Connection BASIC FUNCTIONS If the player is left for 5 minutes in pause mode it will stop The power is automatically turned off after approximately 30 minutes have elapsed in the stop mode auto power off feature If the player is left in the stop mode for more than one minute without any user interac tion a screen saver will be activated and the TV screen will fade in and...

Page 9: ...ain to search at a faster speed 2X 4X 8X 16X 32X normal speed in order on the DVD Press the REVERSE or FORWARD SEARCH button on the remote and press again to search at a faster speed 4X 8X normal speed in order on VCD and CD To return to normal speed playback press the PLAY PAUSE button When in search mode 4X 8X 16X 32X on a DVD or high speed play back on a VCD no sound will be heard When 2X SCAN ...

Page 10: ...urrent title chapter number and elapsed time will be displayed Use the LEFT RIGHT button to select a title or a chapter number Use the UP DOWN button or Number buttons to enter a different title or chapter number then press the ENTER button To enter the time from which you want to start use the LEFT RIGHT button to select then use the Number but tons to enter the time Then press the ENTER button 2...

Page 11: ... function to work When pressing the TOP MENU button with a CD the unit enters the INTRO mode INTRO lets you listen to the beginning of each track for about 10 seconds 01 01 example example ENTER 20 Program Play Random Play NOTE Program Playback DVD VCD CD 1 1 Press the MODE button 2 2 Use the LEFT RIGHT button to select PROGRAM Press the ENTER button 3 3 Use the LEFT RIGHT button to select the fir...

Page 12: ...play back a DVD Refer to Setting Up the Language Features on page 29 1 English 2 Français example 1 Audio 2 Subtitle ENG On 22 Selecting the Audio Language NOTE Using the AUDIO Button Using the MENU Button 1 1 Press the AUDIO button 2 2 Use the UP DOWN button to select the desired language on a DVD The audio and subtitle languages are represented by abbreviations 3 3 Use the UP DOWN button to sele...

Page 13: ...RK button to turn off display Up to three scenes may be marked at the same time When in VCD 2 0 mode MENU ON mode this function does not work Depending on the disc the Bookmark function may not work 1 PLAY CLEAR 24 Changing the Camera Angle Using the ANGLE button When a DVD contains multiple angles of a particular scene you can select the Angle function Check to see if an ANGLE mark is pre sent at...

Page 14: ...press the SETUP button again ENTER RETURN SETUP MENU 1 Player Menu English 2 Disc Menu English 3 Audio English 4 Subtitle Automatic 5 Parental Unlocked 6 Audio Options 7 Display Options Depending on the disc some Setup Menu selec tions may not work 26 Using the Zoom 3D Sound Functions NOTE Using the Zoom Function DVD VCD Using the 3D Sound Function 1 1 During playback or pause mode press the ZOOM ...

Page 15: ...1 English 2 Français 3 Deutsch 4 Español 5 Italiano 6 Nederlands 7 Original 8 Others 1 Automatic 2 English 3 Français 4 Deutsch 5 Español 6 Italiano 7 Nederlands 8 Others Using the Disc Menu Language 28 Setting Up the Language Features Using the Player Menu If you set the player menu disc menu audio and subtitle language in advance it will come up automatically every time you watch a movie e g Set...

Page 16: ... 3 Level 2 Level 1 Kids Safe CHANGING SETUP MENU 1 Use Password No 1 Use Password Yes 2 Rating Level 1 3 Change Password RETURN PRESS 0 9 CREATE PASSWORD Enter Password _ _ _ _ 1 1 With no disc playing press SETUP The Setup Menu screen appears 2 2 Use UP DOWN to select Parental Press ENTER The Parental Control screen appears 3 3 Use LEFT RIGHT to select Yes if you want to use a password Press ENTE...

Page 17: ...now unlocked as indicated on the display Press the DOWN button to select Parental Press ENTER and the Create Password display will appear You can now set your rating level and change your password to a new number Go to the contents and find the section of the instruction book that contains the explanations regarding the current problem and follow the procedure once again If the problem still canno...

Page 18: ...tive during the limited warranty period specified above The product must be returned during the warranty period with transportation charges prepaid to SAMSUNG s designated service center Prior to returning any product for warran ty service the purchaser must contact SAMSUNG for problem determination and service procedures SAMSUNG does not warrant uninterrupted or error free operation of the prod u...

Page 19: ...da users only LIMITED WARRANTY TO ORIGINAL PURCHASER Samsung Electronics Canada Inc SECA warrants that this product is free from defective material and workmanship SECA further warrants that if this product falls to operate properly within the specified war ranty period and the failure is due to improper workmanship or defective materials SECA will repair or replace the product at its option All w...

Reviews: