background image

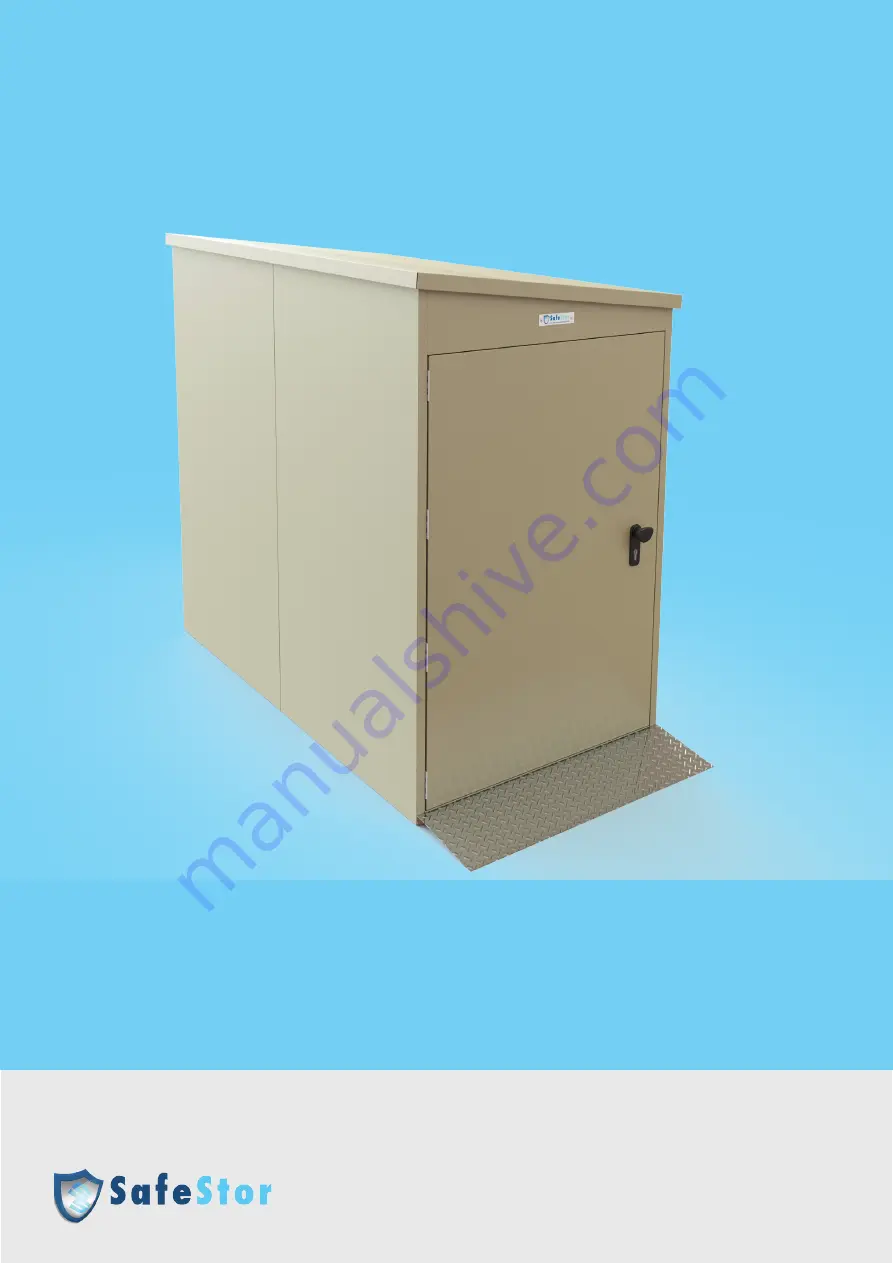
Skipton Bike Locker

SELF ASSEMBLY INSTRUCTIONS


SFSm001

www.spearheadbikes.co.uk

Summary of Contents for Skipton SFSM001

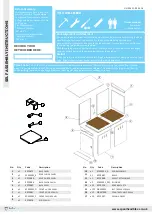
Page 1: ...Skipton Bike Locker SELF ASSEMBLY INSTRUCTIONS SFSm001 www spearheadbikes co uk ...

Page 2: ...oor Alignment and Placement If you need the door to open on the reverse side this can be achieved by switching the back panel with the door panel this will result in the door handle being upside down Once assembly is completed following the guide provided it is necessary to correctly level the unit using the packing pieces supplied Slide the packing pieces under the corners of the units base as re...

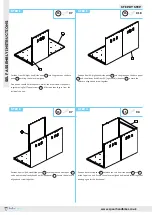
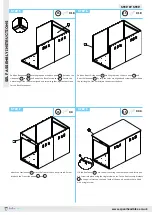
Page 3: ...hand side panel 3 into the groove on the base panel 1 and the already fixed Front RH right hand side panel 7 ensure the holes are aligned and screw together Position Rear LH left Hand side panel 2 into the groove on base panel 1 and opposite the already fixed Rear RH side panel 3 Ensure the holes are aligned and screw together Position Back Fascia panel 4 between the two Rear side panels 2 and 3 a...

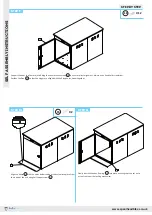
Page 4: ...Rear LH side panel 2 Ensure the holes are aligned and screw together down the full length of the vertical joint and across the base Lift the Roof panel 9 onto the unit covering the other panels and fascia pan els Screw into place using the single screw holes Fit the Roof security brackets 14 in the pair of slots on the top of each of the panels each bracket is fitted with a single screw 5 6 8 9 14...

Page 5: ...tion the Door 10 so that the hinges are aligned with the fixing holes screw together SELF ASSEMBLY INSTRUCTIONS X 12 16 13 step 11 Finally slot the Wooden flooring 13 into place ensuring that the cut out is at the front near the locking mechanism 11 step 10 Align the Ramp 11 with the holes below the door and screw into place from the inside of the unit using Self tapper screws 15 X 2 15 ...

Reviews: