© Rear View Safety | All rights reserved
p. 24
Verifying that Calibration was Successful
The final mandatory step for calibrating your inView360
HD AVM system is to ensure that the calibration file was
successfully uploaded to the ECU, and that the ECU is correctly
using the calibration�
1. Navigate to or back to the
Live
screen� If you are in any
of the calibration windows, click the
Back
button
and/or the
ESC
button until you see the
Live
screen�
2.
Use the
Green
Driver/View
button to verify that the monitor cycles through the different camera views.
a. Click the
Green
button
to cycle through the camera views, which should
follow this pattern: LEFT, RIGHT, FRONT, BACK. The BACK view should show
the back-up lines.
b.
Continue to press the
Green
button to display the TOP and SPLIT views.
c. If you see all 6 views while cycling, then the
Green
calibration was
successful�
3.
Use the
Red Event
button to ensure that Event Recording works. When you press
the
Red
button, you should see a EVENT RECORDED message.
4.
Use the
Black
Overlay
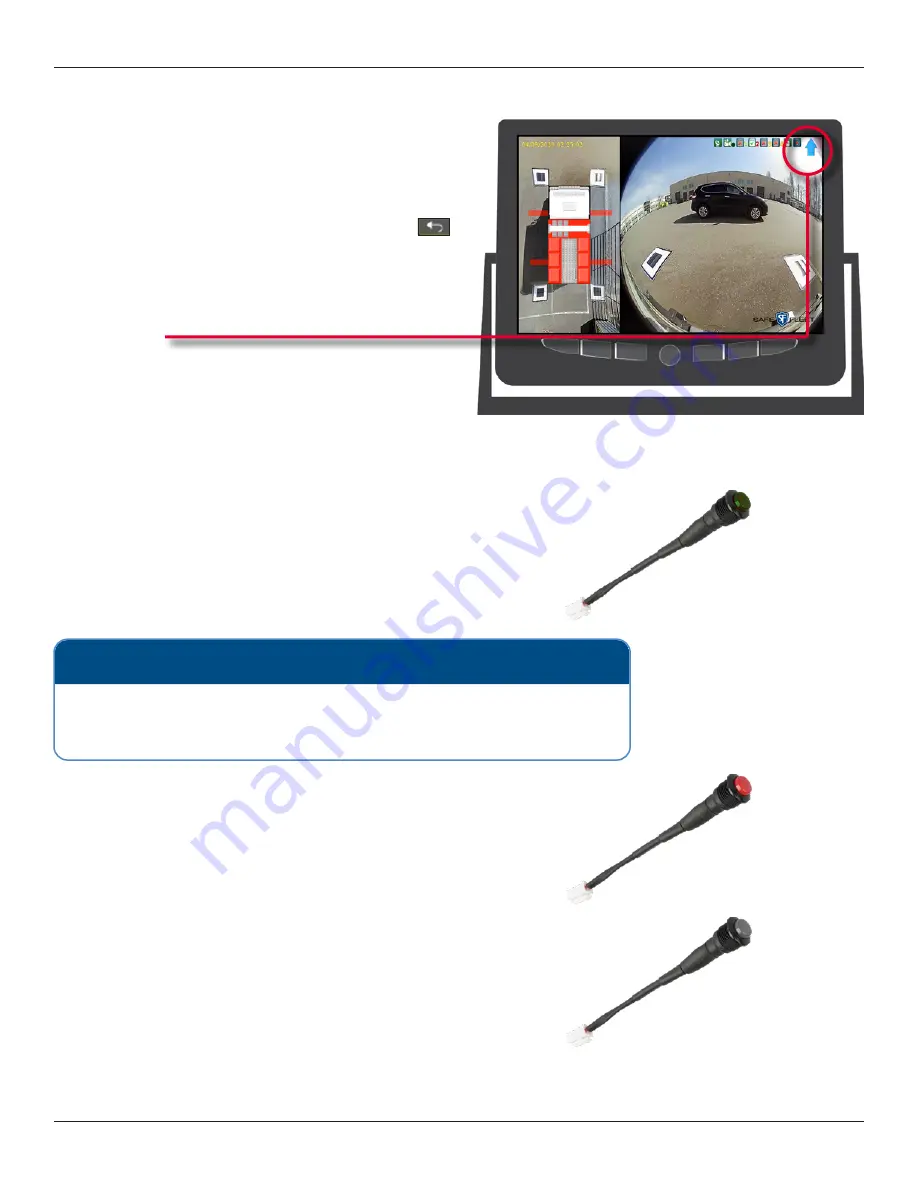
button to ensure that the outrigger indicators (red bars on
the sides of the vehicle overlay) turn off/on when you press the button.
NOTE: The 6 views
Clicking the
Green
button cycles through the following 6 views: Top + Left, Top +
Right, Top + Front, Top + Back, Full Top, and a split view that contains Left, Right,
Front, and Back.
The blue arrow in the upper right corner indicates the
camera view currently being shown on the monitor.
• Front =
• Rear =
•
Left =
• Right =


