5.
CUTTING STANDARD KEYS
A.
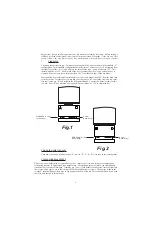
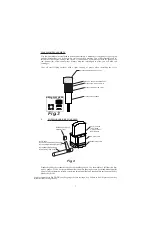
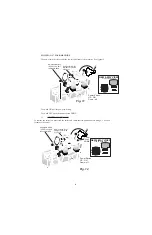
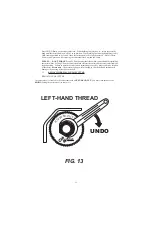
Most key clamping requirements use the standard jaw A configuration. Jaw requirements
- to make deeper cuts in small keys, or to clamp other types of keys simply loosen the key clamp knob
a few extra turns and lift-and-turn the jaw assemblies from A to B to C to D.
B.
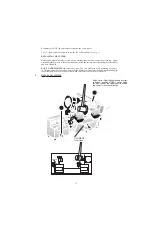
Keys are always gauged with the full-function flip-up key gauges. We do not recommend
bottom shoulder gauging because key blank manufacturers do not always maintain a reliable correlation
between bottom and top shoulder positions on the key blanks they make.
C.
Always remember to flip down your key gauges before cutting a key. Failure to do so will
prevent the key from being cut by the cutter wheel.
D.
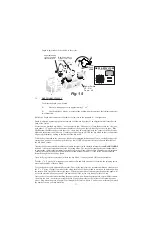
Always cut keys from
Bow-to-Tip
. NEVER MAKE YOUR FIRST CUT FROM TIP-TO-
BOW.
The RY456 is specifically designed to cut most cylinder keys, U.S. and Foreign automotive keys and
Medeco by operating the machines stick-shift lever SMOOTHLY from
Right-to-Left
. The key will
be cut properly starting at the Bow and ending at the tip of the key. It is O.K. to make a cleanup cut
back to the bow of the key ONLY after the key has already been cut from Bow to tip.
NOTE: If an excessive amount of key blank material is removed on the cleanup cut (second cut) your
cutter may need replacing or re-sharpening. Rytan can sharpen your dull cutter.
6.
CUTTING DEEP CUTS IN SMALL KEYS
A.
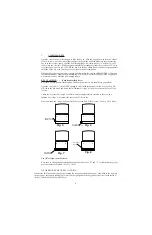
Most key clamping requirements use the standard jaws A configuration. If you are making
deep cuts you may have to rotate to the B jaw configuration. You must loosen the painted key
clamping knobs a few turns, turn the vise and retighten.
Make sure your vise jaws are clean (with no chips in the way) and as you secure the vise jaw on to
your key - be sure to push the key into the jaw firmly and make sure they remain flat, and parallel into
the vise jaws when tightening the large painted key clamp knob.
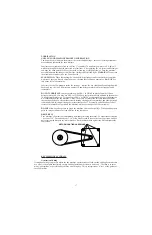
When clamping keys in the jaws be sure to open the jaws ONLY enough to slide the key in place.
Please see below for more Vise Jaw information.
B.
Keys are always gauged with the full-function flip-up key gauges.
C.
Always remember to Flip Down your key gauges before cutting a key. Failure to do so will
not cut the key.
D.
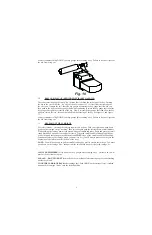
Switch ON your machine and operate the stick-shift lever until the stylus is right over the
left edge of the first cut closest to the bow of the key, gently press down on the carriage with the black
tear-drop hand, then reach down and pull out the carriage release (small round black knob) and release
the carriage. You may ease up on the carriage and manipulate the carriage controls to make a smooth
gentle
cut down the left edge of the first V cut in the key to the last cut on the tip of the key - cutting
all cuts on the key.
E.
You may want to reverse the direction of the carriage and make a clean-up cut back to the
bow of the key.
F.
Push down and lock back your carriage. Turn OFF the machine.
NOTE: CUTTING STEEL KEYS IS NOT RECOMMENDED.
Cutting steel keys will accelerate cutter wear. Some steel keys will ruin your cutter wheel with just
one pass.
NOTE:
Some automotive presentation keys are made of Hardened Steel and can ruin the cutter wheel instantly!
Dont be fooled by the decorative Gold, Brass, or Silver plating on these keys.
5


