RGBV3100
2-Cycle Mulching Blower Vacuum
OPERATOR’S MANUAL
FOR QUESTIONS, CALL 1-800-345-8746 in U.S. or
1-800-265-6778 in CANADA
www.ryobi.com
IMPORTANT MANUAL
DO NOT THROW AWAY
Page 1: ...RGBV3100 2 Cycle Mulching Blower Vacuum OPERATOR S MANUAL FOR QUESTIONS CALL 1 800 345 8746 in U S or 1 800 265 6778 in CANADA www ryobi com IMPORTANT MANUAL DO NOT THROW AWAY ...
Page 2: ... WILL BE REQUIRED FOR WARRANTY SERVICE Make sure this manual is carefully read and understood before starting or operating this equipment THIS PRODUCT IS COVERED BY ONE OR MORE US PATENTS OTHER PATENTS PENDING INTRODUCTION 2 TABLE OF CONTENTS I California Emission Regulations 3 II Rules for Safe Operation 3 8 A Important Safety Information 4 B Safety and International Symbols 6 C Know Your Unit 8 ...
Page 3: ...rk arrestor If these items are required in your area ask your LOCAL SERVICE dealer to install the Optional Accessory Part 180030 Spark Arrestor Kit FOR QUESTIONS CALL 1 800 345 8746 IN U S OR 1 800 265 6778 in CANADA California Proposition 65 Warning THE ENGINE EXHAUST FROM THIS PRODUCT CONTAINS CHEMICALS KNOWN TO THE STATE OF CALIFORNIA TO CAUSE CANCER BIRTH DEFECTS OR OTHER REPRODUCTIVE HARM Thi...
Page 4: ...e etc Clear the area of children bystanders and pets At a minimum keep all children bystanders and pets outside a 50 feet 15 m radius there still may be a risk to bystanders from thrown objects Bystanders should be encouraged to wear eye protection If you are approached stop the unit immediately SAFETY WARNINGS FOR GAS UNITS WARNING Gasoline is highly flammable and its vapors can explode if ignite...
Page 5: ...ped and the impeller no longer turning to avoid contact with the rotating blades Use only genuine Ryobi replacement parts when servicing this unit These parts are available from your authorized service dealer Do not use parts accessories or attachments not authorized by Ryobi for this unit Doing so could lead to serious injury to the user or damage to the unit and void your warranty Never use this...
Page 6: ...A 1 800 345 8746 CANADA 1 800 265 6778 WEAR EYE AND HEARING PROTECTION WARNING Thrown objects and loud noise can cause severe eye injury and hearing loss Wear eye protection meeting ANSI Z87 1 1989 standards and ear protection when operating this unit KEEP BYSTANDERS AWAY WARNING Keep all bystanders especially children and pets at least 50 feet 15 m from the operating area PRIMER Push primer bulb ...
Page 7: ...bes or bag or before cleaning or performing any maintenance BLOWER VACUUM MODE CHANGE OVER LEVER A Vacuum mode B Blower mode THROTTLE CONTROL Indicates HIGH or FASTEST speed THROTTLE CONTROL Indicates IDLE LOW or SLOWEST speed SPECIAL NOTE exposure to vibrations through prolonged use of gasoline powered hand tools could cause blood vessel or nerve damage in the fingers hands and joints of people p...
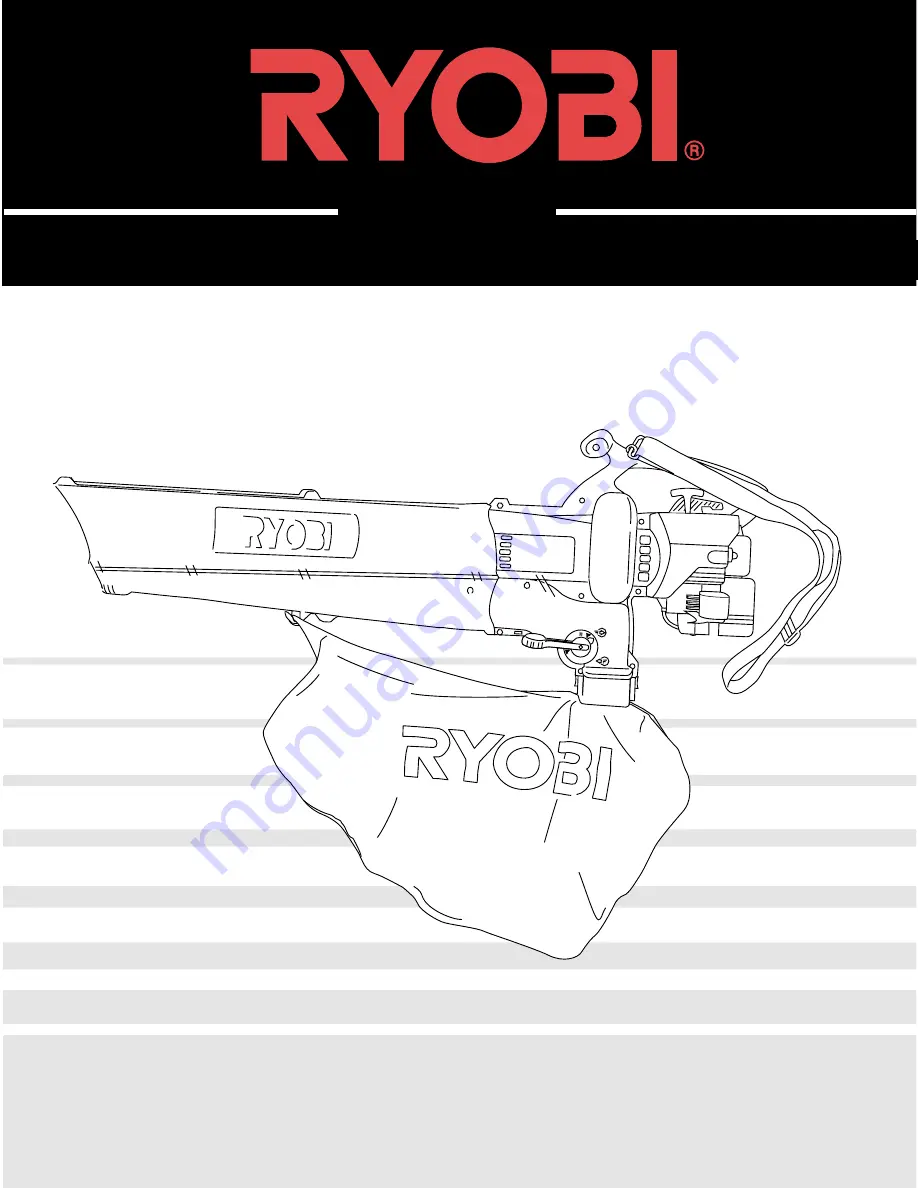
Page 8: ... As a vacuum Picking up leaves light debris etc Harness Blower Vacuum Tube Vacuum Bag Blower Vacuum Mode Change Over Lever Blower Vacuum Inlet Blower Outlet Vacuum Bag Hook Vacuum Bag Zipper Fuel Cap Throttle Control Primer Choke Control Air filter muffler cover Spark Plug Starter Rope Grip On Off Stop Control KNOW YOUR UNIT ...
Page 9: ...8 32 x 3 4 slotted T20 Torx screws into the right side of the motor housing and the 2 two nuts into the left side of the motor housing Fig 2 Fig 1 4 Tighten the screws firmly Do not over tighten 5 Install the 2 two remaining self tapping 8 16 x 3 4 slotted T20 Torx screws into the holes on either side of the housing Fig 2 Tighten until snug do not over tighten Removing NOTE It may be necessary to ...
Page 10: ...Vacuum Bag Vacuum Bag Hook Debris Exhaust Tube Vacuum Bag Tube Zipper Fig 4 Fig 3 Latching Tabs ATTACHING AND REMOVING THE VACUUM BAG Attaching 1 Attach the vacuum bag to the vacuum bag hook on the blower vacuum tube Fig 3 2 Slide the vacuum bag tube over the debris exhaust tube on the housing Push the tube until the latching tabs on both sides click into place securing the bag on the unit Fig 4 P...
Page 11: ...he strap and lifting the buckle end up Fig 9 Shorten the harness by pulling the strap back through the buckle while holding the buckle Fig 9 Clip INSTALLING AND ADJUSTING THE SHOULDER HARNESS WARNING Always use the shoulder harness when using the unit to avoid serious personal injury NOTE Have the shoulder harness on and adjusted but not clipped to the support fitting prior to starting unit 1 Push...
Page 12: ...ng Blended Fuels If you choose to use a blended fuel or its use is unavoidable follow recommended precautions Always use fresh fuel mix per your operator s manual Use the fuel additive STA BIL or an equivalent Always agitate the fuel mix before fueling the unit Drain the tank and run the engine dry before storing the unit Using Fuel Additives The use of fuel additive such as STA BIL Gas Stabilizer...
Page 13: ...ts the vacuum bag from filling up while starting the engine NOTE The throttle control will remain in the position it s placed until moved Fast position is to the right NOTE The On Off Stop control is a momentary switch and is always in the ON I position Fig 10 2 Set the blower vacuum mode change over lever to the up position Blower Mode See Operating as a Blower Pg 15 Fig 10 Fig 11 Run Position C ...
Page 14: ...ront and rear handle or grips To reduce the risk of hearing loss associated with sound level s the use of hearing protection is required Operate power equipment only at reasonable hours not early in the morning or late at night when people might be disturbed Comply with time listed in local ordinance Usual recommendations are 9 00 am to 5 00 pm Monday through Saturday To reduce noise levels limit ...
Page 15: ...ith the lever in the halfway position Fig 14 3 Place the shoulder harness over your head and onto your shoulder and adjust properly see Installing and Adjusting the Shoulder Harness Pg 11 Hold the blower as shown in Figs 15 16 and 17 Sweep from side to side with the nozzle several inches above the ground or floor Slowly advance keeping the accumulated pile of debris in front of you Most dry blowin...
Page 16: ...rotect yourself from the impeller blades or other sharp objects 1 Press and hold the On Off Stop control down in the STOP O position until the engine comes to a complete stop Fig 10 2 Disconnect the spark plug wire to prevent the unit from starting 3 Remove the blower vacuum tube pg 9 and the vacuum bag pg 10 4 Carefully remove material blocking the tube or impeller Inspect the blades to assure no...
Page 17: ...void deterioration and obstructing air flow which will reduce the performance of the vacuum WARNING Wear eye protection and a dust mask when emptying the vacuum bag 1 While pressing the latching tabs on both sides of the vacuum bag tube pull the vacuum bag down off the unit Fig 20 2 Detach the vacuum bag from the vacuum bag hook 3 Unzip the bag and empty the contents into a garbage bag or containe...
Page 18: ... 30 oil to lightly coat the filter Fig 24 3 Wash the filter in detergent and water Fig 23 Rinse the filter thoroughly Squeeze out excess water Allow it to dry completely Fig 23 Air Filter Fig 22 Fig 24 6 Replace the air filter in the air filter muffler cover Fig 22 Pg 17 NOTE Operating the unit without the air filter and air filter muffler cover assembly will VOID the warranty Reinstalling the Air...
Page 19: ... over lever to the up position Blower Mode See Operating as a Blower Pg 15 NOTE Setting the lever to the blower mode prevents the vacuum bag from filling up while starting or running the unit 3 Move the throttle control and let the engine idle If the engine stops insert a small phillips or flat blade screwdriver into the hole in the air filter muffler cover Fig 26 Turn the idle speed adjuster in c...
Page 20: ...en flame or spark Allow the engine to cool before storing Store the unit locked up area to prevent unauthorized use or damage Store the unit in a dry well ventilated area Store the unit out of the reach of children LONG TERM STORAGE If the unit will be stored for an extended time 1 Drain all fuel from the fuel tank into a container Do not use fuel that has been stored for more than 60 days Dispose...
Page 21: ...s primer bulb fully and slowly 5 7 times Engine flooded Use starting procedure with choke control in the RUN position Pg 13 Old or improperly mixed fuel Drain fuel tank Add fresh fuel mixture Fouled spark plug Replace or clean the spark plug ENGINE WILL NOT START ENGINE WILL NOT IDLE ENGINE WILL NOT ACCELERATE ENGINE LACKS POWER OR STALLS WHEN UNDER LOAD C A U S E A C T I O N Air Filter is Plugged...
Page 22: ...arburetor Diaphragm All Position Starter Auto Rewind Muffler Baffled with Guard Throttle Manual Fuel Tank Capacity 14 ounces 415 ml Fuel Tank HD Polyethylene ENGINE BLOWER VACUUM Throttle Control Finger Tip Lever Blower Velocity up to 160 mph 257 kmh Blower Air Output up to 424 cfm 12 1 cmm Mulching Ratio up to 10 1 Vacuum Bag Capacity 0 75 bushels 26 4 Liters Shoulder Harness Single Quick Snap We...
Page 23: ...the engine or equipment is delivered to the retail purchaser The manufacturer warrants to the initial owner and each subsequent purchaser that the engine is free from defects in material and workmanship which cause the failure of a warranted part for a period of two years Repair or replacement of warranted part will be performed at no charge to the owner at an Authorized Ryobi Service Center For t...
Page 24: ...f RYOBI to be defective in material or workmanship will be repaired or replaced by an authorized RYOBI service dealer without charge for parts and labor The RYOBI Product including any defective part must be returned to an authorized service dealer within the warranty period The expense of delivering the RYOBI Product to the dealer for warranty work and the expense of returning it back to the owne...