155r
12 Volt Battery Trimmer
OPERATOR’S MANUAL
FOR QUESTIONS, CALL 1-800-345-8746 in U.S. or
1-800-265-6778 in CANADA
www.ryobi.com
IMPORTANT MANUAL
DO NOT THROW AWAY
Page 1: ...155r 12 Volt Battery Trimmer OPERATOR S MANUAL FOR QUESTIONS CALL 1 800 345 8746 in U S or 1 800 265 6778 in CANADA www ryobi com IMPORTANT MANUAL DO NOT THROW AWAY ...
Page 2: ...TAILER NOTE PROOF OF PURCHASE WILL BE REQUIRED FOR WARRANTY SERVICE Make sure this manual is carefully read and understood before starting or operating this equipment THIS PRODUCT IS COVERED BY ONE OR MORE US PATENTS OTHER PATENTS PENDING INTRODUCTION TABLE OF CONTENTS 2 I Rules for Safe Operation 3 6 A Important Safety Information 3 4 B Safety and International Symbols 5 C Know Your Unit 6 II Ass...
Page 3: ...s properly attached and positioned as recommended Failure to do so can result in personal injury to the operator and bystanders as well as damage to the unit Avoid dangerous environments Never operate your unit in damp or wet conditions Moisture is a shock hazard Do not use the unit in the rain Do not handle the unit with wet hands Use only 0 080 in 2 03 mm diameter genuine Ryobi replacement line ...
Page 4: ...provide the best grip Use the unit only in daylight or good artificial light Use the right tool Only use this tool for the purpose intended Do not overreach Always keep proper footing and balance Do not force the unit It will do the job better and with less likelihood of a risk of injury at the rate for which it was designed Always hold the unit with both hands when operating Keep a firm grip on b...
Page 5: ...EARING PROTECTION WARNING Thrown objects and loud noise can cause severe eye injury and hearing loss Wear eye protection meeting ANSI Z87 1 1989 standards and ear protection when operating this unit KEEP BYSTANDERS AWAY WARNING Keep all bystanders especially children and pets at least 50 feet 15 m from the operating area THROWN OBJECTS AND ROTATING CUTTER CAN CAUSE SEVERE INJURY WARNING Do not ope...
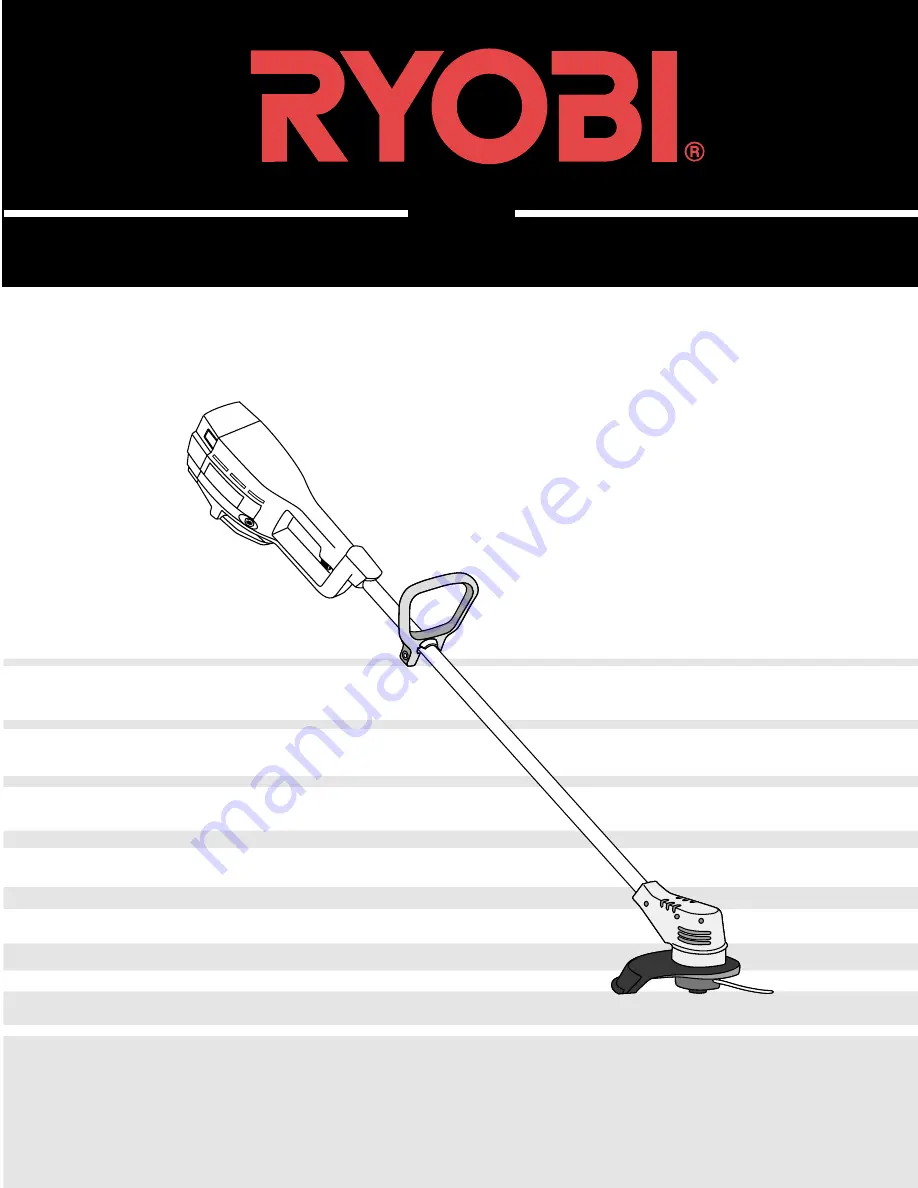
Page 6: ...ock Off Button Bump Head Cutting Attachment Motor Wire Housing Tube Hand Grip Overload Protection Switch Battery Housing APPLICATION Use the Trimmer for Cutting grass and light weeds decorative trimming around trees fences etc KNOW YOUR UNIT Cutting Attachment Shield Battery Door Air Vents ...
Page 7: ...UNTING THE CHARGING STATION NOTE Mount the charging unit and allow the unit to charge for at least 36 hours prior to first use This unit may stay on the charging station continuously without overcharging Place the charging station where the unit is intended to be stored This should be a cool dry and well ventilated place where the unit can be locked up and out of the reach of children The unit sho...
Page 8: ...the unit See Replacing the Charger if not page 14 NOTE The battery will heat up while the unit is being charged Be sure the air vents on the battery housing are kept cleared for proper ventilation Fig 4 Charging Tips for Maximum Performance Store and charge the unit where temperatures are between 50 F 10 C and 100 F 38 C Storing the unit or batteries above 100 F 38 C will reduce battery life Stora...
Page 9: ...o bend over Fig 8 Fig 8 2 Depress and hold trigger 3 Release the lock off button TO STOP UNIT Release the trigger to stop the trimmer TO START UNIT WARNING To prevent serious personal injury ensure the lock off button resets each time the trigger is released 1 Press and hold the lock off button in Fig 6 This allows the trigger to operate Fig 6 Lock Off Button Fig 7 Overload Protection Switch Trigg...
Page 10: ...tting shorter lengths produces best results Trim only when grass and weeds are dry The life of your cutting line is dependent upon following the previous trimming techniques what is being cut and where the cutting is being done For example the line will wear faster when trimming against a foundation wall as opposed to trimming around a tree Some line breakage will occur from Entanglement with fore...
Page 11: ...ene Wipe off the unit with a clean dry soft cloth Keep air vents free from debris at all times LINE INSTALLATION Always use genuine Ryobi 0 080 in 2 03 mm replacement line Using line other than specified may cause the unit to overheat or fail WARNING Never use metal reinforced line wire or rope etc These can break off and become a dangerous projectile There are two methods to replace the trimmer l...
Page 12: ... clean the inner surface of the outer spool Fig 11 Pg 11 5 Insert the end of the line on the prewound reel through the eyelet in the outer spool Fig 15 6 Place inner reel and spring inside the outer spool NOTE The spring must be assembled on the inner reel before reassembling the bump head 7 Hold the inner reel in place grasp the line end and pull firmly to release the line from the holding slot i...
Page 13: ...wing the battery housing door closed until the two latches snap into place For Best Performance When reinstalling the battery Check battery terminals for corrosion and clean if necessary Clean terminals using a dry scrubbing pad and wipe clean with a dry cloth Never use liquids to clean terminals Check battery casing for signs of damage and replace if needed NOTE If you clean or replace the batter...
Page 14: ... barrel connector or cord become damaged or if the barrel connector is not connecting to the unit properly CAUTION Only use the type of charger specified for this unit Any other type may cause damage to the unit batteries and possible injury Your trimmer requires a Ryobi 182534 12V charger and 180295 charging station The charging instructions refer only to these parts NOTE If you are using the opt...
Page 15: ...not charged Charge battery See Charging the Unit page 8 Overload protection switch has popped Reset overload protection switch MOTOR OPERATES SLOWLY OR WILL NOT OPERATE BATTERY WILL NOT CHARGE C A U S E A C T I O N No power to charger or battery Check charger and charging station See Charging the Unit page 8 Battery has failed Replace battery See Battery Pack Replacement page 13 CUTTING ATTACHMENT...
Page 16: ...able judgement of RYOBI to be defective in material or workmanship will be repaired or replaced by an authorized RYOBI service dealer without charge for parts and labor The RYOBI Product including any defective part must be returned to an authorized service dealer within the warranty period The expense of delivering the RYOBI Product to the dealer for warranty work and the expense of returning it ...