130rEB
Electric Trimmer / Edger / Blower
OPERATOR’S MANUAL
FOR QUESTIONS, CALL 1-800-345-8746 in U.S. or
1-800-265-6778 in CANADA
www.ryobi.com
IMPORTANT MANUAL
DO NOT THROW AWAY
Page 1: ...130rEB Electric Trimmer Edger Blower OPERATOR S MANUAL FOR QUESTIONS CALL 1 800 345 8746 in U S or 1 800 265 6778 in CANADA www ryobi com IMPORTANT MANUAL DO NOT THROW AWAY...
Page 2: ...RETAILER NOTE PROOF OF PURCHASE WILL BE REQUIRED FOR WARRANTY SERVICE Make sure this manual is carefully read and understood before starting or operating this equipment THIS PRODUCT IS COVERED BY ONE...
Page 3: ...wet conditions Moisture is a shock hazard Do not use the unit in the rain Do not handle the unit with wet hands Use the right tool Use this unit only as described in this manual Do not use for any job...
Page 4: ...gled in the cutting attachment Clear the area of children bystanders and pets At a minimum keep all children bystanders and pets outside a 50 feet 15 m radius there still may be a risk to bystanders f...
Page 5: ...lade when it is rotating A coasting blade can cause injury while it continues to spin after the unit is stopped Maintain proper control until the blade has completely stopped rotating Do not run the u...
Page 6: ...ction meeting ANSI Z87 1 standards and ear protection when operating this unit KEEP BYSTANDERS AWAY WARNING Keep all bystanders especially children and pets at least 50 feet 15 m from the operating ar...
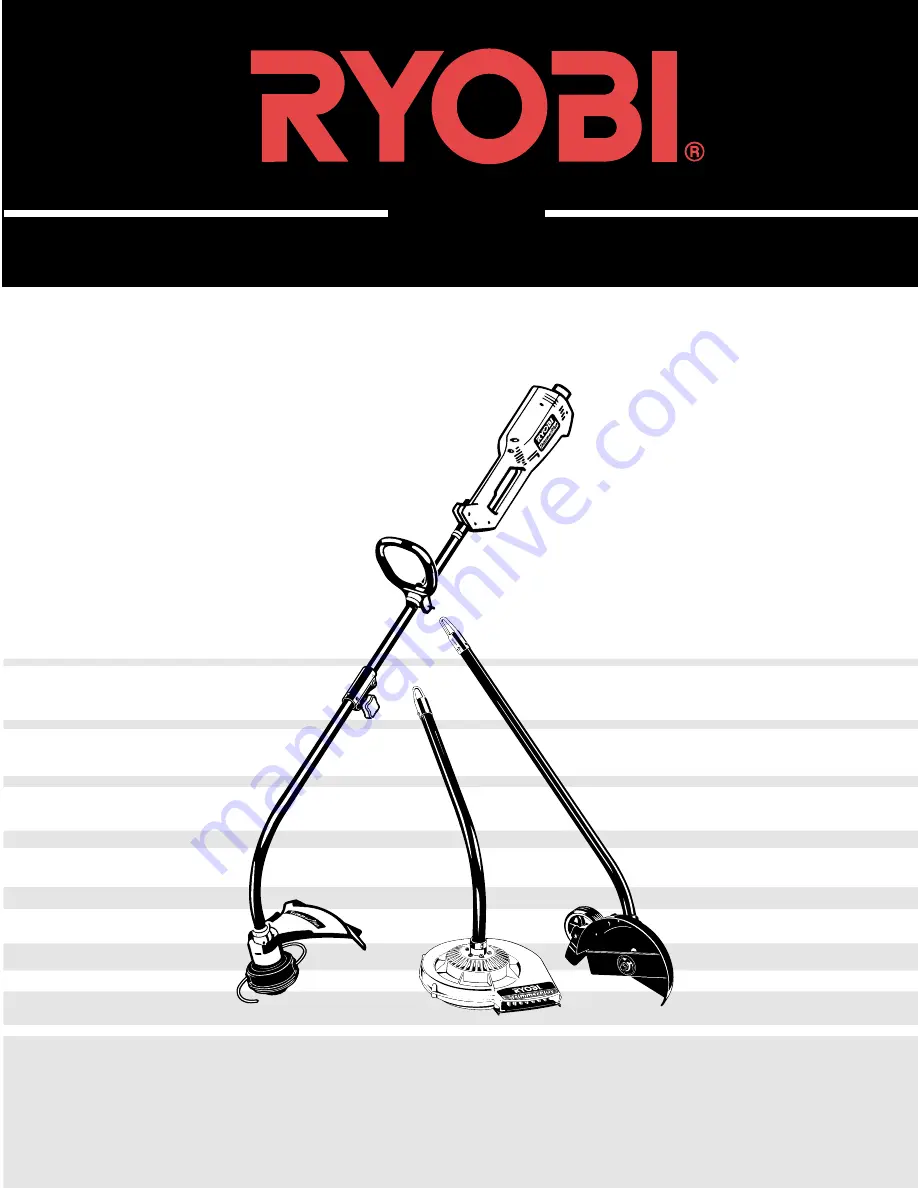
Page 7: ...eways rockeries etc With Sweeper Blower Add On Cleaning driveways porches around walls fences etc Hanger Height Adjustment Wheel Air Intakes Air Output Edger Blade D handle Click Link Line Cutting Bla...
Page 8: ...ly and then rotate the cutting attachment shield 180 Align the 4 screw holes and fit the cutting attachment shield securely in the recessed pocket Fig 3 3 Install the four 4 screws 10 24 x 1 2 with a...
Page 9: ...proper wall outlet Do not change the unit plug extension cord receptacle or extension cord plug in any way 1 Use the cord hook when you connect the extension cord to the power cord to prevent disconne...
Page 10: ...using pull the cutting attachment or add on straight out of the Click Link coupler Installing the Cutting Attachment or Add Ons WARNING To avoid serious personal injury shut unit off before removing o...
Page 11: ...ting to the left improves the unit s cutting efficiency Clippings are thrown away from the operator Slowly move the trimmer into and out of the cutting area at the desired height Move either in a forw...
Page 12: ...straight and the hand is holding the D handle The unit is at waist level The edger wheel adjusted for proper cut depth and edger positioned as shown in Fig 13 ADJUSTING EDGER CUTTING DEPTH 1 Loosen t...
Page 13: ...shly washed cars and blow debris away After using blowers and other equipment CLEAN UP Dispose of debris in trash receptacles HOLDING THE UNIT WITH SWEEPER BLOWER ADD ON WARNING Always wear eye hearin...
Page 14: ...rvicing a double insulated unit requires extreme care and knowledge of the system and should be done only by qualified service personnel Replacement parts for a double insulated unit must be identical...
Page 15: ...e two holding slots Fig 24 Holding Slots 10 Hold the inner reel in place and install the Bump Knob by turning clockwise Tighten securely INSTALLING A PREWOUND REEL 1 Hold the outer spool with one hand...
Page 16: ...ckwise Fig 29 Fig 26 Fig 28 Fig 27 Fig 29 4 If you have a torque wrench tighten the nut to 325 335 in lbs 37 38 N m while holding the locking rod in the slot If you do not have a torque wrench hold th...
Page 17: ...aner brush to keep the air vents free of obstructions 3 Do not use strong detergents on the plastic housing or components These can be damaged by certain household cleaners that contain aromatic oils...
Page 18: ...ht with cutting attachment cutting attachment shield and D handle 12 25 lbs 5 6 kg Cutting Mechanism Dual Line Bump Head Shoulder Strap Optional Line Spool Diameter 3 in 76 2 mm Trimming Line Diameter...
Page 19: ...NOTES 19...
Page 20: ...gement of RYOBI to be defective in material or workmanship will be repaired or replaced by an authorized RYOBI service dealer without charge for parts and labor The RYOBI Product including any defecti...