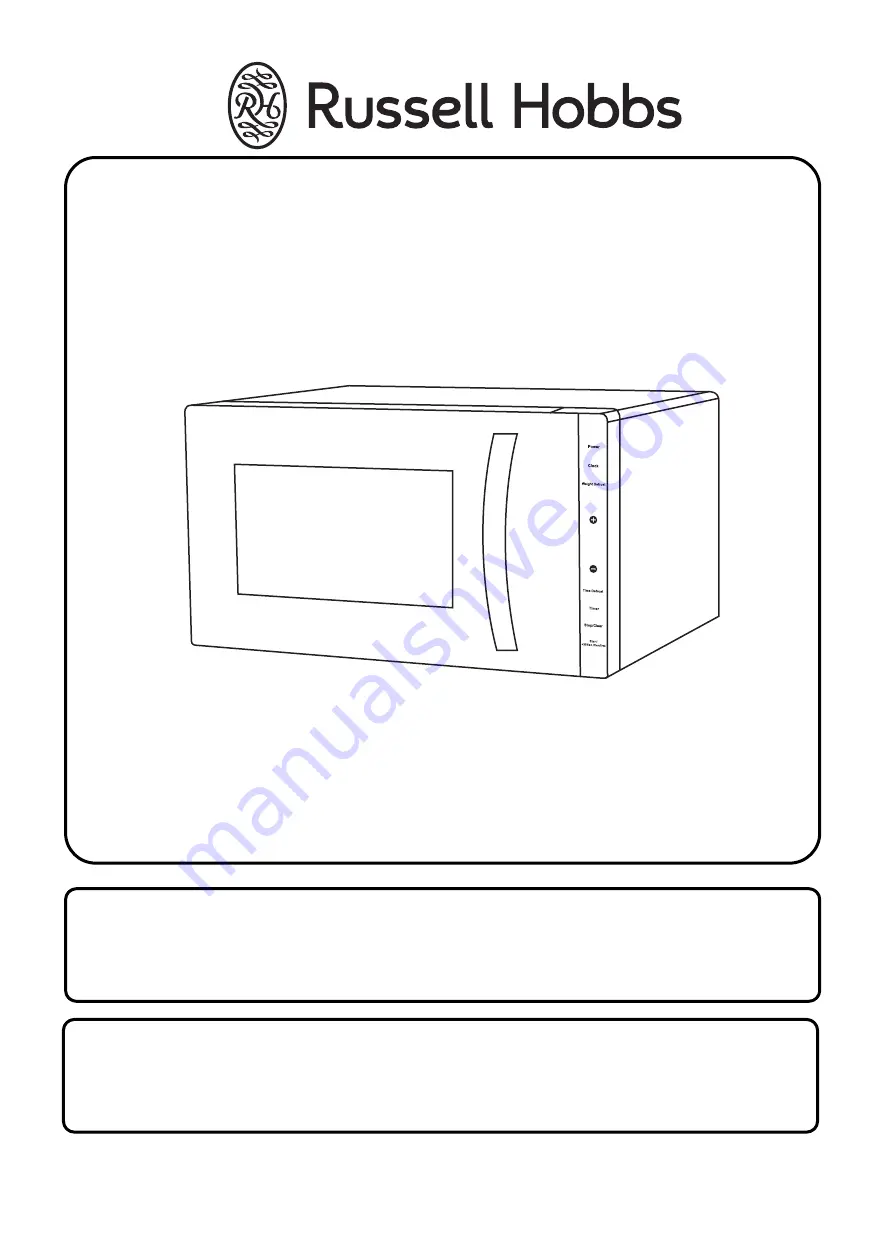
Russell Hobbs RHFM2363B User Manual Download Page 1

Microwave 

For Customer Services & Spare Parts please call 

0

3

45 209 7461

Opening times: Monday - Friday  8am – 6pm & Saturday 9am – 1pm or visit 

us at 

www.productcareuk.com

IMPORTANT: RETAIN FOR FUTURE 

REFERENCE

2

3 Litre 

Touch


Flatbed 

Microwave 

User Guide

Model N

umber

: RH

F

M

2363B/RHFM2363S

Summary of Contents for RHFM2363B

Page 1: ...Parts please call 0345 209 7461 Opening times Monday Friday 8am 6pm Saturday 9am 1pm or visit us at www productcareuk com IMPORTANT RETAIN FOR FUTURE REFERENCE 23 Litre Touch Flatbed Microwave User G...

Page 2: ...Safety instructions Product Overview About this microwave oven Unpacking the microwave Microwave oven installation Control panel Using the microwave oven Cleaning and care Important utensil informati...

Page 3: ...e hazards involved Children shall not play with the appliance Do not use harsh abrasive cleaners or sharp metal scrapers to clean the oven door glass since they can scratch the surface which may resul...

Page 4: ...ve energy WARNING Liquids and other foods must not be heated in sealed containers since they are liable to explode WARNING This appliance can be used by children aged from 8 years and above and person...

Page 5: ...to seep into the ventilation openings Do not allow the control panel to become wet Clean with a soft damp cloth Do not use detergents abrasives or spray on cleaners on the control panel If steam build...

Page 6: ...een the oven and any adjacent walls The microwave oven should be used freestanding only and must not be built in or used in a cabinet If smoke is emitted switch off or unplug the appliance and keep th...

Page 7: ...to deterioration of the surface that could adversely affect the life of the appliance and possibly result in a hazardous situation Before you clean the oven turn it off and unplug it Keep the inside o...

Page 8: ...Safety instructions Do Not obstruct the ventilation from the microwave Only use thermometers that are approved for microwave ovens 8...

Page 9: ...ave the glass tray and turntable support in place when using the oven Never remove parts from the oven such as the feet screws and so on Do not cook food directly on the glass tray Put food on a suita...

Page 10: ...en covering the top and handles of the utensil You may need oven gloves to handle the utensil Ensure you do not use any corrosive chemicals or vapours in the appliance It is not designed for industria...

Page 11: ...other than preparing food such as for drying clothes paper or any other non food items or for sterilising purposes Do not store anything in the oven such as paper or cook books Do not cook any food s...

Page 12: ...09 7461 Opening times Monday Friday 8am 6pm Saturday 9am 1pm or visit us at www productcareuk com 12 E A D C B F A Control panel including door release button B Window C Door assembly D Safety interlo...

Page 13: ...your food will come out of the microwave piping hot when your utensils inside the oven stay much cooler The microwaves do not stay in the air or in the food when you open the microwave oven door The...

Page 14: ...age such as A misaligned door Damage to the door Dents or holes in the door window and screen Dents in the inside If you can see any damage do not use the oven This microwave oven weighs approximately...

Page 15: ...en as far away from radios and TV s as possible Using the oven may cause interference with the reception Plug the oven into a suitable 13 amp mains socket make sure the voltage is the same as on the r...

Page 16: ...ch this button to set the clock WEIGHTDEFROSTTouchthis button for the weight defrost TIME DEFROST Touchthis button for the time defrost These buttons are used to scroll through menus weights etc TIMER...

Page 17: ...ck is engaged Indicates that grams are shown on the display Indicates microwave cooking is taking place Indicates that time defrosting is taking place Indicates that weight defrosting is taking place...

Page 18: ...st the hour digits The input time should be within 0 23 24 hour 3 Touch button again and the minute figures will flash 4 Touch the or buttons to adjust the minute digits The input time should be withi...

Page 19: ...crowave function 1 button and the menu screen will display 00 00 Touch the not flashing 2 Touch or buttons to enter the desired time The maximum time is 95 minutes 3 Touch to confirm setting 4 When th...

Page 20: ...h 2 Touchthe POWER button several times or touch or buttons to select the microwave power from 100 to 10 3 Touchthe START 30SEC CONFIRM button to confirm the power level 4 Touchthe or The time setting...

Page 21: ...display dEF2 2 Touchthe or to select the defrosting time The maximum setting time is 95 minutes 3 Touchthe START 30SEC CONFIRM button to start defrosting The defrosting power is 30 and cannot be chan...

Page 22: ...Each touch of the same button will increase the cooking time by 30 seconds The maximum cooking time is 95 minutes 3 An additional 30 seconds can be added at any point during the cooking process countd...

Page 23: ...king cycle Note The auto menu cannot be set as one of the multi stage cooking functions Example if you want to defrost 500g of food then cook it at 80 microwave for 7 minutes The steps are as followin...

Page 24: ...oose the food weight these are 5 Touchthe START 30SEC CONFIRM button to start cooking 24 Please see the table below for the various settings Display Auto Menu Weight g on the Display Power A 1 Pizza 2...

Page 25: ...CONFIRM button must be touched again to continue cooking if the door is opened during a cooking cycle 3 Once the cooking programme has been set if the START 30 SEC CONFIRM button is not touched in 1...

Page 26: ...not allow the control panel to become wet Clean with a soft damp cloth Do not use detergents abrasives or spray on cleaners on the control panel If steam builds up inside or around the outside of the...

Page 27: ...use melamine dishes as they contain a material which will absorb microwave energy This may cause the dishes to crack or burn and will slow down the cooking speed Use only cookware that is approved to...

Page 28: ...designed to operate from a mains supply of Check that the voltage marked on the product corresponds with your supply voltage This product is fitted with a 13A plug complying with BS1363 If this plug i...

Page 29: ...roceed as follows The GREEN YELLOW wire is the EARTH and must be connected to the terminal which is marked with the letter E or by the earth symbol or coloured GREEN or GREEN YELLOW The BLUE wire is t...

Page 30: ...ever attempt to re use this plug or insert it into a socket outlet as there is a very great risk of an electric shock Problem solving The microwave oven may cause interference to your radio TV or simi...

Page 31: ...und or replacement is at the discretion of the store The following conditions apply The product must be returned to the retailer with the original proof of purchase The product must be installed and u...

Page 32: ...mes Monday Friday 8am 6pm Saturday 9am 1pm or visit us at www productcareuk com Rated Voltage Rated Input Power Microwave Rated Output Power Microwave Oven Capacity External Dimensions HxWxD Net Weigh...

Page 33: ...Notes For Customer Services Spare Parts please call 0345 209 7461 Opening times Monday Friday 8am 6pm Saturday 9am 1pm or visit us at www productcareuk com 33...

Page 34: ...Notes For Customer Services Spare Parts please call 0345 209 7461 Opening times Monday Friday 8am 6pm Saturday 9am 1pm or visit us at www productcareuk com 34...

Page 35: ...Notes For Customer Services Spare Parts please call 0345 209 7461 Opening times Monday Friday 8am 6pm Saturday 9am 1pm or visit us at www productcareuk com 35...

Page 36: ...isposed of with your general household waste Only discard electrical electronic battery items in separate collection schemes which cater for the recovery and recycling of materials contained within Yo...

Reviews: