background image

Model Number:

RHBM3201

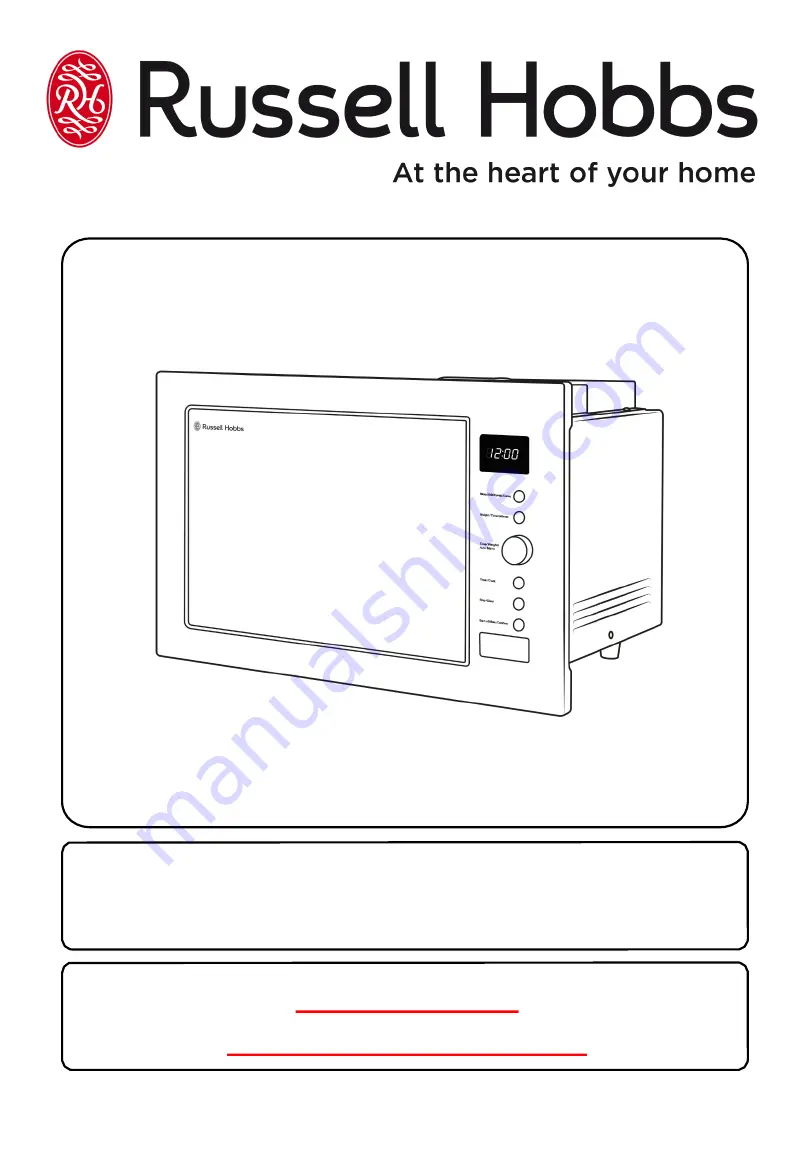
Family Built in Digital Microwave

User Guide

For Customer Services & Spare Parts please call 0345 209 7461

Opening times: Monday - Friday 8am – 8pm & Saturday 9am – 1pm

Or visit us at www.productcare.co.uk

PLEASE RETAIN

FOR FUTURE REFERENCE

Summary of Contents for RHBM3201 (MB)

Page 1: ...ly Built in Digital Microwave User Guide For Customer Services Spare Parts please call 0345 209 7461 Opening times Monday Friday 8am 8pm Saturday 9am 1pm Or visit us at www productcare co uk PLEASE RE...

Page 2: ...22 23 CONTROL PANEL 24 HOW TO USE THE MICROWAVE 25 36 COOKING TIPS 37 CLEANING THE MICROWAVE 38 PROBLEM SOLVING 39 42 GUARANTEE CUSTOMER SERVICES 43 SPARE PARTS 44 CONNECTION TO THE MAINS SUPPLY 45 4...

Page 3: ...given supervision or instruction concerning use of the appliance in a safe way and understand the hazards involved Children shall not play with the appliance Cleaning and user maintenance shall not b...

Page 4: ...drying of food or clothing and heating of warming pads wheat bags slippers sponges damp cloth and similar is extremely dangerous and may lead to risk of injury ignition or fire If materials inside the...

Page 5: ...since they may explode even after microwave heating has ended The oven should be cleaned regularly and any food deposits removed Failure to maintain the oven in a clean condition especially if liquid...

Page 6: ...Do not leave the microwave oven unattended while you are using it Do not use the microwave when it is empty This could damage the oven Do not use metal pans dishes with metal handles or anything with...

Page 7: ...m several times with a fork Do not try to deep fry foods in this microwave oven Do not overcook food Please remember that as food or liquids heat up they will release steam or may be spitting Never co...

Page 8: ...hich will absorb microwave energy This may cause the dishes to crack or burn and will slow down the cooking speed Do not use the microwave oven for heating utensils plates or dishes Do not cook using...

Page 9: ...tilation openings Do not use harsh abrasive cleaners or sharp metal scrapers to clean the oven door glass since they can scratch the surface which may result in shattering of the glass If steam builds...

Page 10: ...ate up to 12 5 diameter It comes with a removable and dishwasher safe glass turn table for easy cleaning Pre programmed auto cook menus such as reheat fish and popcorn allow you to cook all your favou...

Page 11: ...of the microwave piping hot when your utensils inside the oven stay much cooler The microwaves do not stay in the air or in the food when you open the microwave oven door The microwave oven will work...

Page 12: ...32L Internal volume is calculated by measuring maximum width depth and height Actual capacity for holding food is less For Customer Services Spare Parts please call 0345 209 7461 Opening times Monday...

Page 13: ...eck the oven after unpacking for any visual damage such as A misaligned door Damage to the door Dents or holes in the door window and screen Dents in the inside If you can see any damage do not use th...

Page 14: ...y Friday 8am 8pm Saturday 9am 1pm Or visit us at www productcare co uk 1 Safety interlock latches 2 Door assembly and window 3 Glass turntable 4 Oven cavity 5 Microwave top 6 Wave guide cover do not r...

Page 15: ...o not use extension cables or mains socket adaptors The built in cabinet should not have a rear wall behind the appliance Minimum installation height is 85cm Measure the opening for the microwave and...

Page 16: ...Important note Heat steam and moisture will be created during use of the appliance take care to avoid injury and ensure that the room is adequately ventilated If the appliance is going to be used for...

Page 17: ...e must be correctly installed by a suitably qualified person strictly in accordance with the manufacturer s instructions Installation components SCREW TRIM KIT PLASTIC COVER Product dimensions includi...

Page 18: ...t Ensure that the rear panel of the furniture housing unit has been removed This oven may be installed without any additional ventilation cut outs being made in the housing unit However the ventilatio...

Page 19: ...tion The ventilation gaps below the support shelf and below the worktop must be adhered to An induction hob MUST NOT be fitted above the microwave It is not necessary to have a storage drawer fitted u...

Page 20: ...rday 9am 1pm Or visit us at www productcare co uk Prepare the cabinet Step 1 Place the microwave into the housing unit and push the microwave fully into the housing unit Push the microwave fully into...

Page 21: ...to be able to access ADJUSTMENT SCREW A at this stage Adjust the height of ADJUSTMENT SCREW A to keep a 1mm gap between ADJUSTMENT SCREW A and the underneath of the top surface of the housing unit Pus...

Page 22: ...tray should align with the turntable coupling 22 TURNTABLE INSTALLATION Before first use check that any securing tape and all packaging has been removed from the glass tray and turntable ring assembl...

Page 23: ...ass tray always place on or in suitable microwaveable cookware Please check that crockery is microwave safe before using If the glass tray or turntable ring assembly has been damaged in any way contac...

Page 24: ...the cavity and an element at the back of the unit is used for convection cooking WEIGHT TIME DEFROST Press this button for the defrost function TIMER WEIGHT AUTO MENU This rotational dial is used for...

Page 25: ...TIMER WEIGHT AUTO MENU dial to adjust the minute figures the input time should be within 0 59 60 minutes 5 Press CLOCK TIMER to finish the clock setting procedure The will then flash Note 1 If the cl...

Page 26: ...RT 30SEC CONFIRM to confirm 4 Turn the TIMER WEIGHT AUTO MENU dial to adjust the cooking time The time setting should be between 0 05 95 00 5 Press START 30SEC CONFIRM to start the cooking process 6 I...

Page 27: ...ress START 30SEC CONFIRM The oven will start cooking for the selected length of time at 100 power Defrosting by Weight 1 Press WEIGHT DEFROST button once the oven will display dEF1 2 Turn the TIMER WE...

Page 28: ...rn the food over In order to achieve more even grilling you should turn the food over close the door and then press START 30 SEC CONFIRM to continue cooking If the door is not opened and the food is n...

Page 29: ...EIGHT AUTO MENU dial to adjust the cooking time The time setting should be 0 05 95 00 6 Press START 30 SEC CONFIRM button to start the cooking process 7 If you have set the incorrect power level or ti...

Page 30: ...start the preheating When the preheating temperature is reached the buzzer will sound twice to remind you to place the food in the oven The preheated temperature will display and flash Open the door...

Page 31: ...intervals 3 Press the START 30 SEC CONFIRM button to confirm the chosen temperature 4 Turn the TIMER WEIGHT AUTO MENU dial to adjust the cooking time the maximum setting time is 95 minutes 5 Press th...

Page 32: ...ting a cooking cycle 1 If you wish to temporarily interrupt a cooking cycle when it is in progress for example to stir what you are heating you should press the door button 2 The door of the microwave...

Page 33: ...me on first Example if you want to defrost 500g of food or by 1 minute then cook it at 80 microwave power for 7 minutes The steps are as follows 1 Press WEIGHT DEFROST or TIME DEFROST button once the...

Page 34: ...ou need A1 A10 3 Turn the TIMER WEIGHT AUTO MENU dial to choose the food weight these are pre set and listed in the table on the next page 4 Press the START 30SEC CONFIRM button to start cooking Pleas...

Page 35: ...0 with cold water 450g 50g 80 100 with cold water 800g 100g 150 with cold water 1200g 150g A5 POTATO 1 approx 230g 1 100 2 approx 460g 2 3 approx 690g 3 A6 SOUP 200ml 200g 100 400ml 400g 600ml 600g A7...

Page 36: ...will illuminate in the display Lock off In locked state hold the STOP CLEAR button for 3 seconds there will be a long beep and the door will unlock The current time will continue to display When the c...

Page 37: ...d the thinner parts toward the centre spread out as evenly as possible Do not overlap food if possible as this could result in uneven cooking results Cooking time If you are unsure of cooking times it...

Page 38: ...rol panel If steam builds up inside or around the outside of the oven door wipe with a soft cloth This may happen when the microwave oven is used in humid conditions Regularly remove the glass turntab...

Page 39: ...urned to the retailer it was purchased from for a replacement or refund If the microwave power will not work 1 Door is not closed Make sure the door is securely closed Otherwise the microwave will not...

Page 40: ...ould be put inside a microwave as it can cause sparking which can damage the microwave The only metal accessories that should be used inside the microwave are the ones supplied by the manufacturer 3 P...

Page 41: ...s it can cause excessive water to settle inside the microwave or the microwave to overheat The installation instructions in the instruction manual must be followed or the warranty will be void Paint d...

Page 42: ...s be placed under the turntable and that it is position correctly 3 Glass turntable fitted incorrectly Check that the glass turntable has been placed correctly on the turntable 4 Turntable has develop...

Page 43: ...e Refund or replacement is at the discretion of the retailer The following conditions apply The product must be returned to the retailer with the original proof of purchase The product must be install...

Page 44: ...Monday Friday 8am 8pm Saturday 9am 1pm Or visit us at www productcare co uk To check the availability of the following spare parts simply contact our friendly Customer Services team using the details...

Page 45: ...BS1363 If this plug is unsuitable or needs to be replaced refer to customer services as it should only be replaced by a qualified engineer To replace the 13amp fuse remove the plug from the socket re...

Page 46: ...inal marked with the letter N or coloured BLACK The BROWN wire is the LIVE wire and must be connected to the terminal marked with the letter L or coloured RED Always ensure that the plug cord grip is...

Page 47: ...47 NOTES...

Page 48: ...the recovery and recycling of materials contained within Your co operation is vital to ensure the success of these schemes and for the protection of the environment For your nearest disposal facility...

Reviews: