


Manual
Dust Proof
Sunlight Readable
Water Proof
Drop Proof
Since 1975
An ISO / TS 16949:2002 / 9001 / 14001 / OHSAS 18001:2007 Certificated Group
IP65
MIL
-20C
+50C
~
+
+
--
5
hours
Ba ttery
13.3
XGA
ULV
Finger
GPRS
GPS
Built-in
Copyright 2009. SAMWELL GROUP.
Copyright 2009. SAMWELL GROUP.
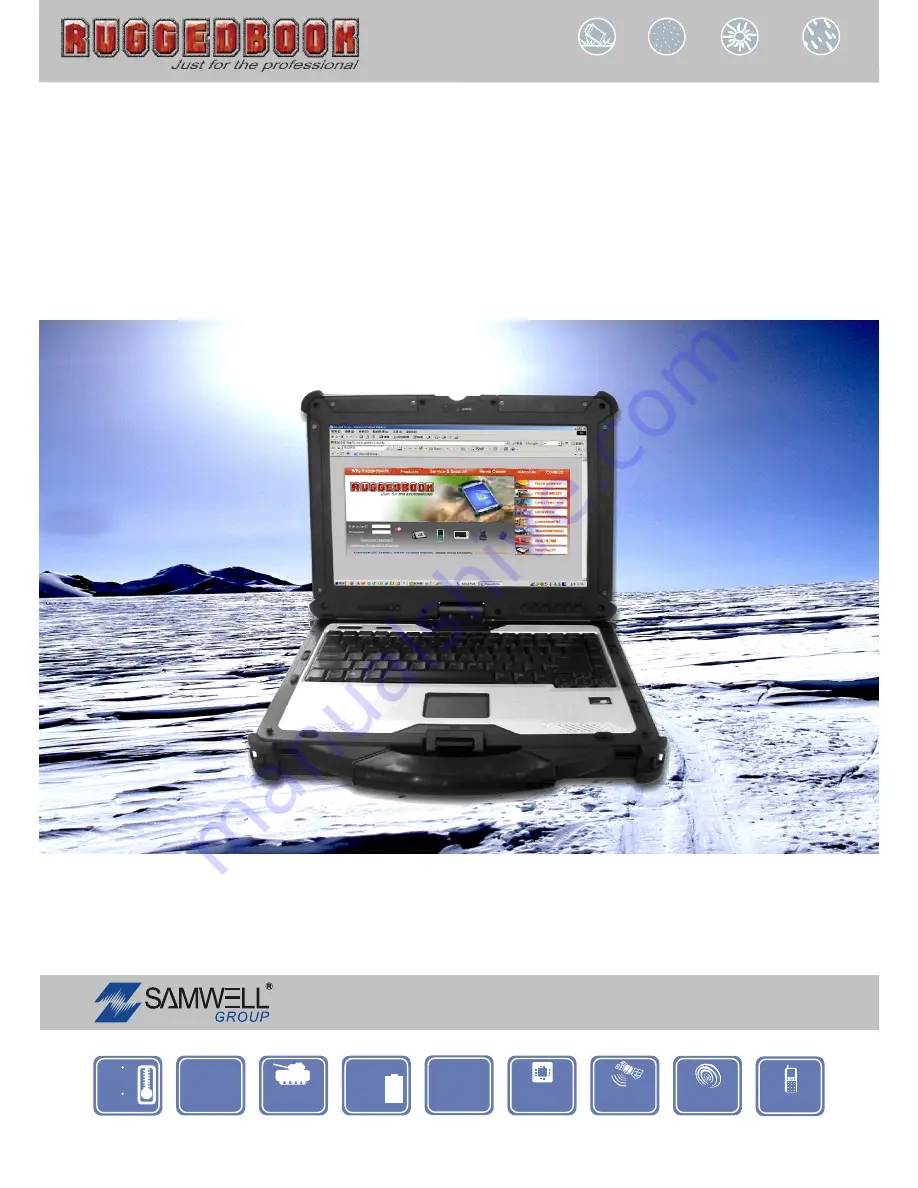
Rugged Convertible
Notebook SR858
SR858 ver.1.0
Summary of Contents for SR858
Page 4: ...C Ch ha ap pt te er r 1 1 I In nt tr ro od du uc ct ti io on n...
Page 13: ...C Ch ha ap pt te er r 2 2 G Ge et tt ti in ng g S St ta ar rt te ed d...
Page 15: ...12 Front View Back View...
Page 16: ...13 Left View Bottom View...
Page 23: ...C Ch ha ap pt te er r 3 3 M Ma ak ki in ng g C Co on nn ne ec ct ti io on ns s...
Page 26: ...C Ch ha ap pt te er r 4 4 P Po ow we er r M Ma an na ag ge em me en nt t...
Page 32: ...C Ch ha ap pt te er r 5 5 S Sy ys st te em m S So of ft tw wa ar re e...
Page 38: ...A Ap pp pe en nd di ix x A A S St ta at te em me en nt ts s...


