


4.
Under
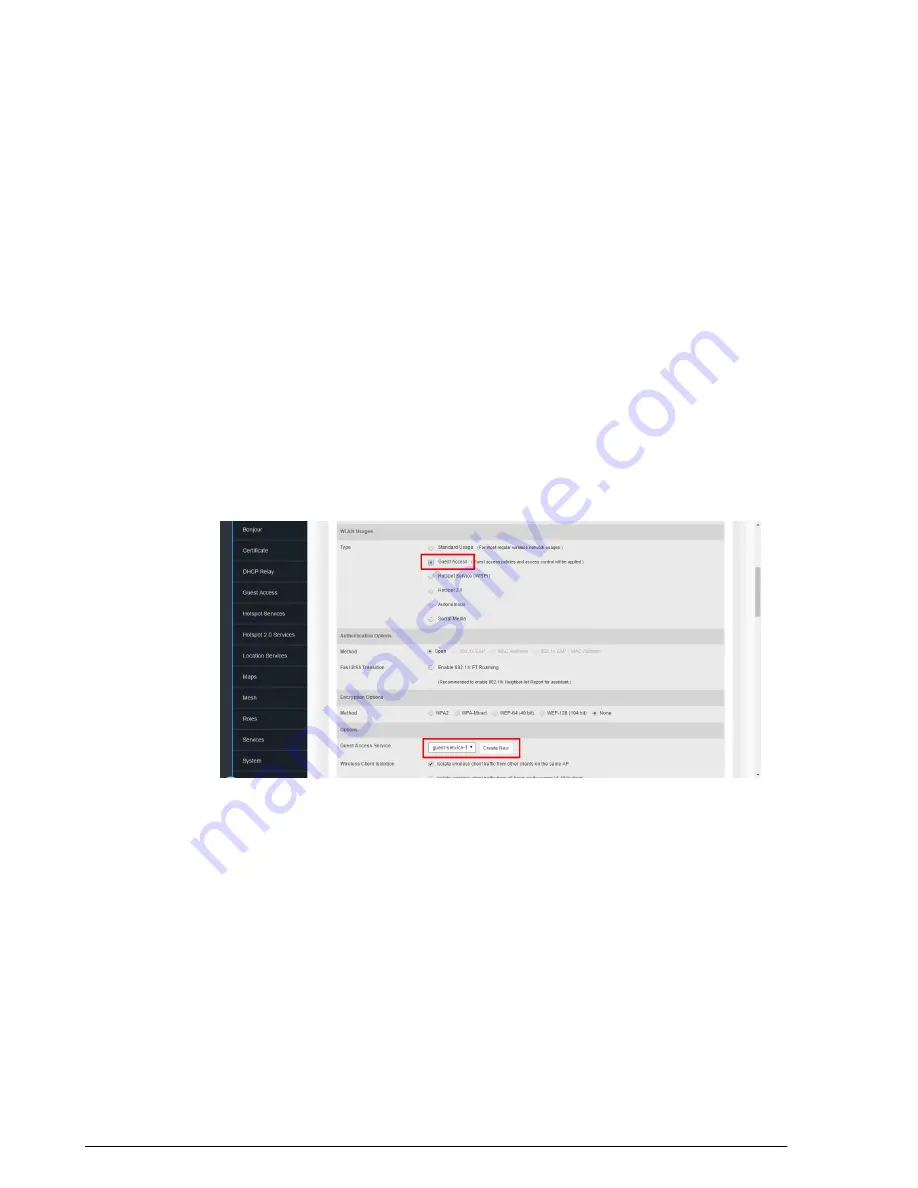
Type
, select
Guest Access
.
5.
Since this is a Guest network, the only Authentication Option available is Open.
6.
Choose an
Encryption Method
that provides the best compromise between security
and compatibility, based on the kinds of client devices that you expect your guests
will use.
7.
Select a
Guest Access Service
from the list of services created on the
Configure
> Guest Access
page. If you have not yet created a Guest Access Service, click
Create New
Creating a Guest Access Service
on page 237.
8.
If you want your internal wireless traffic to have priority over guest traffic, set the
Priority
to
Low
.
9.
Under
Advanced Options
, select the options to enable for this WLAN. For more
information on WLAN advanced options, see
on page 160.
• Optionally, enable a
Grace Period
(disabled by default) and enter a value in
minutes to allow disconnected users a grace period after disconnection, during
which users will not need to re-authenticate
10.
Click
OK
to save your changes.
Figure 178: Create a Guest Access WLAN
Using the BYOD Onboarding Portal
The Onboarding Portal feature provides a series of intuitive option screens allowing
mobile users to choose whether to connect to a Guest WLAN or to self-configure their
mobile devices to authenticate to an internal WLAN using Zero-IT activation.
To enable the Onboarding Portal for mobile devices:
1.
Go to
Configure
>
Guest Access
.
Ruckus Wireless ZoneDirector™ Release 10.0 User Guide
248
Managing Guest Access
Using the BYOD Onboarding Portal


