


Ruckus Wireless ZoneDirector User Guide | Monitoring Your Wireless Network
53
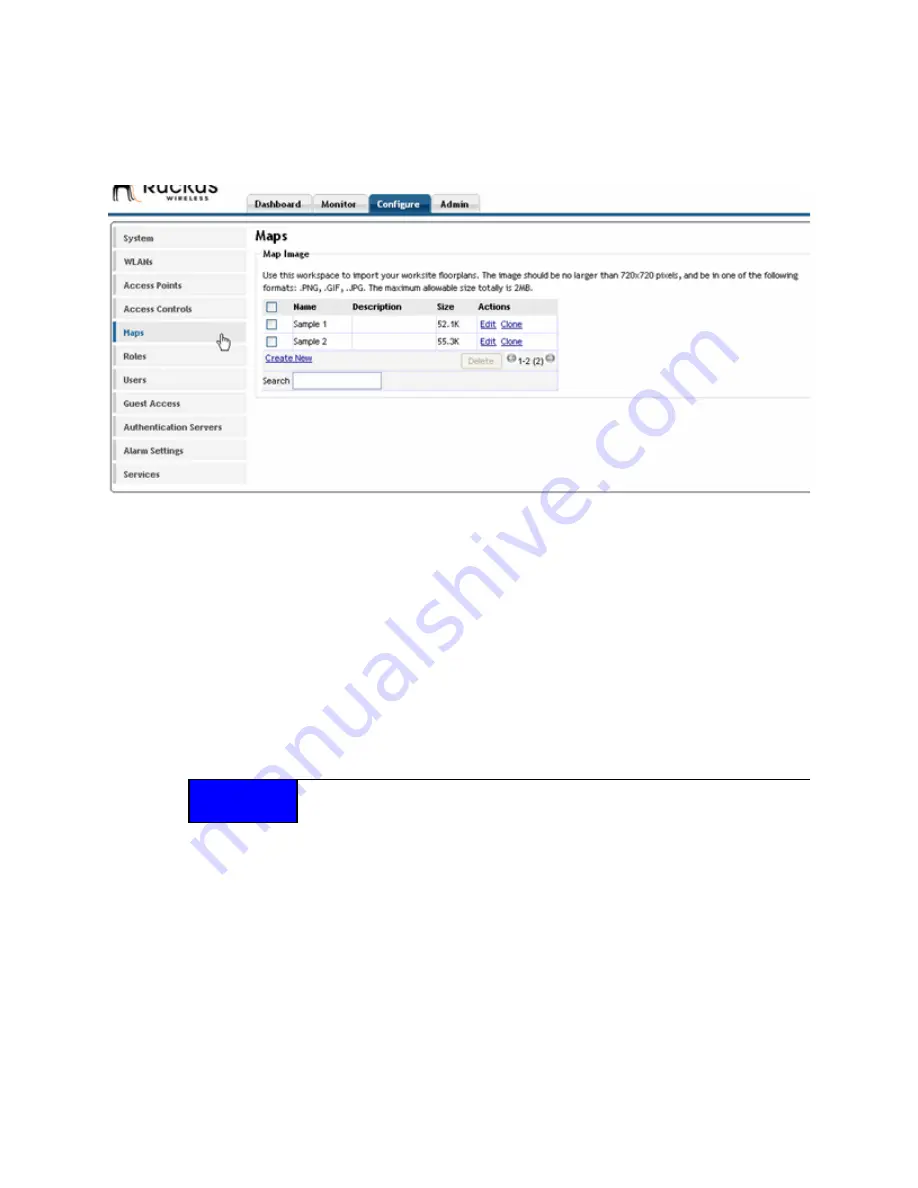
Importing the floorplan image
1
Go to
Configure
>
Maps
.
FIGURE 5-1
2
Click
Browse
to open a dialog box that assists you in locating and “opening” an image.
If the import is successful, a thumbnail version of the floorplan will appear in the
Cur-
rent Image
area.
3
Go to
Monitor > Map View
to see this image.
You can now use the Map View to place the Access Point markers.
Placing the access point markers
After using the
Configure > Maps
options to import your floorplan image, you can use the
Monitor tab's Map View to distribute markers that represent the APs to the correct locations.
This will give you a powerful monitoring tool.
1
Have the list of APs handy, with MAC addresses and locations.
2
Go to
Monitor > Map View
(if it's not already in view).
3
Look in the upper left corner for AP marker icons. There should be one for each AP,
with a tiny red question mark at the top.
4
Look at the MAC address notation under the marker icon, to identify a marker.
5
Drag each marker icon from the upper left corner into its correct location on the floor-
plan.
When you are finished, you can make immediate use of the Map View to optimize your
wireless coverage, as detailed in
“Optimizing Access Point Performance”
TIP
If you have imported multiple floorplans representing multiple floors in your building(s), make
sure you place the access point markers on the correct floorplan.


