


27
5.3.1.2
Level indicators
The outgoing transmitting level as well as the received level of the callers are displayed
via separate level meters.
5.3.1.3
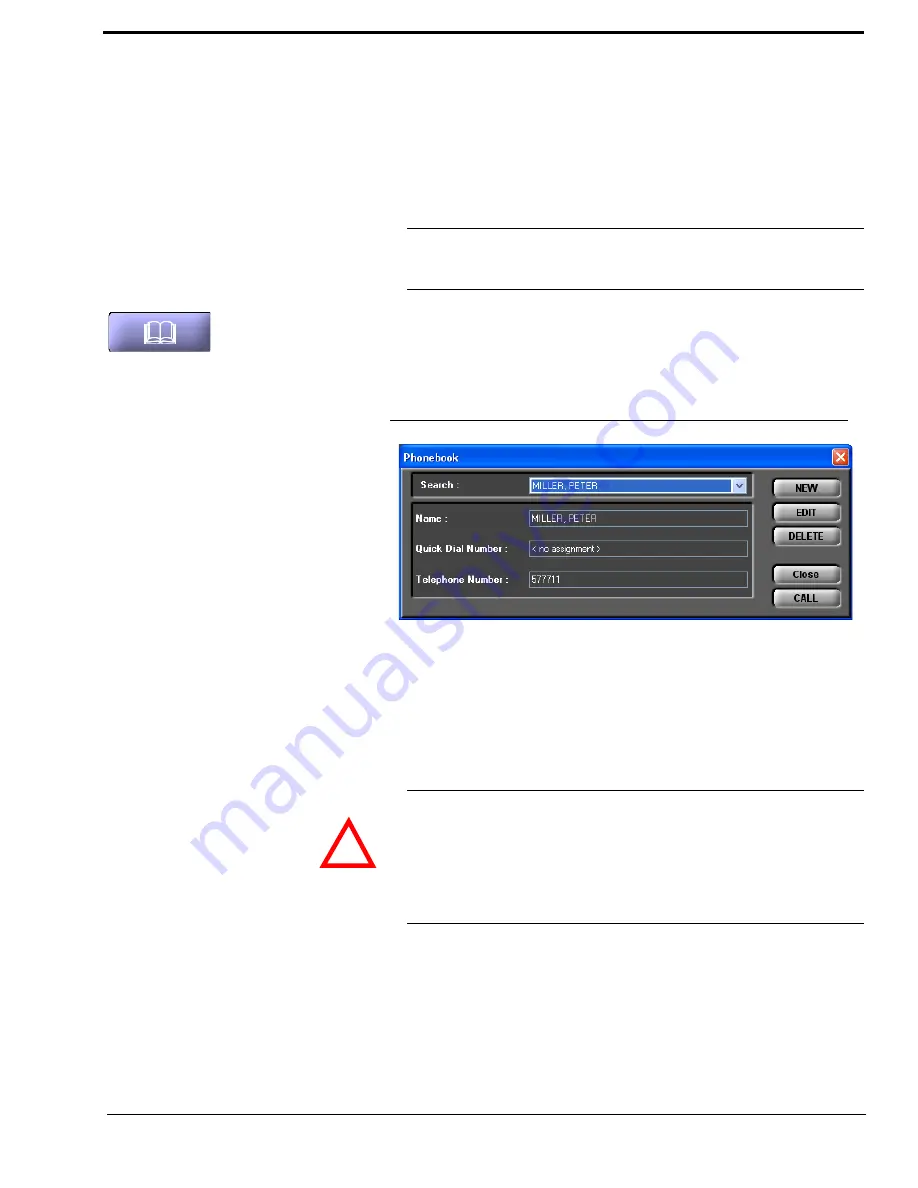
Telephone book
With the use of the phone book button telephone numbers can be saved comfortably in
the phone book.
To open the phone book, please press the phone book button.
Via the
Search
field you can search directly for a name in the phone book using the drop
down list. When an entry is selected,
Name
,
Telephone
Number
and if assigned
Quick Dial Number
of the entry are displayed.
FIG. 7
TELEPHONE BOOK
• To create a new entry, please press the button
NEW.
Now, a window is displayed
where you can enter the
Name
and the
Telephone Number
of the new entry and
if desired assign a
Quick Dial Number
.
To save the new entry, please click on the
OK
button.
• Via the
EDIT
button, an already existing entry can be edited. Please select the entry
you want to edit from the drop down list (
SEARCH
) and press the
EDIT
button.
Now, a window is displayed where you can change the details of the entry. To save
your changes, press the
OK
button.
NOTICE
The phone book is stored in the
RTS SIP-ISDN
system and
not
in the PC. Via the
menu
File
→
Phone Book
→
Import/Export
a phone book can be imported
from a data file or exported as data file (see CHAPTER 5.4.1).
ATTENTION
The name entered in the phone book has to be unique. Identical names are not per-
mitted. The best way to provide a clear identification is to enter the last name and the
first name.
If the name already exists, an error message is displayed asking you if you want to
overwrite the already existing name. If you want to overwrite the old entry and save
your new entry, select
OK
. If you do not want to overwrite the old entry, select
Can-
cel
.
!
Summary of Contents for SIP-ISDN
Page 6: ......
Page 12: ...12...
Page 29: ...29 FIG 10 TEN MOST RECENTLY DIALLED NUMBERS...
Page 62: ...62...
Page 66: ...66 FIG 49 S0 MONITOR LAYER 3...
Page 68: ...68 A1 1 System Settings...
Page 69: ...69 A1 2 Operation Settingss...
Page 70: ...70 A1 3 Presets...
Page 72: ...72 A1 5 Login...
Page 73: ...73 A1 6 Names...
Page 74: ...74...
Page 77: ...77 A2 4 Data Control Adapter Cable...
Page 78: ...78...
Page 82: ...82...
Page 84: ...84...
Page 91: ...91 A 6 T E C H N I C A L D A T A R T S S I P I S D N...
Page 92: ...92...
Page 96: ...96...
Page 97: ...97 A 9 S E R V I C E I N F O R M A T I O N...
Page 98: ...98...