10 |
P a g e
01/2019
RTI | Miravue VIP-1 Manual
CONFIGURATION AND PROGRAMMING
4)
Miravue VIP-1 Driver Configuration
Download the current version of the Miravue driver and documentation on the RTI dealer site. Unzip the contents of the
driver to the directory where APEX points to for drivers. This can be changed by clicking the “Options” tab in the top
toolbar and selecting “set directories.”
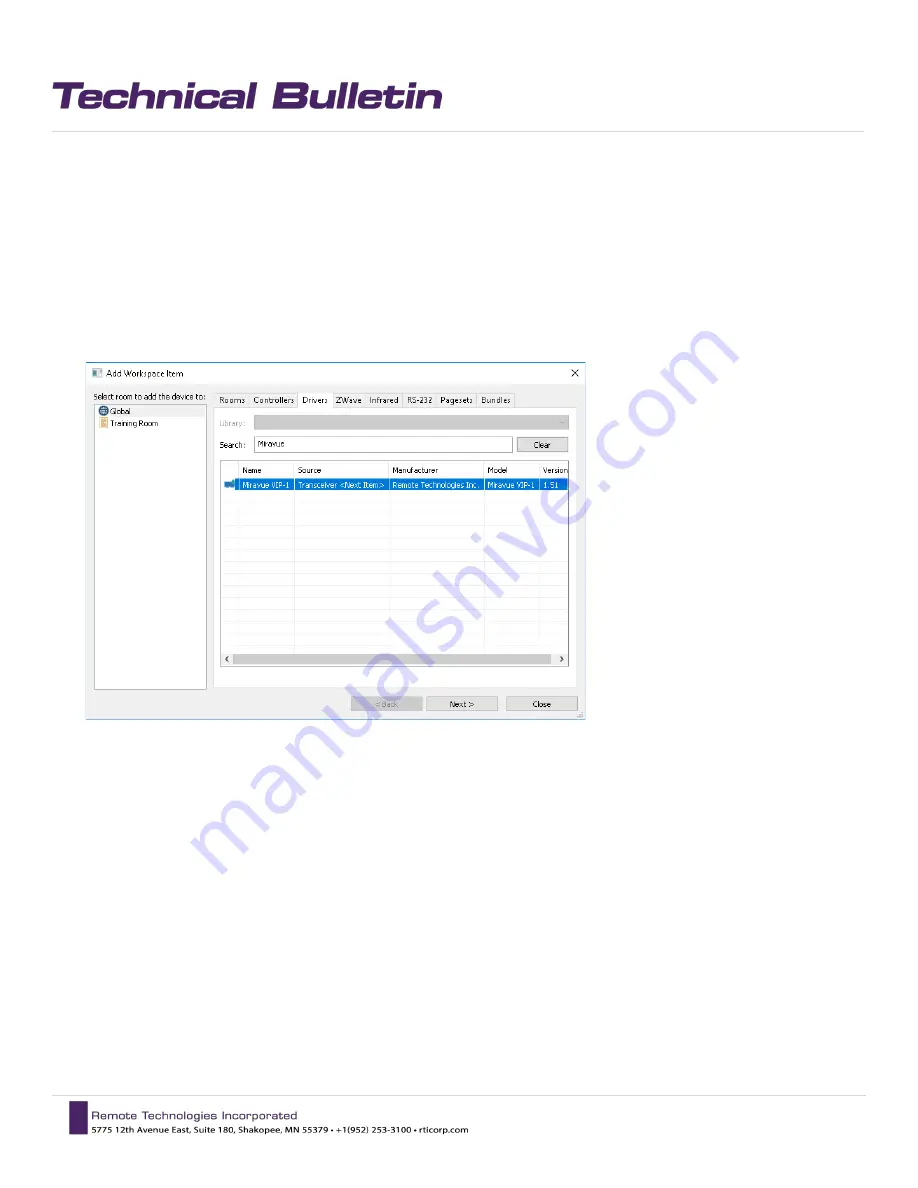
Using the “Add Workspace Item” select the driver tab and search for “Miravue” using the search box.
Select a room or global area where the Miravue should be located and click “Next” to add the driver to APEX.
Since this is a new instance of the driver, it will automatically generate a “Transceiver 1” naming convention.
It is recommended that you change the name to something that will help you identify the device when
programming. Name it “Living Room Miravue” or “Blu-Ray Miravue” depending on the display, source, or
location it is serving. Continue this process adding all the Miravue devices to the project file.
Repeat the process to add additional devices, making sure the ”Instance” drop-down field is set to the existing
driver. This will continue to increment the Miravue count as you add more Miravue VIP-1’s.


