Orion XC Installation and Operation Manual
47
USB 2.0 Extender
This section describes how to configure and use USB 2.0 extenders. USB 2.0 extenders must be connected to
standard I/O boards. They can be configured for independent switching, or can be assigned to existing KVM
extenders. USB 2.0 extenders can be configured through the OSD or the Java Tool.
Configuring USB 2.0 Extenders through the OSD
Select
Configuration > EXT Units
in the main menu.
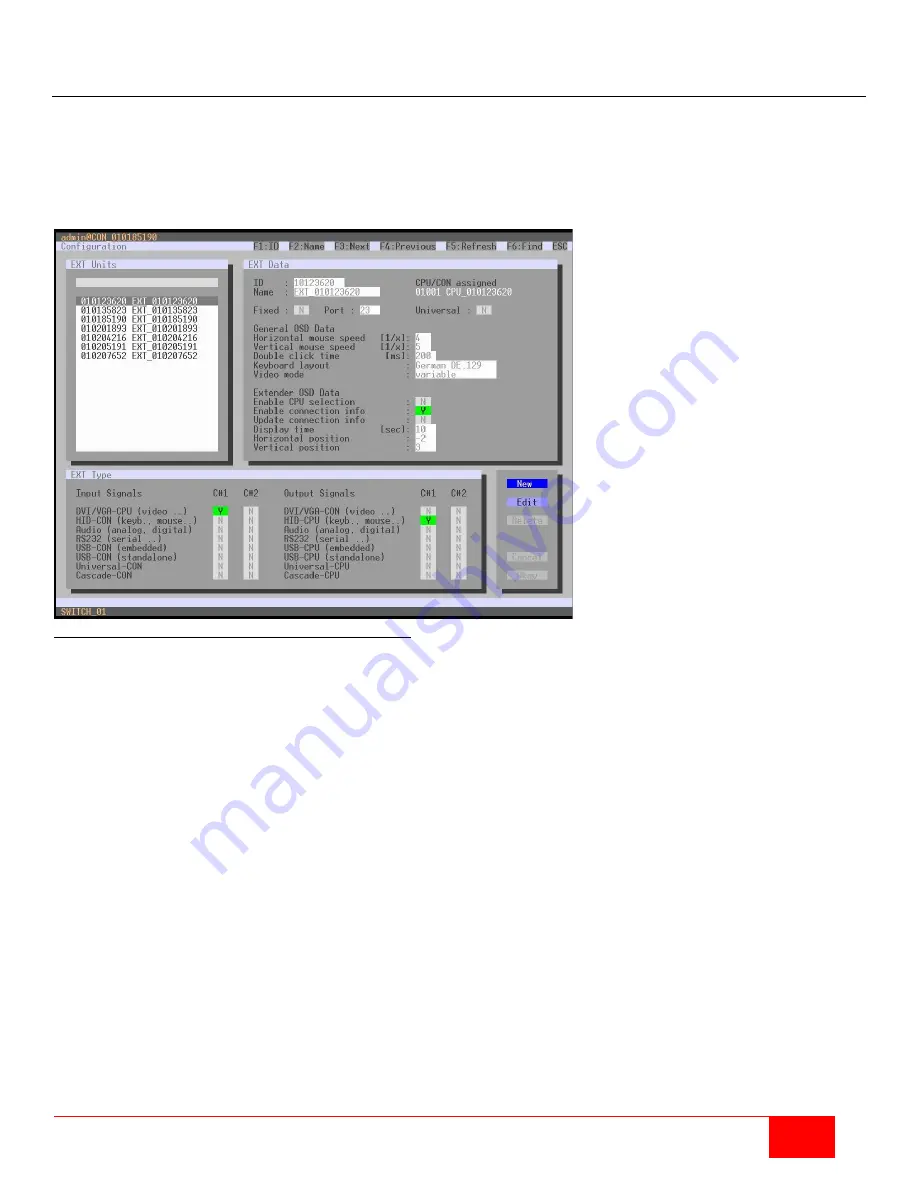
Figure 49. Configuring USB 2.0 Extenders through the OSD
To create a USB 2.0 extender definition through the OSD, proceed as follows:
1. Press the
New
button. An extender with an eight-digit ID will be created, starting with digit 9.
2. Assign an appropriate name to the extender in the
Name
field.
3. Enter the I/O port number where the USB 2.0 extender unit is connected to the matrix into the
Port
field.
4. To configure the created extender as a CON Unit, set the
USB-CON
(
standalone
) option to
Y
(
C#1
of
Input Signals)
and confirm by pressing the
Okay
button.
5. To configure the created extender as a CPU Unit, set the
USB-CPU
(
standalone
) option to
Y
(
C#1
of
Output Signals
), and confirm by pressing the
Okay
button.
6. To create an individually switchable device for the USB 2.0 CON extender, select
Configuration >
CON Devices
and click the
New R
button.
Alternatively, the USB 2.0 CON extender can be assigned to an existing CON Device. To do this, select
the device, and move the USB 2.0 CON extender from the
EXT available
field into the
EXT assigned
field.
7. Give an appropriate name to the new Device in the
Name
field.
8. Repeat steps 6 and 7 for all USB 2.0 CPU extenders in the
Configuration > CPU Devices
menu.
9. If parallel operation is used within the matrix, set the
Release Time
in the
Configuration > Switch
screen to 10 s or more.
10. Restart all I/O boards on which USB 2.0 extenders have been configured, or alternatively restart the
matrix.
The USB 2.0 extenders are now configured and can be used.


