>> assembly instructions
room essentials
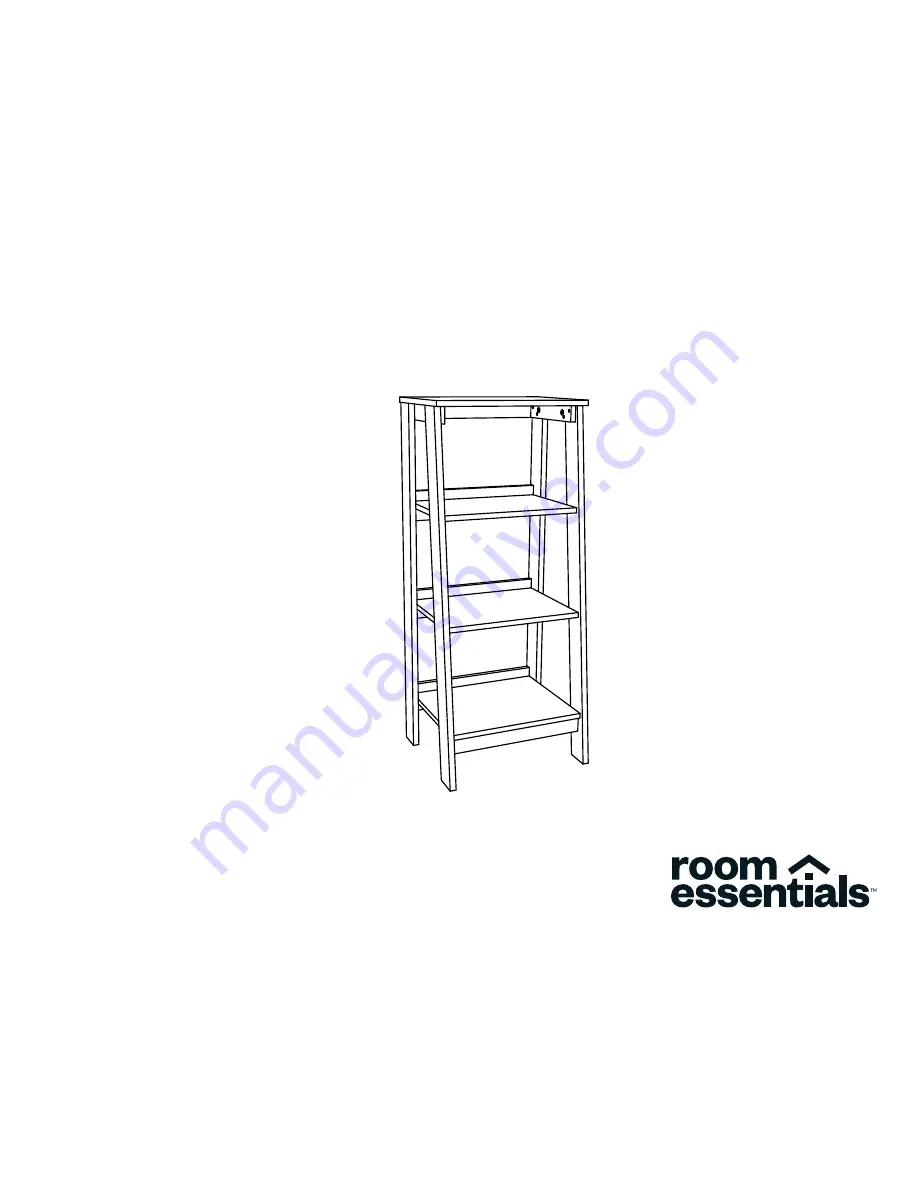
3-shelf bookcase
style # 417087 (espresso)dpci # 249 - 05 - 0026
Page 1: ... assembly instructions room essentials 3 shelf bookcase style 417087 espresso dpci 249 05 0026 ...
Page 2: ...structions and you ll be on your way to transforming your room in no time Good luck though we re confident you won t need it tools needed before you begin 1 Check for damaged or missing parts Visit www sauder com services to order missing supplies 2 Use the carton as a working surface to prevent product damage during assembly 3 Gather all tools prior to assembly tip shown actual size 417087 ...
Page 3: ...Most questions concerns or parts needs can be addressed by Sauder customer service assistance at www sauder com services NOTE This instruction booklet contains important safety information Please read and keep for future reference Record the date you purchased this unit and save the booklet for future reference If you ever need to contact Sauder about this unit refer to the lot and the style when ...
Page 4: ...guish similar parts from each other Use this part list to help identify similar parts ITEM DESCRIPTION QUANTITY A top 1 B2 top shelf 1 C2 middle shelf 1 D2 bottom shelf 1 E2 back 3 F right front leg 1 G left front leg 1 H right rear leg 1 I left rear leg 1 J2 skirt 2 K side skirt 2 417087 A B2 C2 D2 E2 F G H I J2 K E2 E2 K J2 ...
Page 5: ...ve extra hardware with your unit 417087 1F x 26 hidden cam 2F x 8 cam dowel 1S x 1 black 9 16 large head screw 8F x 18 cam screw 1R x 6 metal pin 12P x 20 cam cover 8S x 3 connector screw 20P x 8 screw cover 5F x 3 hidden connector 10S x 8 silver 1 1 8 flat head screw 13M x 1 washer 61M x 1 safety drywall anchor 60M x 1 safety strap Locate this nylon SAFETY STRAP 60M to be used later in assembly D...
Page 6: ...nto each HIDDEN CONNECTOR 5F Use your hammer to tap a HIDDEN CONNECTOR 5F with SCREW into the BOTTOM SHELF D2 Repeat this step tapping two HIDDEN CONNECTORS 5F with SCREWS into the SHELVES B2 and C2 8S x 3 connector screw 5F x 3 hidden connector 8S 5F Look for this icon It means a video assembly tip is available at www sauder com services tips 5F D2 ...
Page 7: ...step Insert the metal end of the CAM DOWEL into the HIDDEN CAM Arrow The arrow in each HIDDEN CAM must point toward the edge of the board step 2 Push eight HIDDEN CAMS 1F into the SKIRTS J2 and K Then insert the metal end of a CAM DOWEL 2F into each HIDDEN CAM 417087 J2 K K J2 ...
Page 8: ...ver restr aint prov ided Plac e heav iest item s on the lowe st surfa ces as far back from the front edge as poss ible Unle ss spec ifi cally desig ned to acco mm odat e do not set TVs or othe r heav y obje cts on top of this item Neve r allow child ren to hang on draw ers door s or shel ves Use of tip o ver restr aints may only redu ce but not elim inate the risk of tip o ver Th i s i s a pe rm an...
Page 9: ...9 step 4 417087 Turn eighteen CAM SCREWS 8F into the LEGS F G H and I NOTE Be sure to use the exact holes shown for the CAM SCREWS 8F x 18 cam screw 8F 18 used G I H F ...
Page 10: ...DE SKIRTS K to the LEGS F G H and I Use eight SILVER 1 1 8 FLAT HEAD SCREWS 10S 10S x 8 silver 1 1 8 flat head screw G I H F K K Surface with HIDDEN CAMS Surface with HIDDEN CAMS Edge with CAM DOWELS Unfinished edge Unfinished edge ...
Page 11: ...er to HIDDEN CAMS Edge closer to HIDDEN CAMS H Surface with HIDDEN CAMS Surface with HIDDEN CAMS Serious or fatal crushing injuries can occur from furniture tip over To help prevent tip over Install tip over restraint provided Place heaviest items on the lowest surfaces as far back from the front edge as possible Unless specifi cally designed to accommodate do not set TVs or other heavy objects on ...
Page 12: ...tip over To help prevent tip over Install tip over restraint provided Place heaviest items on the lowest surfaces as far back from the front edge as possible Unless specifi cally designed to accommodate do not set TVs or other heavy objects on top of this item Never allow children to hang on drawers doors or shelves Use of tip over restraints may only reduce but not eliminate the risk of tip over T...
Page 13: ...I Serious or fatal crushing injuries can occur from furniture tip over To help prevent tip over Install tip over restraint provided Place heaviest items on the lowest surfaces as far back from the front edge as possible Unless specifi cally designed to accommodate do not set TVs or other heavy objects on top of this item Never allow children to hang on drawers doors or shelves Use of tip over restr...
Page 14: ... from the front edge as possible Unless specifi cally designed to accommodate do not set TVs or other heavy objects on top of this item Never allow children to hang on drawers doors or shelves Use of tip over restraints may only reduce but not eliminate the risk of tip over This is a permanent label Do not attempt to remove WARNING Caution Risk of damage or injury Hidden Cams must be completely tig...
Page 15: ... step 10 How to use the HIDDEN CONNECTOR To fasten two parts together using the HIDDEN CONNECTORS insert your screwdriver at an angle into the slot in the HIDDEN CONNECTOR While pushing the screw into the hole of the adjoining part turn the screwdriver clockwise to tighten B2 C2 D2 E2 E2 E2 ...
Page 16: ...ning freely Use a BLACK 9 16 LARGE HEAD SCREW 1S through the other end of the SAFETY STRAP and into the pre drilled hole in the upper SKIRT J2 NOTE Before moving your unit to a different location unscrew the SAFETY DRYWALL ANCHOR 61M from your wall The nylon sheath will remain behind your wall 417087 step 11 13M x 1 washer 61M x 1 safety drywall anchor 60M x 1 safety strap 1S x 1 black 9 16 large ...
Page 17: ...p cloth Wipe dry 417087 step 12 12P x 20 cam cover 20P x 8 screw cover To cover screws To cover HIDDEN CAMS 20 used 12P 8 used 20P 30 lbs 25 lbs 25 lbs 35 lbs K K D2 Serious or fatal crushing injuries can occur from furniture tip over To help prevent tip over Install tip over restraint provided Place heaviest items on the lowest surfaces as far back from the front edge as possible Unless specifical...
Page 18: ...of use disassembly transportation labor or damage to property on or near the product Some states do not allow the exclusion or limitation of incidental or consequential damages so the above limitation or exclusion may not apply to you 4 This Warranty applies only to warranted defects that first arise and are reported to Sauder within the warranty coverage period The Warranty cannot be transferred ...
Page 19: ...r death Do not allow children to climb on the shelves Avoid placing items like toys or candy on upper shelves Placing TVs on furniture items that are not designed to support a television is hazardous Risk of injury or death TVs can be very heavy Plus the weight and location of the picture tube tends to make TVs unbalanced and prone to tipping forward This product is not designed to support a telev...
Page 20: ......