background image

15

Playing/Recording Patterns (PATTERN SEQUENCER)

Saving a Pattern

A pattern that you create will be lost if you select a different pattern or if you power-

off the XPS-30.

When you’ve created a pattern that you like, you should save it.

1. 

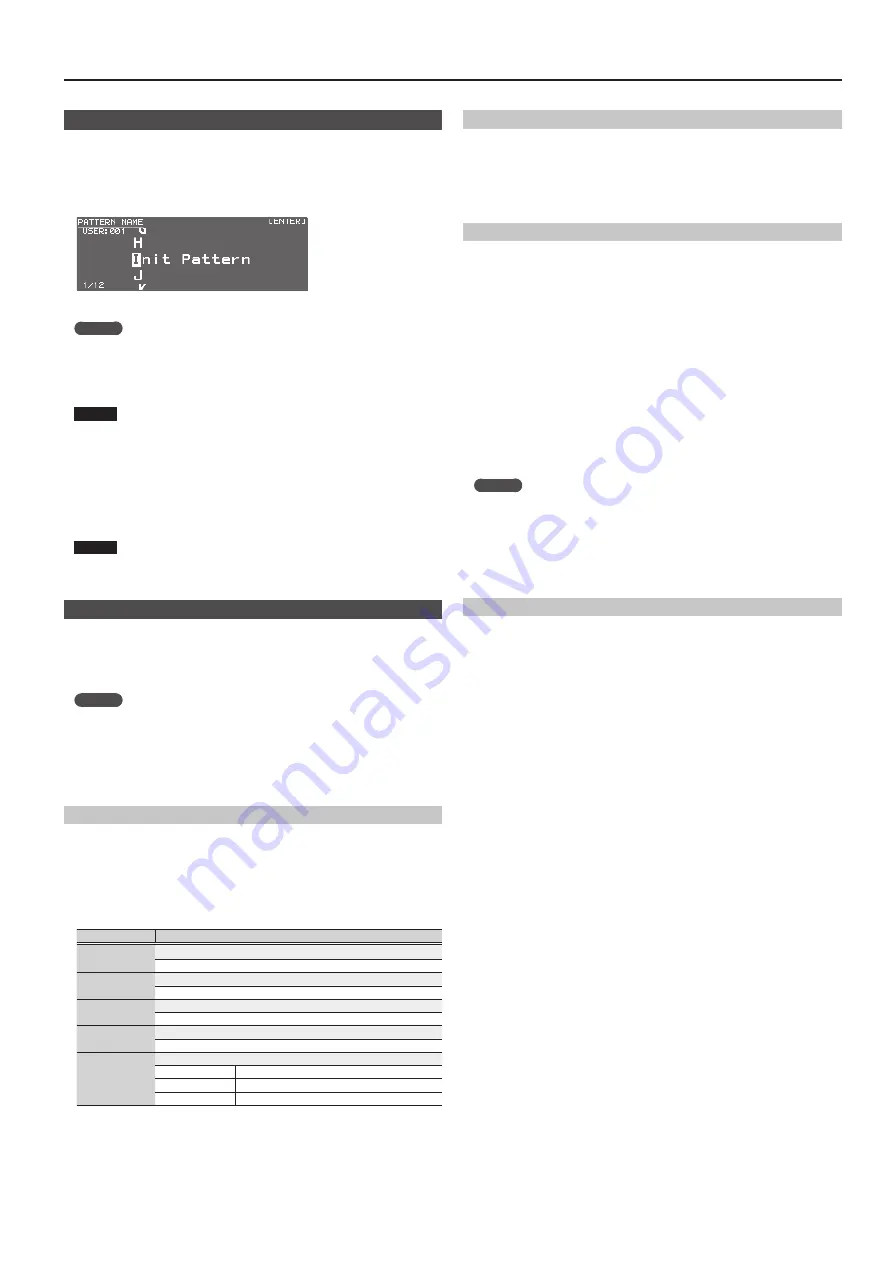
While the PATTERN SEQUENCER screen is shown, press the [WRITE] button.

The PATTERN NAME screen appears.

2. 

Enter the pattern name.

MEMO

For more about entering a name, refer to “Saving Your Settings (Write)” (p. 10).

3. 

When you’ve specified the pattern name, press the [ENTER] button.

The PATTERN WRITE screen appears.

4. 

Use the value dial to select the save-destination.

NOTE

If you save to a number that already contains data, the pattern is overwritten and 

the previous data is erased.

5. 

Press the [ENTER] button.

A confirmation message appears.

If you decide to cancel, press the [EXIT] button.

6. 

Press the [ENTER] button to save the pattern.

Saving is complete when the screen indicates “Completed!”

NOTE

Never turn off the power while the screen indicates “Writing....”

Pattern Utility

1. 

While the PATTERN SEQUENCER screen is shown, press the [MENU] button.

The MENU screen appears.

2. 

Move the cursor to “PATTERN UTILITY,” and press the [ENTER] button.

The PATTERN UTILITY screen appears.

MEMO

While the PATTERN SEQUENCER screen is shown, you can hold down the [SHIFT] 

button and press the [PATTERN SEQUENCER] button to access the PATTERN 

UTILITY screen.

3. 

Move the cursor to the function that you want to execute, and press the 

[ENTER] button.

Copying a Pattern (PATTERN COPY) 

Here’s how you can copy from a different pattern to the specified track of the 

currently selected pattern.

1. 

In the PATTERN UTILITY screen, select “PATTERN COPY” and press the 

[ENTER] button.

The PATTERN COPY screen appears.

2. 

Set the parameters.

Parameter

Value/Explanation

Pattern bank

Selects the copy-source pattern bank.
TEMP, PRST, USER

Pattern number

Selects the copy-source pattern.
001–032 (PRST), 001–128 (USER)

Source Pattern 

Track

Selects the copy-source track.
TRACK ALL, TRACK 1–8

Destination 

Pattern Track

Selects the copy-destination track.
TRACK ALL, TRACK 1–8

Copy Target

Selects the content to be copied.
ALL

The pattern and sound settings are copied.

SOUND ONLY

Only the sound settings sre copied.

PATTERN ONLY

Only the pattern is copied.

3. 

Press the [ENTER] button.

If you decide to cancel, press the [EXIT] button.

Initializing a Pattern (PATTERN INIT) 

1. 

In the PATTERN UTILITY screen, select “PATTERN INIT” and press the [ENTER] 

button.

A confirmation message appears.

If you decide to cancel, press the [EXIT] button.

2. 

Press the [ENTER] button to initialize the pattern.

Importing Pattern Data from SMF (SMF IMPORT) 

Imports the specified SMF into the temporary area.


* Bank select and program change data is not imported.


5

When you import, the current state of the temporary area is discarded.


5

The SMF that you want to import must be saved in the IMPORT folder of the USB 

flash drive.

SMF data that can be imported:


5

Only SMF format 0 is supported.


5

Only the tracks (parts) used by the XPS-30 are imported.


5

The first eight measures of SMF data can be imported. Subsequent data is not 

imported.

1. 

In the PATTERN UTILITY screen, select “SMF IMPORT” and press the [ENTER] 

button.

The SMF IMPORT screen appears.

2. 

Select the SMF that you want to import.

MEMO

In the SMF IMPORT screen, you can press the [

s

] button to audition the 

selected SMF.

3. 

Press the [ENTER] button.

A confirmation message appears.

If you decide to cancel, press the [EXIT] button.

4. 

Press the [ENTER] button to import the SMF.

Exporting a Pattern to SMF (SMF EXPORT) 

A pattern in the temporary area can be given a name and exported as SMF data.


5

Preset patterns cannot be exported.


5

The exported SMF is saved in the “EXPORT” folder of the USB flash drive.

1. 

In the PATTERN UTILITY screen, select “SMF EXPORT” and press the [ENTER] 

button.

The SMF EXPORT screen appears.

2. 

Enter a file name.

3. 

Press the [ENTER] button.

A confirmation message appears.

If you decide to cancel, press the [EXIT] button.

4. 

Press the [ENTER] button to export the pattern.

Summary of Contents for XPS-30

Page 1: ...l Knobs to Vary the Sound 7 Registering Favorite Sounds to a Button FAVORITE 7 Playing Arpeggios ARPEGGIO 8 Performing with Voice from a Mic 8 Importing a Sample and Playing It on the Keyboard SAMPLE...

Page 2: ...the value changes more greatly p 4 A PIANO E PIANO SAMPLE Category buttons 0 9 buttons Select categories types of sound such as patches or drum kits You can also use the value dial to select other so...

Page 3: ...SB COMPUTER port Use a commercially available USB 2 0 cable to connect this unit to your computer You can synchronize it with a DAW on your computer via USB MIDI and record the sound of the XPS 30 int...

Page 4: ...a performance When using SPLIT DUAL SUPER LAYER you ll always be in Performance mode the PATCH PERFORM button is lit Basic Operation Move the cursor To change a selection or parameter setting that s s...

Page 5: ...audio files Patches are organized into categories which are assigned to buttons Each category is further divided into several sub categories 3 Use the value dial to select a patch MEMO Patches whose c...

Page 6: ...e 5 Upper Part 1 Category number Patch name Patch level Level meter No Explanation 6 Lower Part 2 Category number Patch name Patch level Level meter 7 frame Indicates the part whose patch will be swit...

Page 7: ...ontaining four parameters If you select the parameters to be set for each part the target affected by these modifications will depend on the current settings Patch mode Drum Kit Control knobs will app...

Page 8: ...ton to make it light The ARPEGGIO screen appears 2 Move the cursor to the item that you want to edit and use the value dial to edit the setting 3 Press the EXIT button to exit the ARPEGGIO screen MEMO...

Page 9: ...rted If user memory is full the screen indicate Memory Full and you can t import the audio file In this case you ll need to delete unnecessary samples 9 Repeat steps 7 8 to import the desired files in...

Page 10: ...DAW CONTROL button simultaneously The EDIT MENU screen appears 2 Move the cursor to EFFECTS EDIT and press the ENTER button The EFFECTS EDIT screen appears 3 Move the cursor to the parameter that you...

Page 11: ...eter Guide English PDF 001 030 Drum Kit Selects the drum kit that is used to play the rhythm patterns Switching the rhythm pattern group will switch the drum kit that is assigned by the rhythm pattern...

Page 12: ...pads in descending order For example if you choose the SONG1 folder the files are assigned as shown in the illustration MEMO The files inside the folder are shown in alpha numeric order and the first...

Page 13: ...tern Sequencer Operations for the pattern sequencer are valid only when the PATTERN SEQUENCER button is lit Controller Explanation s button Plays stops the pattern u button Returns the pattern to the...

Page 14: ...A track that does not contain data To change the sound of the recording track 1 Move the cursor to the category number The PATCH LIST screen appears 2 Use the value dial to select a patch You can als...

Page 15: ...R Source Pattern Track Selects the copy source track TRACK ALL TRACK 1 8 Destination Pattern Track Selects the copy destination track TRACK ALL TRACK 1 8 Copy Target Selects the content to be copied A...

Page 16: ...ter Higher values make the keyboard feel heavier 10 9 Velocity Specifies the velocity transmitted when a key is played REAL The transmitted velocity value will correspond to the force with which you s...

Page 17: ...e transmitted OFF OFF ON Transmit Edit Data Specifies whether changes you make in the settings of a patch or performance will be transmitted as system exclusive messages ON or will not be transmitted...

Page 18: ...he button once again 2 Move the cursor to DELETE or RENAME and press the ENTER button Function Explanation DELETE When you press the ENTER button the message Are you sure appears Move the cursor to OK...

Page 19: ...evel setting p 16 Could you be using a condenser microphone The XPS 30 does not support condenser microphones Error Messages If an incorrect operation is performed or if processing could not be perfor...

Page 20: ...39 11 16 W x 11 13 16 D x 3 7 8 H inches Weight 5 3 kg 11 lbs 12 oz Accessories Owner s manual Leaflet USING THE UNIT SAFELY AC adaptor Power cord Options sold separately Keyboard stand 1 KS 18Z KS 1...

Page 21: ...keyboard cleaner that does not contain abrasives Start by wiping lightly If the dirt does not come off wipe using gradually increasing amounts of pressure while taking care not to scratch the keys Rep...

Page 22: ...22 MEMO...

Page 23: ...23...

Page 24: ...AMPLE EDIT screen SHIFT EXIT Turns off the display backlight SHIFT ENTER Turns on the display backlight KEYBOARD SPLIT keyboard Specifies the split point if Split is on SPLIT DUAL In split dual exchan...

Reviews: