


Performing Advanced Setup of the Media
13
Chapter 1 Fully Utilizing the Machine
Setting the Print Area Using the Lower Right of the Media as the Base Position
This is the print area setting method when the print site is level and you can clearly specify the print area .
MEMO
Print area setup can be performed with the front cover open . However, if the front cover is left open for
approximately 40 seconds, the print heads automatically return to the home position . The previous menu
is displayed, so repeat the operations .
NOTE
Be sure to hold the handle of the front cover and open and close it gently .
1.
"SET AT SETUP" (P . 11)Set to "ENABLE ."
2.
"SET BASE POS ." (P . 12)Set to "LOWER R ."
3.
Set up the media .
"
"STEP 2: Loading Media and Setting the Height" (First Step Guide)
4.
Press [ ], [ ], [ ], or [ ] when the following screen appears .
SCAN: 000.0mm
FEED: 000.0mm
The flat table moves to the rear, the print heads move to above the flat table, and the laser pointer turns on .
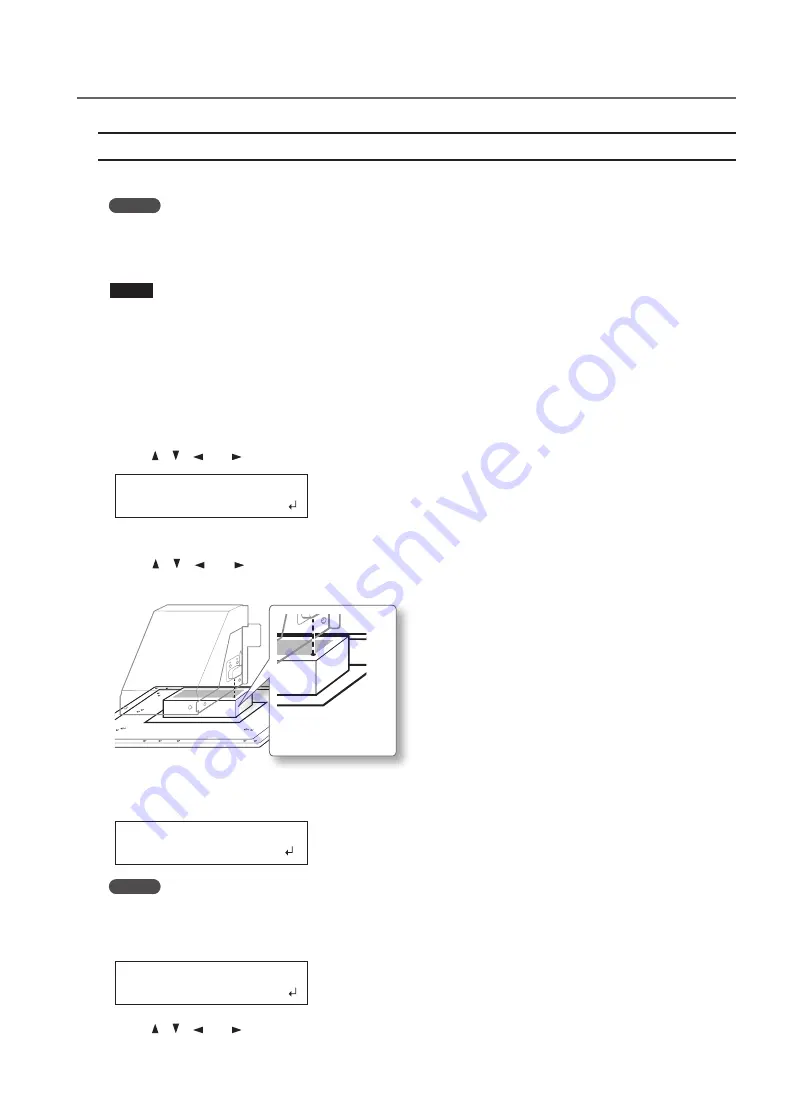
5.
Press [ ], [ ], [ ], or [ ] to move the laser pointer until it points to a position to the right foreground of
the print area .
Right foreground of
the print area
6.
Press [ENTER] .
The print heads return to the home position .
WIDTH: 000.0mm
LENGTH:000.0mm
MEMO
When the media comes into contact with the head gap sensor, the screen shown below appears and the
setup is canceled . Perform operations again from "2 . Setting the Height of the Media Automatically" (First
Step Guide) or "Setting the Height of the Media Manually" (P . 8) .
CHECK TABLE
HEIGHT
7.
Press [ ], [ ], [ ], or [ ] .
The flat table moves to the front and the print heads move to the left side of the flat table .


