6
Basic Operation
Turning the Power On/Off
The UVC-02 operates using bus power from the USB port of your
computer.
* Before turning the unit on/off, always be sure to turn the volume
down. Even with the volume turned down, you might hear some
sound when switching the unit on/off. However, this is normal
and does not indicate a malfunction.
Turning the Power On
1
Make sure that all devices are powered off.
2
Turn on your computer.
3
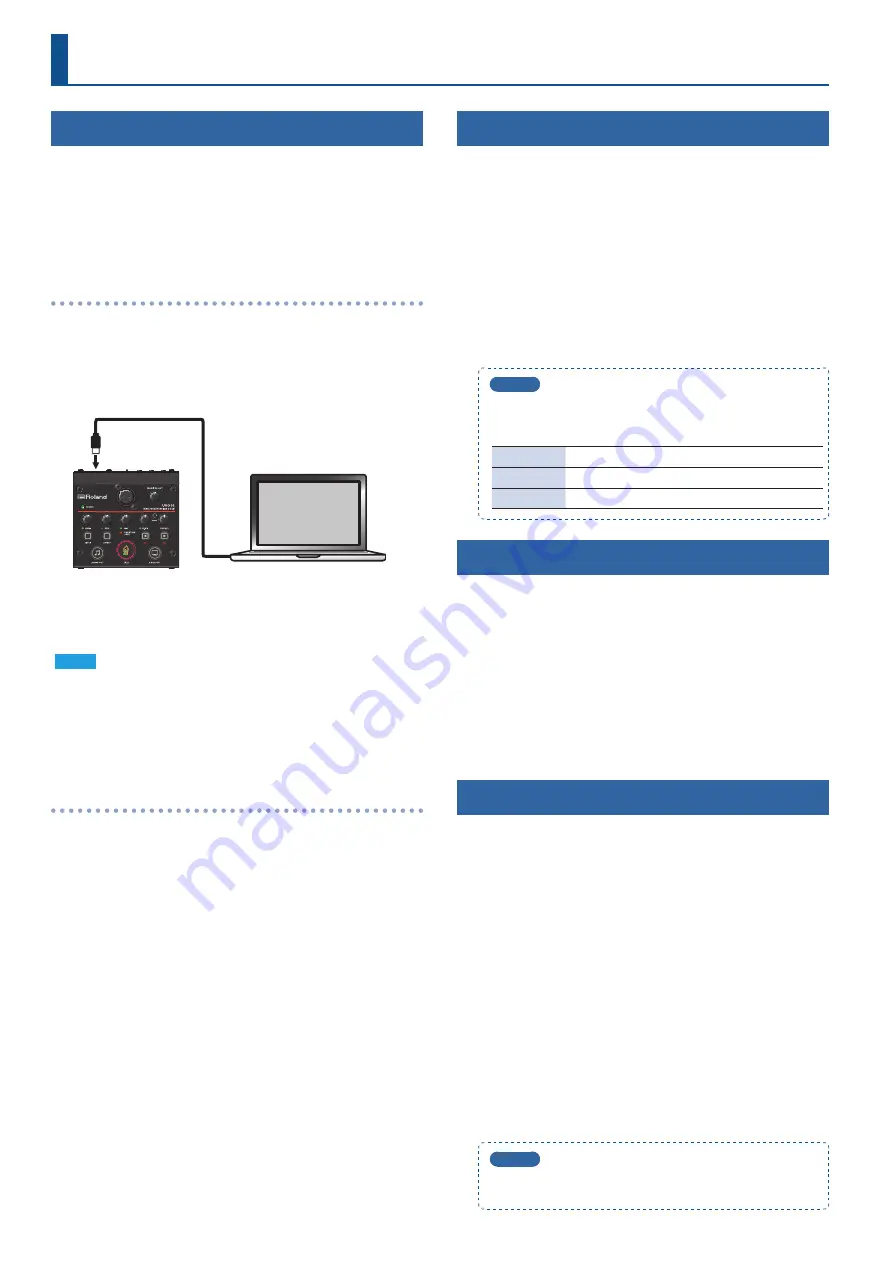
Connect your computer to the UVC-02 with the included
USB cable.
The power to the UVC-02 is turned on.
4
Turn on the power in the order of source devices
0
output devices.
NOTE
When a USB 2.0 cable is connected or in other situations where
the UVC-02 cannot operate properly, the POWER indicator blinks
red. In this case, the following functions are unavailable.
5
Phantom power
5
Video input/output
Turning the Power Off
1
Turn off the power in the order of output devices
0
source devices.
2
Remove the USB cable connecting your computer to the
UVC-02.
The power to the UVC-02 is turned off.
Adjusting the Input Levels
Adjust the input levels according to the devices that are connected.
1
Use the [HDMI] knob to adjust the input level of the
HDMI IN connector.
2
Use the [AUX] knob to adjust the input level of the AUX
IN jack.
3
Use the [MIC] knob to adjust the input level of the MIC
connector.
4
Use the [H.MIC] knob to adjust the input level of the
HEADSET jack.
MEMO
The indicators change color according to the volume of the input
signal. Use the knobs to adjust the levels so that the indicators do
not light up red when the signal is at maximum volume.
Unlit
Less than -48 dB
Green
-48–-3 dB
Red
-3 dB or more
Adjusting the Output Levels
Adjust the output levels according to the devices that are connected.
1
Press the [AUDIO OUT] button or [TALK] button to
make them light up, according to the devices you’ve
connected.
2
Use the [MONITOR OUT] knob to adjust the output level
of the MONITOR OUT jack.
3
Use the [PHONES] knob to adjust the output level of the
HEADSET jack.
Outputting Video
1
Connect the video source device to the HDMI IN
connector.
The [VIDEO OUT] button lights when the video source device is
connected.
* The [VIDEO OUT] button goes dark when nothing is connected to
the HDMI IN connector.
2
Launch the application you use to view the camera’s
video on your computer, and select “Roland UVC-02” as
the camera device.
The video from the HDMI IN connector is shown on your
computer.
* You can stop the video output by pressing the [VIDEO OUT]
button to make it go dark.
* To resume video output, press the [VIDEO OUT] button again to
make it light up.
* The picture may be somewhat unstable when you restart the
video from a stopped state.
MEMO
You can use the UVC-02 Setup Tool to switch between states
when the video output has been stopped.


