


Setting the Print Heater Temperature
Setting the temperature of the print heater appropriately improves ink adhesion and inhibits smudging.
• With the default settings, simply switching on the power does not make the dryer warm up to the set temper-
ature. The temperature rises to the set temperature when the media is loaded correctly and [SETUP] lights.
• Depending on the usage environment, the temperature of the print heater may become higher than the set
temperature, but this does not represent a problem.
• Temperature settings are not possible when heater settings "POWER" is "OFF".
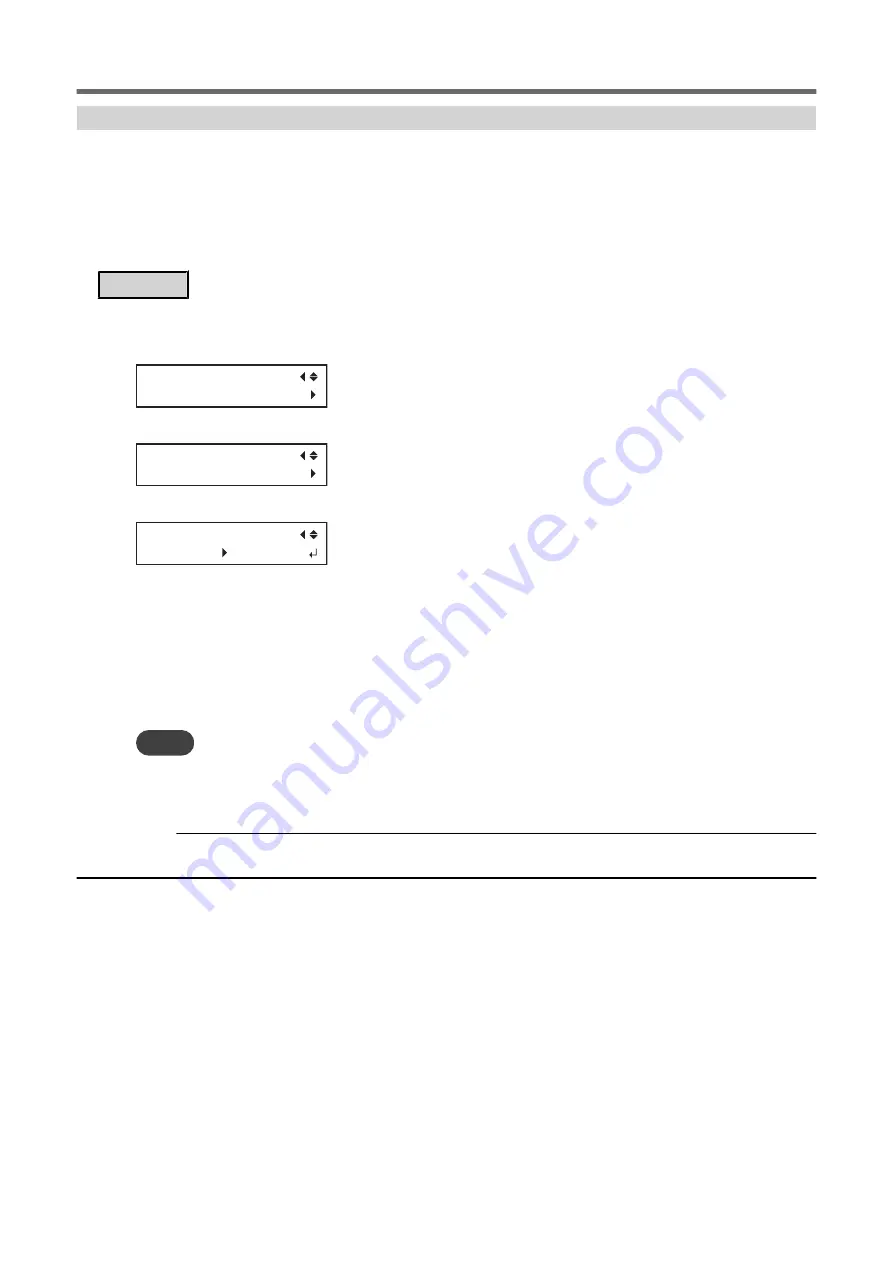
Procedure
1.
Press [FUNCTION].
2.
Press [
▼
] several times to display the screen shown below.
FUNCTION
HEATER CONFIG
3.
Press [
▶
] or [
▼
] to display the screen shown below.
HEATER CONFIG
PRINT 40゜C
4.
Press [
▶
] to display the screen shown below.
4
0
゜C 40゜C
5.
Press [
▲
] or [
▼
] to select the temperature.
If the ink forms lumps or smudges, raise the temperature. Note, however, that a temperature that is too
high may degrade the media or cause it to wrinkle.
You can also set the temperature to "OFF". When set to "OFF", the print heater does not operate at all.
6.
Press [ENTER] to confirm your entry.
7.
Press [FUNCTION] to go back to the original screen.
MEMO
• Default setting: 40°C (104°F)
• You can also make this setting in the software RIP. When you have made the setting in the software RIP, the software RIP's
setting is used.
RELATED LINKS
P. 160 "Switching Off the Print Heater and Dryer Together"
Adjusting the Ink-drying Method
1. Optimizing the Output Quality
153
Summary of Contents for TrueVIS VG2-540
Page 9: ...Chapter 1 Basic Handling Methods 8 ...
Page 36: ...Setup of Media 2 Basic Operations 35 ...
Page 43: ...Setup of Media 42 2 Basic Operations ...
Page 60: ...Ink Pouch TR2 Cleaning Liquid Pouch Replacement 2 Basic Operations 59 ...
Page 61: ...Chapter 2 Output Method 60 ...
Page 70: ...REDO ADJ YES DONE 10 Press ENTER to confirm your entry Printing Output 1 Printing Method 69 ...
Page 138: ...Chapter 3 Optimizing Quality and Efficiency 137 ...
Page 195: ...W1100mm B Adjusting the Output start Location 194 2 Optimizing Work Efficiency ...
Page 217: ...Chapter 4 Maintenance 216 ...
Page 272: ...Chapter 5 Troubleshooting Methods 271 ...
Page 305: ...Chapter 6 Appendix 304 ...
Page 308: ...8 Detach the blade holder Preparing to Move the Machine 1 Operations When Moving the Unit 307 ...


