Manual Cleaning Method
If the message "TIME FOR MAINTENANCE" is displayed or if dot drop-out or ink drip issues that cannot be im-
proved with powerful cleaning occur, perform manual cleaning.
CAUTION
Be sure to perform operations as specified by the instructions above, and never touch any
area not specified in the instructions.
Sudden movement of the machine may cause injury.
IMPORTANT
Important notes on this procedure
• Before attempting this operation, remove any media.
• To prevent the print heads from drying out, finish this procedure in 30 minutes or less. A warning beep sounds after 30 minutes.
• Never use any implements other than the included cleaning sticks. Cotton swabs or other lint-producing items may damage the
print heads.
• Use only the included cleaning liquid.
• Use one cleaning stick per cleaning session, and then discard the stick after use. Reusing cleaning sticks will adversely affect the
printing results.
• Do not put a cleaning stick that has been used for cleaning into the cleaning liquid. Doing so will deteriorate the cleaning liquid.
• Never rub the print head surface (nozzle surface).
• If you use up the cleaning sticks or cleaning liquid, contact your authorized Roland DG Corporation dealer or visit our website
If a warning beep sounds during cleaning
• A warning beep sounds 30 minutes after operation begins. Stop work, close all the covers, and then press [ENTER] to end the
manual cleaning mode. After that, restart the procedure from the beginning.
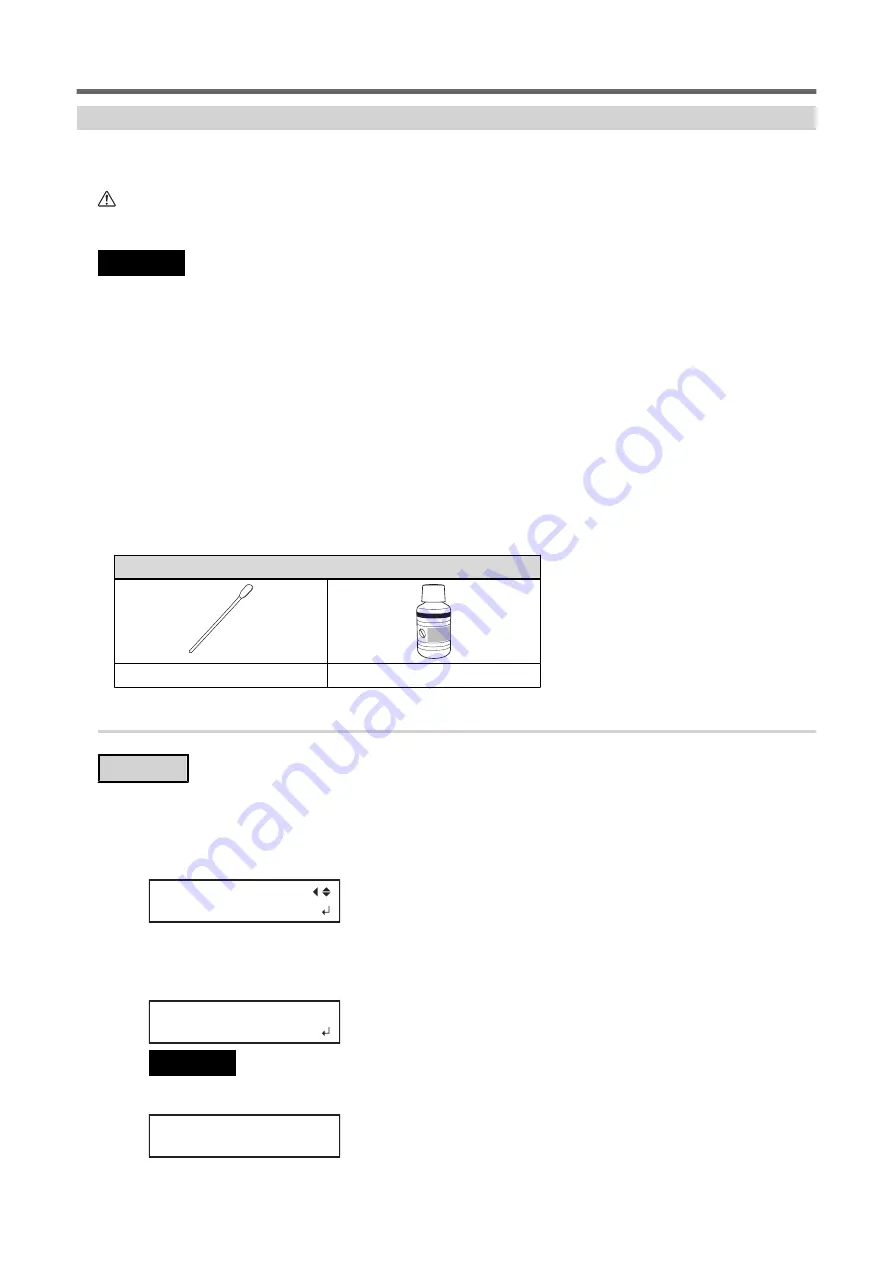
Required items
Cleaning sticks
Cleaning liquid
1.
Clean the print head caps.
Procedure
1.
Remove any media.
2.
Press [FUNCTION].
3.
Press [
▶
] once, and then press [
▼
] several times to display the screen shown below.
CLEANING
MANUAL CL.
4.
Press [ENTER].
"NOW PROCESSING.." is displayed and the print head moves to the left end of the platen. After that, the
screen shown below appears.
FINISHED?
IMPORTANT
Do not press [ENTER] at this stage. Press the [ENTER] key after cleaning is complete. If you press the [ENTER] key at this
stage, wait for the screen to change as shown in the following figure, and then press the [ENTER] key again.
CLEANING...
>> 01:45
Manual Cleaning
140
2. Regular Maintenance
Summary of Contents for TrueVIS VF2-640
Page 7: ...1 Basic Handling Methods 6...
Page 51: ...Ink Pouch TR2 Cleaning Liquid Pouch Replacement 50 2 Basic Operations...
Page 52: ...2 Output Method 51...
Page 61: ...REDO ADJ YES DONE 10 Press ENTER to confirm your entry Printing Output 60 1 Printing Method...
Page 68: ...3 Optimizing Quality and Effi ciency 67...
Page 99: ...W1100mm B Adjusting the Output start Location 98 2 Optimizing Work Efficiency...
Page 121: ...4 Maintenance 120...
Page 169: ...5 Troubleshooting Methods 168...
Page 196: ...6 Appendix 195...


