15
Playing/Recording Patterns (PATTERN SEQUENCER)
Saving a Pattern
A pattern that you create will be lost if you select a different pattern or if you power-
off the JUNO-DS.
When you’ve created a pattern that you like, you should save it.
1.
While the PATTERN SEQUENCER screen is shown, press the [WRITE] button.
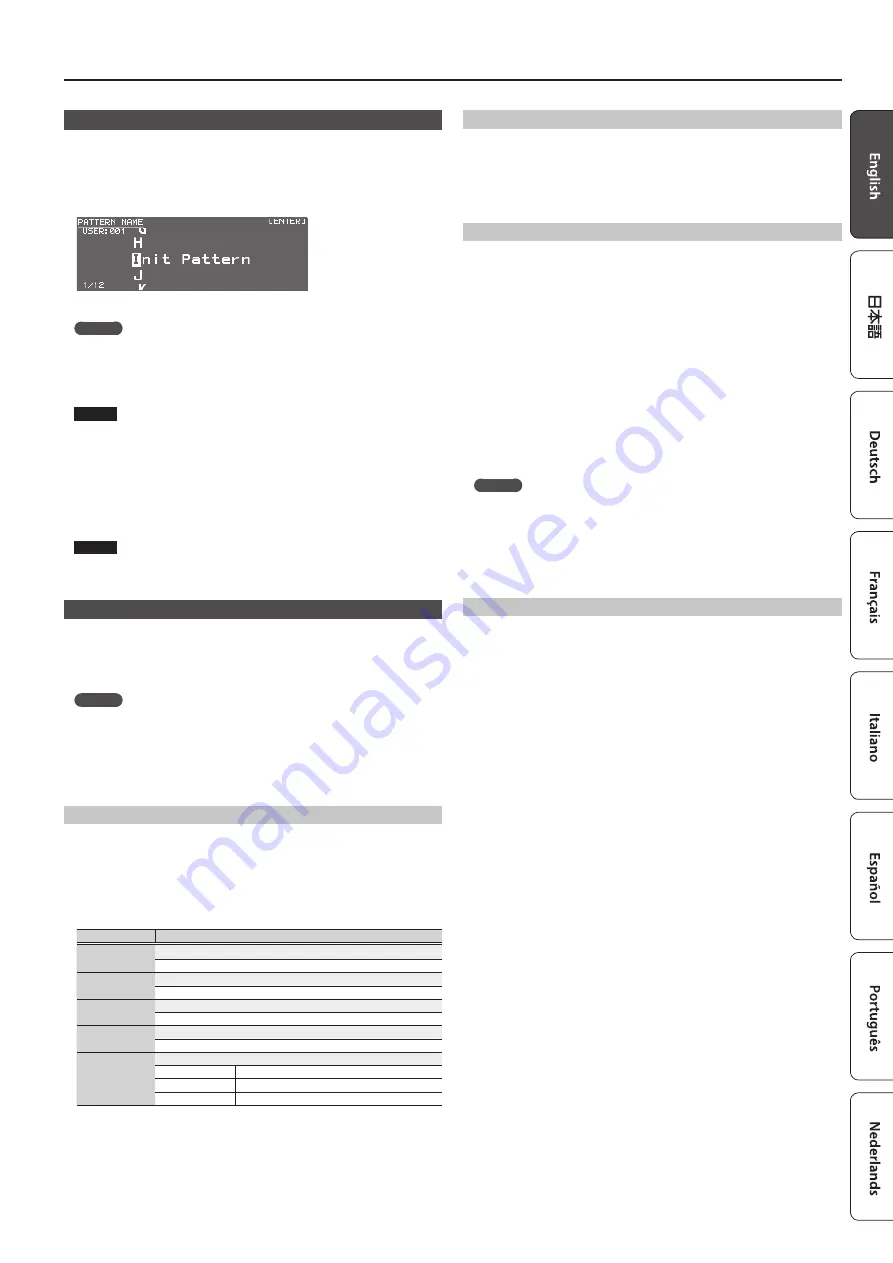
The PATTERN NAME screen appears.
2.
Enter the pattern name.
MEMO
For more about entering a name, refer to “Saving Your Settings (Write)” (p. 10).
3.
When you’ve specified the pattern name, press the [ENTER] button.
The PATTERN WRITE screen appears.
4.
Use the value dial to select the save-destination.
NOTE
If you save to a number that already contains data, the pattern is overwritten and
the previous data is erased.
5.
Press the [ENTER] button.
A confirmation message appears.
If you decide to cancel, press the [EXIT] button.
6.
Press the [ENTER] button to save the pattern.
Saving is complete when the screen indicates “Completed!”
NOTE
Never turn off the power while the screen indicates “Writing....”
Pattern Utility
1.
While the PATTERN SEQUENCER screen is shown, press the [MENU] button.
The MENU screen appears.
2.
Move the cursor to category number, and press the [ENTER] button.
The PATTERN UTILITY screen appears.
MEMO
While the PATTERN SEQUENCER screen is shown, you can hold down the [SHIFT]
button and press the [PATTERN SEQUENCER] button to access the PATTERN
UTILITY screen.
3.
Move the cursor to the function that you want to execute, and press the
[ENTER] button.
Copying a Pattern (PATTERN COPY)
Here’s how you can copy from a different pattern to the specified track of the
currently selected pattern.
1.
In the PATTERN UTILITY screen, select “PATTERN COPY” and press the
[ENTER] button.
The PATTERN COPY screen appears.
2.
Set the parameters.
Parameter
Value/Explanation
Pattern bank
Selects the copy-source pattern bank.
TEMP, PRST, USER
Pattern number
Selects the copy-source pattern.
001–032 (PRST), 001–128 (USER)
Source Pattern
Track
Selects the copy-source track.
TRACK ALL, TRACK 1–8
Destination
Pattern Track
Selects the copy-destination track.
TRACK ALL, TRACK 1–8
Copy Target
Selects the content to be copied.
ALL
The pattern and sound settings are copied.
SOUND ONLY
Only the sound settings sre copied.
PATTERN ONLY
Only the pattern is copied.
3.
Press the [ENTER] button.
If you decide to cancel, press the [EXIT] button.
Initializing a Pattern (PATTERN INIT)
1.
In the PATTERN UTILITY screen, select “PATTERN INIT” and press the [ENTER]
button.
A confirmation message appears.
If you decide to cancel, press the [EXIT] button.
2.
Press the [ENTER] button to initialize the pattern.
Importing Pattern Data from SMF (SMF IMPORT)
Imports the specified SMF into the temporary area.
* Bank select and program change data is not imported.
5
When you import, the current state of the temporary area is discarded.
5
The SMF that you want to import must be saved in the IMPORT folder of the USB
flash drive.
SMF data that can be imported:
5
Only SMF format 0 is supported.
5
Only the tracks (parts) used by the JUNO-DS are imported.
5
The first eight measures of SMF data can be imported. Subsequent data is not
imported.
1.
In the PATTERN UTILITY screen, select “SMF IMPORT” and press the [ENTER]
button.
The SMF IMPORT screen appears.
2.
Select the SMF that you want to import.
MEMO
In the SMF IMPORT screen, you can press the [
s
] button to audition the
selected SMF.
3.
Press the [ENTER] button.
A confirmation message appears.
If you decide to cancel, press the [EXIT] button.
4.
Press the [ENTER] button to import the SMF.
Exporting a Pattern to SMF (SMF EXPORT)
A pattern in the temporary area can be given a name and exported as SMF data.
5
Preset patterns cannot be exported.
5
The exported SMF is saved in the “EXPORT” folder of the USB flash drive.
1.
In the PATTERN UTILITY screen, select “SMF EXPORT” and press the [ENTER]
button.
The SMF EXPORT screen appears.
2.
Enter a file name.
3.
Press the [ENTER] button.
A confirmation message appears.
If you decide to cancel, press the [EXIT] button.
4.
Press the [ENTER] button to export the pattern.
Summary of Contents for JUNO-DS
Page 21: ...21...


