background image

Quick Guide

Read this guide when you’re ready to start using the JUNO-Gi .

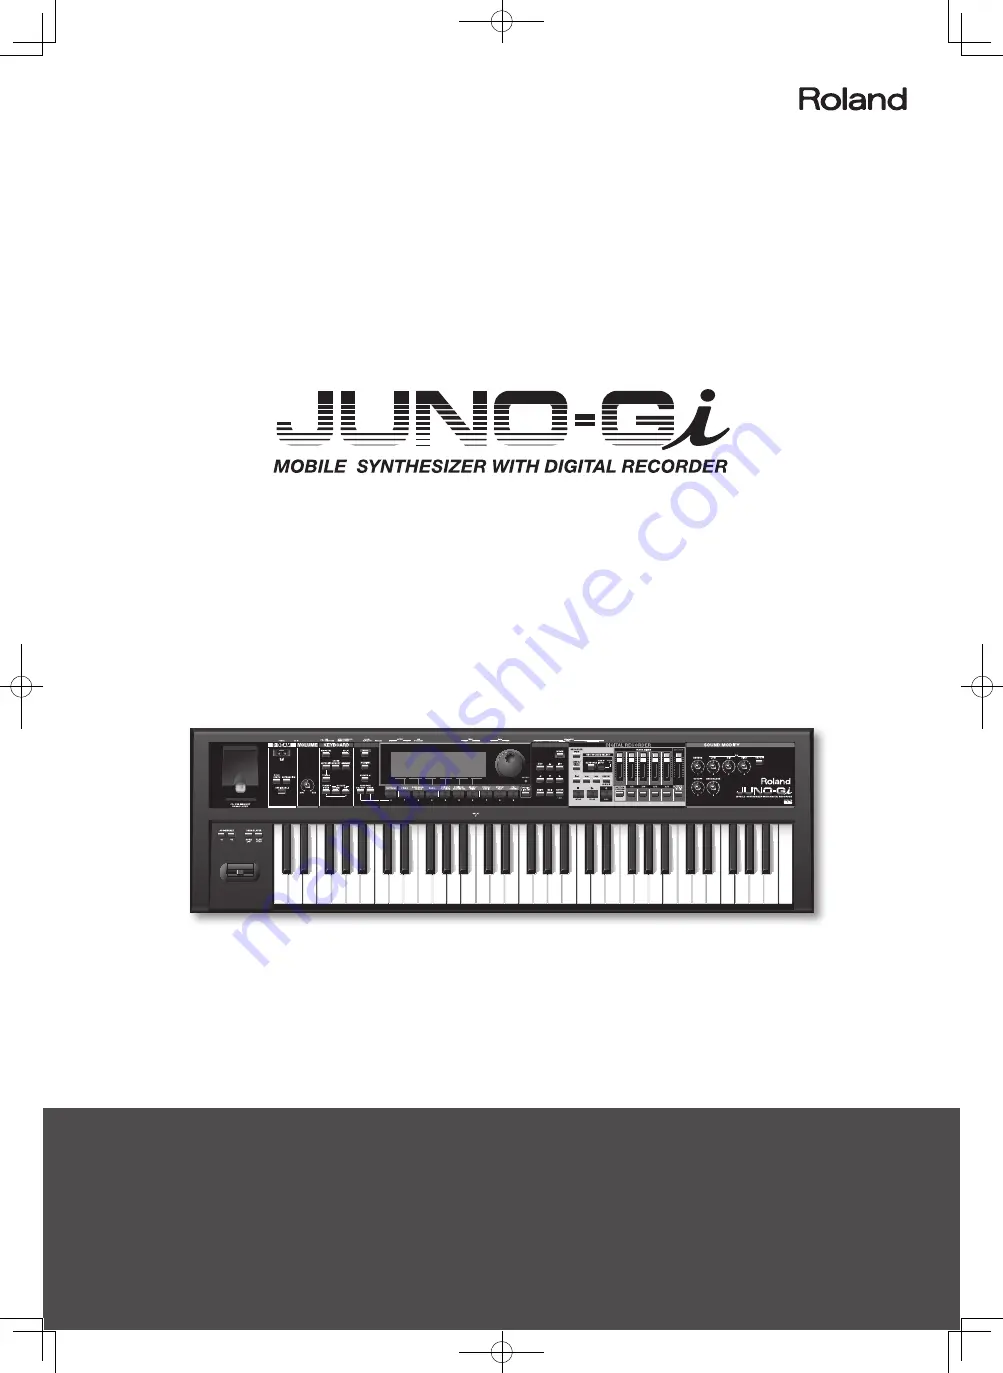
The JUNO-Gi combines an excellent live performance synthesizer with a digital recorder for creating songs .
This guide is divided into two parts, which respectively explain the basics of using the JUNO-Gi for “live performance” 

and for “creating songs .”
Let’s get started!

Summary of Contents for JUNIO-Gi

Page 1: ...O Gi The JUNO Gi combines an excellent live performance synthesizer with a digital recorder for creating songs This guide is divided into two parts which respectively explain the basics of using the J...

Page 2: ...Selecting a Piano Sound 18 Selecting the Recording Source 18 Recording 19 Recording Your Guitar or Vocal 20 Selecting the Input Source 20 Connecting the Recording Source and Adjusting the Analog Inpu...

Page 3: ...racks V tracks and you can choose one of these to use for recording and playback In other words you can use 8 x 8 64 tracks to record your performance and then choose eight of these for playback What...

Page 4: ...ustrations below depict the overall workflow for saving For details on saving a live set refer to page 35 in the Owner s Manual 1 Press the WRITE button 2 Assign a name 3 Specify the destination of th...

Page 5: ...Synthesizer Using the JUNO Gi Live...

Page 6: ...other categories within the same category group Category Group RHYTHM PIANO KEYBOARD ORGAN BASS GUITAR PLUCKED STRINGS ORCHESTRA BRASS WIND VOCAL CHOIR SYNTH PAD FX OTHERS You can press the SPECIAL LI...

Page 7: ...ister that live set The live set will be registered to the favorite number you selected It s convenient to register the live sets in the order in which you ll use them within your song or performance...

Page 8: ...one number Layer Switch Tone Number Tone Group Tone Type Volume LEVEL Layer Tone Tone Tone Volume MEMO When you move the cursor to the tone number field and press the ENTER LIST button the tone list w...

Page 9: ...t Point Split Switch means on Split Point Split Switch means on means on means on 2 To cancel Split press the SPLIT button and turn off its illumination If you want to close the LAYER SPLIT screen whi...

Page 10: ...r button You can adjust the pitch of the keyboard in a range of 5 6 semitones To return to the original setting hold down the TRANSPOSE button and press the button and button simultaneously Reference...

Page 11: ...ht will increase the reverberation CUTOFF knob Adjusts the brightness of the sound Turning the knob toward the right will brighten the sound turning the knob toward the left will darken the sound RESO...

Page 12: ...the recorder tempo is the tempo of the digital recorder Use the cursor buttons to select the tempo that you want to change Keyboard Tempo Recorder Tempo If you press the 5 LINK button to assign a che...

Page 13: ...he steps you ll perform when actually creating a song 1 Create a new song p 15 2 Set the tempo and select and play a rhythm pattern p 16 3 Record your synth performance p 18 4 Record your guitar or vo...

Page 14: ...song Operation Explanation Fast forward The song will fast forward while you hold down the button Rewind The song will rewind while you hold down the button Move to the beginning of the song Press the...

Page 15: ...ORDER screen press the 3 MENU button 3 Use the VALUE dial to select 1 Song Edit and press the ENTER button The SONG EDIT MENU will appear 4 Use the VALUE dial to select Create New Song and press the E...

Page 16: ...se the cursor buttons to move the cursor to the Rhythm Set field and use the VALUE dial to select a rhythm set number Reference For details refer to page 121 in the Owner s Manual MEMO You can also ac...

Page 17: ...ng it after recording 1 Use the cursor buttons to move the cursor to the Recorder Tempo field Use the VALUE dial to set the recorder tempo MEMO You can also set the recorder tempo in the TEMPO window...

Page 18: ...PIANO category group 3 Press the ENTER LIST button to access the LIVE SET LIST 4 Use the VALUE dial to select the desired live set and press the ENTER button Play the keyboard and you ll hear the pian...

Page 19: ...button to record in stereo on tracks 1 and 2 However if you want to mix the sound of the L channel and R channel inputs and record the mixed result on track 1 press the TRACK 1 5 button once again wh...

Page 20: ...hone jack If you re using a dynamic microphone choose the PHANTOM OFF setting Always turn the phantom power off when connecting any device other than condenser microphones that require phantom power Y...

Page 21: ...t the internal digital level If so play the input sound and adjust the Input Level setting so that the level meter in the screen does not reach the maximum CLIP is shown when the level meter reaches t...

Page 22: ...RDER screen press the 4 TRK SET button The TRACK SETTING screen will appear Track number Explanation R Rhythm pattern 1 8 Tracks 1 8 Function button Explanation 1 EQ SET Opens the equalizer setting sc...

Page 23: ...cause the value of the other track to change simultaneously This state is called stereo link You can enable or disable stereo link as follows 1 In the TRACK SETTING screen move the cursor to the param...

Page 24: ...n a number of times to choose Mastering mode Mode indication use the 1 MODE button to change none Normal recording mode BOUNCE Bounce mode MASTERING Mastering mode Selecting the recording tracks 3 Use...

Page 25: ...If you want to execute press the 5 EXEC button The mastered data will be exported to an audio file The exported audio file will be saved in the ROLAND EXPORT folder of the SD card Exported audio les E...

Page 26: ...protector fastened by screws In order to remove the card you ll need to remove the screws as described in About SD Cards p 15 in the Owner s Manual 3 From the EXPORT folder located inside the ROLAND f...

Page 27: ...the SMF System Exclusive Packet size must be 512 or less MP3 Format MPEG 1 audio layer 3 Sampling Frequency 44 1 kHz Bit Rate 32 40 48 56 64 80 96 112 128 160 192 224 256 320 kbps VBR Variable Bit Rat...

Page 28: ...eproduced in any form without the written permission of ROLAND CORPORATION Roland and JUNO are either registered trademarks or trademarks of Roland Corporation in the United States and or other countr...

Reviews: