background image


80


Various Settings


You can change the sound that’s played by the metronome. 
The metronome will sound when you enter the setting screen.

You can set the metronome to play at even smaller intervals.
The metronome will sound when you enter the setting screen.

A “count-down” is when a count is sounded at the end of the 
song’s introduction (before you begin playing the keyboard). If 
you will be playing along with the song, sounding a count will 
help you match the timing of your playing with the song.

You can select the sound that will be used to play the count-
down.

Specifies the part that will determine the beginning of the 
performance when adding a count-down.
The count will sound before the selected part begins playing.

When you select another song, this setting will 
return to “Right & Left Track.”


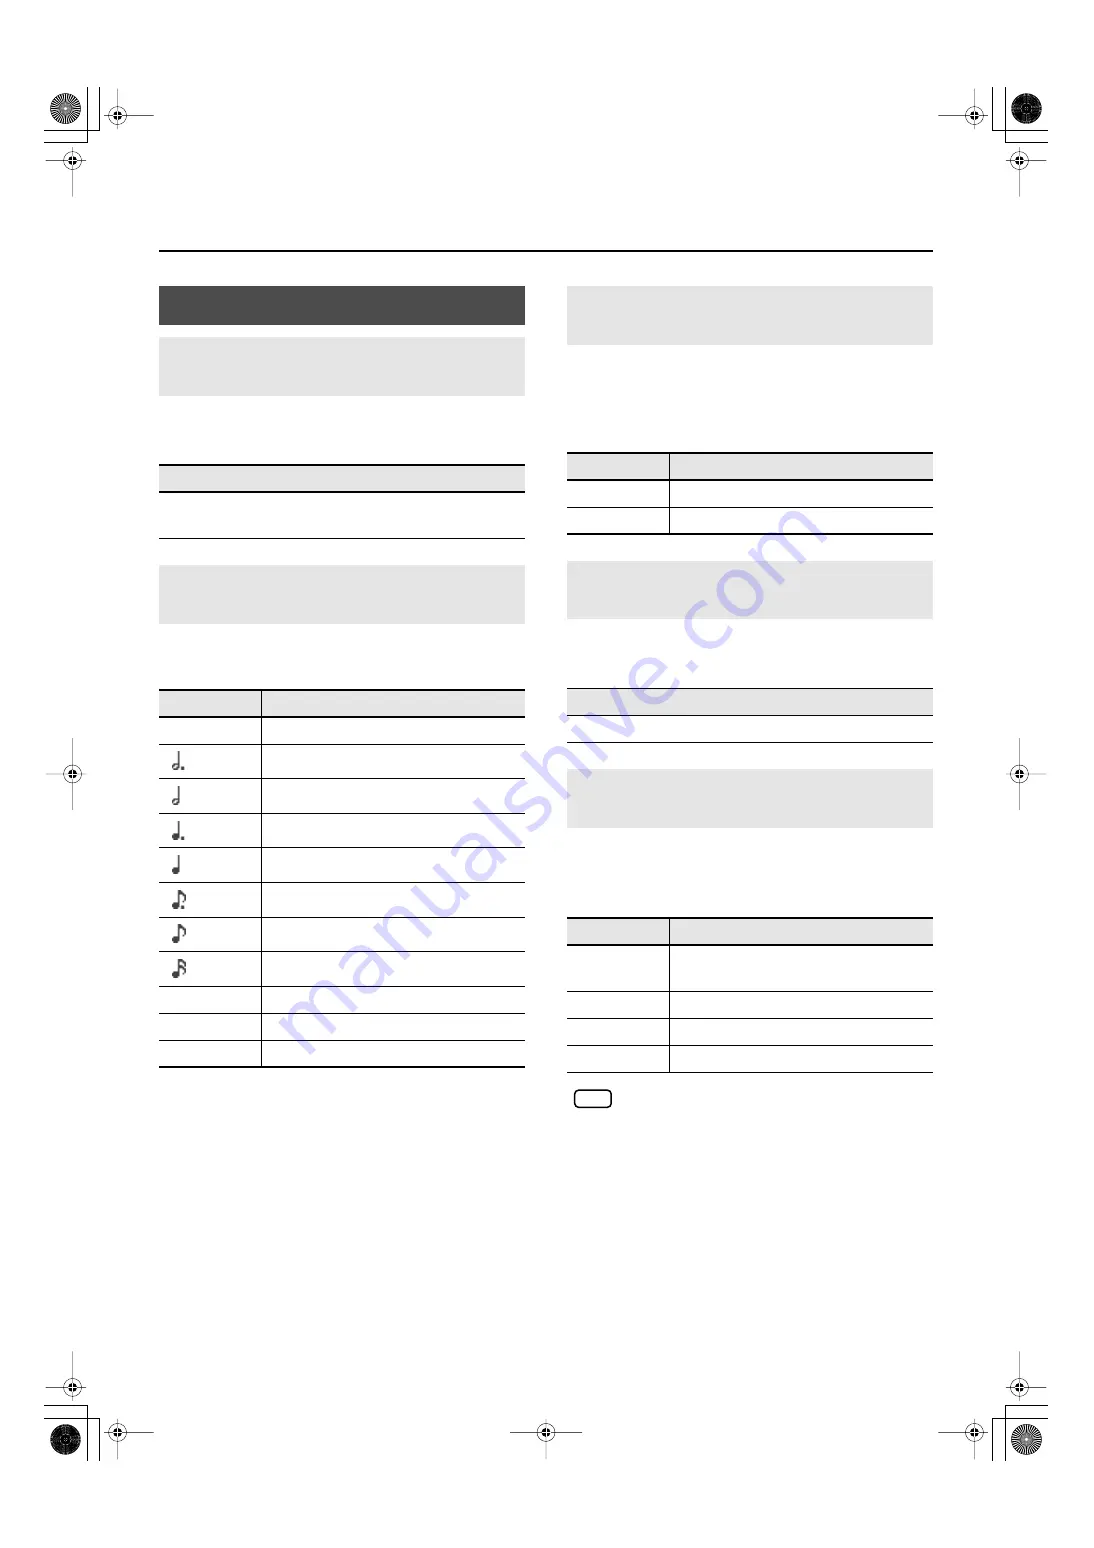
Metronome Setting


Changing the Sound of the Metronome 
(Metronome Sound)


Sound

Click, Electronic, Voice (Japanese), Voice (English), Animal, 
Wood Block, Triangle & Castanets, Hand Claps


Changing How the Metronome Marks 
the Beat  (Metronome Pattern)


Setting

Explanation

Normal


Usual sound


dotted half note

half note

dotted quarter note

quarter note

dotted eighth note

eighth note

sixteenth note


Double


note added to back beat of the first beat


Triplet


added notes sound the first beat as a triplet


Shuffle


notes added to create a shuffle


Sounding a Count Before the Melody 
Begins (Countdown)


Setting

Explanation

On


A count is sounded


Off


A count is not sounded


Selecting the Count-down Sound 
(Countdown Sound)


Sound

Voice (English), Voice (Japanese)


Selecting the Part that Will Begin the 
Count-down (Countdown Part)


Setting

Explanation

Right & Left 
Track


Right-hand and left-hand parts of a song


Left Track


Left-hand part of a song


Right Track


Right-hand part of a song


Part 1–16


Part 1–16

NOTE

HP207_e.book 80 ページ 2006年12月25日 月曜日 午前9時52分

Summary of Contents for HP-207

Page 1: ...07 01 2N 04452634 DIC 615 0 4 4 5 2 6 3 4 0 2...

Page 2: ......

Page 3: ...ratus 11 Only use attachments accessories specified by the manufacturer 12 Use only with the cart stand tripod bracket or table specified by the manufacturer or sold with the apparatus When a cart is...

Page 4: ...ses Please be aware that the settings in these explanatory screen shots may not match the actual factory settings Tone names etc Piano sounds with rich resonance and broad expressive range The HP207 u...

Page 5: ...c resonance between strings and the sound of the damper pedal being pressed to move the damper away from the strings These aspects of the sound can be customized to your taste Concert hall reverberati...

Page 6: ...ect 33 Adding a Variety Effects to the Sound Effects 34 Editing the effect settings 34 Adding a Spinning Sound to Organ Tones Rotary Effect 35 Changing the Key of the Keyboard Key Transpose 36 Dividin...

Page 7: ...Func 81 MIDI Settings 82 Preventing Doubled Notes When Connected to a Sequencer Local Control 82 MIDI Transmit Channel Settings MIDI Transmit Ch 82 Sending Recorded Performance Data to a MIDI Device C...

Page 8: ...ip exceeding the rated capacity watts amps of the power strip may cause heat to be generated possibly melting the cable Avoid extended use at high volume 010 This device either by itself or used in co...

Page 9: ...onnecting the power cord 102b When connecting or disconnecting the power cord to from an AC outlet or the device itself you must grasp the plug not the cord Periodically wipe the dust off the power co...

Page 10: ...ct the power cord from the AC outlet Cautions when opening closing the lid 116 Be careful when opening closing the lid so you do not get your fingers pinched p 16 Adult super vision is recommended whe...

Page 11: ...in close proximity such as a piano light or powerful spotlights to shine on the same location on this device for an extended time This can cause deformation or color change 355b If you move this devic...

Page 12: ...Otherwise due to the structural design of this instrument small pets or other animals could end up getting trapped inside it If such a situation is encountered you must immediately switch off the pow...

Page 13: ...g wire coins other types of device into the external memory connector Doing so will damage the external memory connector Addition Do not apply excessive force to the connected USB memory Addition If...

Page 14: ...oard and or song p 36 By holding down this button and pressing the Split button you can adjust the volume balance between the two sounds when using Dual play p 42 Split button Divides the keyboard int...

Page 15: ...p 26 This button is also used to edit various values Play Stop button Use this button to play stop an internal preset song or a song you ve recorded p 48 This button is also used to begin recording yo...

Page 16: ...nnected device through the HP207 s speakers p 89 Output jacks L Mono R You can connect an audio device or external powered speakers here to reproduce the HP207 s sound p 88 Pedal connector Connect the...

Page 17: ...al Memory connector Here you can connect USB memory a floppy disk drive or a CD drive and play back stored songs p 48 You can also use USB memory to save a song you ve recorded on the HP207 p 70 By ro...

Page 18: ...m panel fig PedalCord eps 1 Make sure that the Power switch located at the left side of the front panel is off in the upward position fig PowerOff e eps 2 Turn the Volume knob all the way toward the l...

Page 19: ...sition the music rest so it s upright then remove the three screws as shown You can remove the screws using a coin fig MusicRest2 eps Don t apply excessive force to the music rest Be careful not to lo...

Page 20: ...ds by playing the keyboard Due to a circuitry protection feature this unit requires a few moments after power is turned on before it is ready for normal operation 3 Use the Volume knob to adjust the v...

Page 21: ...right will make the sound brighter and turning it toward the left will make the sound more mellow fig VolBri e eps You can adjust the brightness of the HP207 s display fig Contrast e eps 1 To adjust...

Page 22: ...sustained Soft Pedal left pedal This pedal is used to make the sound softer Playing with the soft pedal depressed produces a sound that is not as strong as when otherwise played with the equivalent s...

Page 23: ...y be damaged if the volume of a device is already turned up when you plug them in Minimize the volume before you plug in the headphones Excessive input will not only damage your hearing but may also s...

Page 24: ...ta CD Extra The HP207 is capable of playing back only commercial CDs that conform the official standards those that carry the COMPACT DISC DIGITAL AUDIO logo The usability and sound quality of audio d...

Page 25: ...will be output fig Panel Demo e eps 1 Hold down the Key Touch button and press the File button The indicators for the Tone Twin Piano and Piano Designer buttons flash The following appears in the dis...

Page 26: ...Press the Key Touch button or the File button to exit Demo mode The indicators return to their previous state If a button is not flashing it means that it has no demo song When the following appears...

Page 27: ...r recorded performance p 70 2 Press the Piano Designer button Several of the tone buttons at the left and the Piano Designer button will flash The piano designer demo screen will appear fig d DemoPnoD...

Page 28: ...button to select a tone group You ll hear the Tone assigned to Tone number 1 in the selected Tone Group Try fingering the keyboard The display will indicate the name and the number of the currently se...

Page 29: ...2 Use the buttons to select the setting you want to adjust and press the button to enter the setting screen There are four Piano Designer screens fig d PianoDesigner eps 3 Use the buttons to select th...

Page 30: ...ents p 29 Tonic C B When playing with tuning other than equal temperament you need to specify the tonic note for tuning the song to be performed that is the note that corresponds to C for a major key...

Page 31: ...freedom of modulation Performances are possible in all keys III Meantone This scale makes some compromises in just intonation enabling transposition to other keys Pythagorean This tuning devised by th...

Page 32: ...n use the Memory Backup function to store this setting in internal memory p 86 Adjusting the Keyboard Sensitivity Key Touch Indicate Button color Description Fixed Orange The sound plays at one set vo...

Page 33: ...ial depth over four levels Increasing the value will increase the spatial depth of the sound fig d 3DType eps You can use the Memory Backup function to store this setting in internal memory p 86 You c...

Page 34: ...urn to the normal screen You can use the Memory Backup function to store this setting in internal memory p 86 For some sounds this may cause distortion Dynamics Sound Control does not affect the sound...

Page 35: ...d if Twin Piano is turned on with Twin Piano Mode 2 selected You can select from ten levels of depth for the reverb effect 1 Hold down the Reverb button and press the or button The depth for the rever...

Page 36: ...lly have effect applied Selecting such a tone makes the Effects button light up automatically Turning Off the Effects 1 Press the Effects button so its light is turned off Here s how to edit the setti...

Page 37: ...ation If the Effects button is flashing rapidly the rotary effect is being applied with the fast rotational speed If the Effects button is flashing slowly the rotary effect is being applied with the s...

Page 38: ...ong will be transposed together Changing the Key of the Song Playback Playback Transpose p 55 1 Hold down the Transpose button and press the key corresponding to the tonic of the desired key In this c...

Page 39: ...the E key since E is the tonic Counting from C as a reference point one moves up four keys including the black keys to reach E thus 4 appears in the display fig d Transpose4 eps fig Transpose eps If y...

Page 40: ...e to use the keyboard as though it were two separate pianos For example this provides a convenient way for one person to follow along with another person s performance to check it fig TwinPiano eps_80...

Page 41: ...utton so its illumination is turned off 1 Hold down the Twin Piano button and press the or button You can choose one of the following ways in which the sound will be heard fig d TwinPianoMode eps If y...

Page 42: ...lect Dual Play if you ve turned on Split Performance or Twin Piano Turning Off Dual Play 1 Press any one of the Tone buttons Now you ll hear only the tone of the button you pressed You can change the...

Page 43: ...one 1 1 Press the or button fig d Dual eps Changing the Tone 2 1 Hold down the Tone button for the Tone 2 the rightmost of the lit Tone buttons and press the or button fig d Dual eps Changing the Tone...

Page 44: ...ess the or button to change the volume balance The volume balance will change If you want to return to the original volume balance press the and buttons simultaneously fig d DualBalance2 eps 3 Press t...

Page 45: ...d tone fig SplitPoint e eps As an example here s how to play the tone of the Piano button as part of a Split performance fig Panel Split e eps 1 Press the Piano button Now the piano tone is selected 2...

Page 46: ...1 Press the Tone button to choose a tone group 2 Press the or button to select a variation tone fig d Split eps Changing the Left hand Tone 1 Hold down the Split button and press the Tone button to c...

Page 47: ...int and appears in the display fig d SplitPoint eps The key being used as the split point belongs to the left hand section of the keyboard The previous display will reappear when you release the Split...

Page 48: ...Metronome button flashes in red and green in time with the beat selected at that time The indicator lights in red on the downbeats and in green on weak beats fig d Metronome eps You can change the so...

Page 49: ...available 1 While holding down the Metronome button press the or button The display will indicate the metronome volume fig d MetronomeVol eps This is set to 5 when the instrument is turned on When th...

Page 50: ...onnect the USB memory containing the desired song to the external memory connector then press the Song button p 22 2 Press the or button to select the song If an internal preset song is selected the s...

Page 51: ...ing down the Song button and pressing the buttons you can quickly select the first song in each song group e g the first song in external memory the first song in internal memory or the first internal...

Page 52: ...ions for continuous playback 1 Hold down the Effects button and press the 3D button The song select screen shows the following information fig d FuncMenu eps 2 Use the buttons to select Play Mode fig...

Page 53: ...ng in All Song Play mode a symbol to indicate this is shown in the upper right of the screen fig AllSong e eps The songs in internal memory will play consecutively if an internal memory song is select...

Page 54: ...e right hand part press the Track Right button so its illumination is turned off When you play back the song the right hand part will not play If you again press the button you selected in step 3 so t...

Page 55: ...change the volume at which the song will play When you re practicing along with a song this allows you to adjust the volume balance between your keyboard performance and the song playback 1 While hold...

Page 56: ...play back at a fixed unchanging tempo 1 While holding down the Tempo Beat button use the buttons to change the setting fig d TempoMuteOff eps If you turn Tempo Mute on the tempo indication in the scre...

Page 57: ...other than 0 the Transpose button will light If the transpose value is other than 0 you can use the Transpose button to turn the Playback Transpose function on off If you hold down the Transpose butto...

Page 58: ...it For some songs using the Center Cancel function may affect the tonal character The Center Cancel setting will be cancelled when you select another song Minimizing the Center Sounds in the Playback...

Page 59: ...Song p 63 Memo With second or later recordings the previously recorded song is erased as the new material is recorded When recording a new performance it is probably a good idea to erase the previousl...

Page 60: ...ng to be displayed by holding down the Song button and pressing the button 3 Select the Tone to be played p 26 4 If necessary sound the metronome Press the Metronome button p 46 While listening to the...

Page 61: ...the button You will return to the beginning of the performance you recorded 9 Press the button The recorded performance will play back If you press the button while the metronome is sounding there wil...

Page 62: ...ars in the display Recording Your Performance Separately for Each Hand How the track buttons correspond to the recorded performances The recorded performances are assigned to the track buttons as foll...

Page 63: ...he keyboard without pressing the button In this case a count is not sounded When recording begins the button and button will light During the count in the count measure is indicated in the lower right...

Page 64: ...he song tempo and time signature will remain as it was when the song was first recorded 12 To stop recording press the button Listening to the Recorded Performance 13 In the song select screen press t...

Page 65: ...a song For details on how to select a song refer to Listening to Songs p 48 If you want to record along with a song from external memory connect USB memory or floppy disk drive before you continue p...

Page 66: ...ot to record press the button once again How performance parts correspond with track buttons Starting Recording 7 Press the button After a two measure count recording will begin Even if you don t pres...

Page 67: ...he button The recorded performance will play 11 Press the button once again to stop playback The recorded performance will disappear when you turn off the power If you want to keep the performance you...

Page 68: ...ss the button 3 Press the button The recorded performance is erased You can also erase the recorded performance by holding down the Song button and pressing the button If you hold down one of the trac...

Page 69: ...tely with the HP207 for the first time you ll need to initialize format the USB memory before using it The HP207 can t use USB memory that has not been initialized fig panel deleteSong e eps 1 If you...

Page 70: ...power while the screen indicates Executing Doing so will destroy the memory being initialized rendering it unusable If the screen indicates Error please refer to Error Messages p 96 Initializing the...

Page 71: ...been saved in internal memory will not disappear when you turn off the power the next time you turn on the power you ll still be able to play these songs and listen to your performances Saving a reco...

Page 72: ...nal memory connector p 22 If you want to save the song on a floppy disk connect your floppy disk drive to the external memory connector and insert a disk into the drive 2 Press the File button The fil...

Page 73: ...s shown as the song name it means that no song is saved at that number Select a number at which no song has been saved If you want to erase an unwanted song and replace it with the newly saved song se...

Page 74: ...re deleting a song from USB memory connect your USB memory to the external memory connector p 22 If you re deleting a song from floppy disk connect your floppy disk drive to the external memory connec...

Page 75: ...lete2 eps 7 Use the buttons to select the song that you want to delete Deleting the Song 8 Press the button A confirmation message will appear fig d FileDelete3 eps If you decide not to delete the son...

Page 76: ...the Copy 1 Connect your USB memory to the external memory connector p 22 Alternatively connect your floppy disk drive to the external memory connector and insert the disk into the drive 2 Press the Fi...

Page 77: ...9 Use the buttons to select the copy destination number Numbers for which a song name is shown already contain a song If you select a number at which a song has already been saved and execute the copy...

Page 78: ...step 2 and select the setting you want to change 6 Press the Piano Designer button to exit Function mode The indicators on buttons will return to their original state The settings you change will retu...

Page 79: ...3D button The HP207 will enter Function mode 2 Use the button to select Master Tuning fig d FuncMenu eps 3 Press the button to enter the setting screen fig d Tuning eps 4 Use the buttons to set the st...

Page 80: ...in the high frequency range Generally this changes the level at and over this frequency High Mid Gain 12 12 dB Adjusts the level of the mid to high frequency range High Mid Freq 16 16k Hz Frequency po...

Page 81: ...a song You can choose the way in which songs are played back on the HP207 one song at a time or all songs successively Song playback settings Determining the Parts that Sound Part Mute Using the Accom...

Page 82: ...rack Metronome Setting Changing the Sound of the Metronome Metronome Sound Sound Click Electronic Voice Japanese Voice English Animal Wood Block Triangle Castanets Hand Claps Changing How the Metronom...

Page 83: ...s the sostenuto pedal p 20 You can change the function of the pedal to a variety of other operations Keyboard Settings Specifying What the Key Transpose will Affect Transpose Mode Setting Explanation...

Page 84: ...the HP207 will transmit MIDI uses sixteen MIDI channels which are numbered 1 through 16 By connecting MIDI devices and specifying the appropriate MIDI channel for each device you can play or select so...

Page 85: ...mode 2 Use the buttons to select V LINK fig d FuncMenu VLink eps 3 Press the button The following appears in the display fig d VLinkOff eps 4 Press the or button to switch the V LINK function On or of...

Page 86: ...HP207 s volume is turned to the maximum setting In such cases you can adjust the master gain setting as follows Adjusting the master gain will also affect the volume of the internal speakers and head...

Page 87: ...buttons and these three tone buttons will blink When you press a flashing Tone button the recommended tone is then selected enabling you to perform the selected song using a tone matched to that song...

Page 88: ...are memorized refer to Parameters Stored in Memory Backup p 105 The settings you ve changed in Function mode can be restored to their factory set condition This operation is called Factory Reset Execu...

Page 89: ...er off then back on If you activate the Panel Lock function all buttons will be locked and non functional You can use this to prevent a child from accidentally changing the settings by inadvertently p...

Page 90: ...connected speakers When you play the HP207 s keyboard the sound is played from the connected speakers Turning Off the Power 1 Turn the volume all the way down on the HP207 and on the speakers you re a...

Page 91: ...device The sounds from the connected audio device are played by the HP207 Adjust the volume by using the controls of your audio device Turning Off the Power 1 Turn the volume all the way down on the H...

Page 92: ...7 and the connected device 5 Adjust the volume level on the HP207 and the connected device 6 You should also set the MIDI transmit channel as needed For details on the MIDI transmit channel refer to M...

Page 93: ...r computer However if some problem occurs or if the performance is poor using the Roland original driver may solve the problem For details on downloading and installing the Roland original driver refe...

Page 94: ...mory setting p 84 Buzz is heard from external devices Are the external devices connected to more than one AC power outlet If you connect external devices be sure to connect them to the same AC outlet...

Page 95: ...Recommended Tones With the factory settings connecting a commercially available CD ROM drive to the external memory connector and selecting a song from a CD ROM produced for the VIMA VIMA TUNES will a...

Page 96: ...down Move away from the objects that are resonating If you hear this in headphones It is likely that there is some other reason Please contact your dealer or a nearby Roland service center If you set...

Page 97: ...be handled as song data Can t record play back Can t record Has one of the track buttons for recording been selected p 60 p 64 The recorded performance disappeared Your recorded performance will disa...

Page 98: ...6 Data was not called up in time for playback of the song After waiting several seconds you may be able to play back the song by pressing the button again Error 18 This audio format is not supported P...

Page 99: ...mba 012 Stage Phaser 013 Ballad Bells 014 70s E Piano 015 E Grand 001 ChurchOrgan1 002 ChurchOrgan2 003 Combo Jz Org 004 Ballad Organ 005 Accordion 006 Nason flt 8 007 Gospel Spin 008 Full Stops 009 M...

Page 100: ...raphone 047 Vibraphone w 048 Marimba 049 Marimba w 050 Xylophone 051 TubularBells 052 Church Bell 053 Carillon 054 Santur 055 Organ 1 056 TremoloOrgan 057 60s Organ 058 Organ 2 059 Perc Organ 1 060 Ch...

Page 101: ...Synth Brass2 156 Synth Brass4 157 AnalogBrass2 158 Soprano Sax 159 Alto Sax 160 Tenor Sax 161 Baritone Sax 162 Oboe 163 English Horn 164 Bassoon 165 Clarinet 166 Piccolo 167 Flute 168 Recorder 169 Pa...

Page 102: ...R 808 Tom 232 Elec Perc 233 Reverse Cym 234 Gt FretNoise 235 Gt Cut Noise 236 BsStringSlap 237 Breath Noise 238 Fl Key Click 239 Seashore 240 Rain 241 Thunder 242 Wind 243 Stream 244 Bubble 245 Bird 1...

Page 103: ...ng Guiro EXC3 Claves High Woodblock Low Woodblock Mute Cuica EXC4 Open Cuica EXC4 Mute Triangle EXC5 Open Triangle EXC5 Shaker Jingle Bell Bar Chimes Castanets Mute Surdo EXC6 Open Surdo EXC6 High Q S...

Page 104: ...histle EXC2 Long Low Whistle EXC2 Short Guiro EXC3 Long Guiro EXC3 Claves High Woodblock Low Woodblock Mute Cuica EXC4 Open Cuica EXC4 Mute Triangle EXC5 Open Triangle EXC5 Shaker Jingle Bell Bar Chim...

Page 105: ...Slap Scratch Push EXC7 Scratch Pull EXC7 Sticks Square Click Metronome Click Metronome Bell Guitar Fret Noise Guitar Cutting Noise Up Guitar Cutting Noise Down String Slap of Double Bass Fl Key Click...

Page 106: ...ourse en Tro ka 26 To The Spring 27 Valse op 64 2 28 Radetzky Marsch 29 Tr umerei 30 Moments Musicaux 3 31 Pr lude op 28 15 32 Harmonious Blacksmith 33 Ungarische T nze 5 34 T rkischer Marsch Beethove...

Page 107: ...p 28 Function Mode Settings Equalizer On Off Parameter Settings p 78 Play Mode p 79 Metronome Sound p 80 Countdown Sound p 80 Transpose Mode p 81 Damper Pedal Part p 81 3D Mode p 84 Track Assign p 85...

Page 108: ...ome equipped with GM 2 GS sound generators General MIDI The General MIDI is a set of recommendations which seeks to provide a way to go beyond the limitations of proprietary designs and standardize th...

Page 109: ...13 119 127 x x x O x x x x x x O x O O x O x x x O O O O O O O O O O O O O Reverb O Chorus O O 0 127 O x x x O O x x x x O x 1 16 1 16 Mode 3 Mode 3 4 M 1 O O 0 127 0 127 O O O O 0 127 O x x x x x O 1...

Page 110: ...ls Dynamics 4 types Reverb Off 1 10 Rotary Speaker Effect only for organ tones Slow Fast 4 band Digital Equalizer Tone effects only adjust values Only for Piano Tones Open close lid only for piano ton...

Page 111: ...2 Display 128 x 64 dots Graphic monochrome LCD with backlit Language English Japanese Lyrics Yes Built in Display Control Volume Brilliance LCD Contrast Pedal Damper half pedal recognition Soft half...

Page 112: ...72 Demo songs 23 Display 13 Brightness 19 DISPLAY BRIGHTNESS knob 19 Display Contrast knob 13 Dual Play 40 Duplex Scale 28 29 Dynamics Sound Control 32 E Editing Effect Settings 34 Effects 34 Reverb...

Page 113: ...ranspose 55 Playing Song 48 Power 18 Power cord 16 Power switch 12 16 18 R button 13 58 61 Recommended Tone 85 Recording 57 Additional Part 61 Along with a Song 63 For Each Hand 60 New Song 58 Restori...

Page 114: ...spose 36 55 Transpose button 36 55 Transpose Mode 81 Troubleshooting 92 Tuning 28 77 Twin Piano 38 Twin Piano button 39 Twin Piano mode 39 U USB connector 15 91 USB Driver 84 USB Memory 69 USB memory...

Page 115: ...113 MEMO HP207_e book 113...

Page 116: ...114 MEMO HP207_e book 114...

Page 117: ...s cause harmful interference to radio or television reception which can be determined by turning the equipment off and on the user is encouraged to try to correct the interference by one or more of th...

Page 118: ...Asuncion PARAGUAY TEL 595 21 492147 PERU Audionet Distribuciones Musicales SAC Juan Fanning 530 Miraflores Lima Peru TEL 511 4461388 TRINIDAD AMR Ltd Ground Floor Maritime Plaza Barataria Trinidad W...

Page 119: ......

Page 120: ...07 01 2N 04452634 DIC 615 0 4 4 5 2 6 3 4 0 2...

Reviews: