background image

5

Introduction

NOTE


5

Any settings that you are in the process of editing will be lost 

when the power is turned off. If you have any settings that 

you want to keep, you should save them beforehand.


5

To restore power, turn the power on again.

Turning off the power

1. 

Turn the [VOLUME] knob all the way to the left to 

minimize the volume.

If you connected the FR-4x to an amplifier, etc., set its volume to 

the minimum value as well.

2. 

Hold down the [

L

] button until the indications in the 

display disappear.

Release your finger, and the power will turn off.

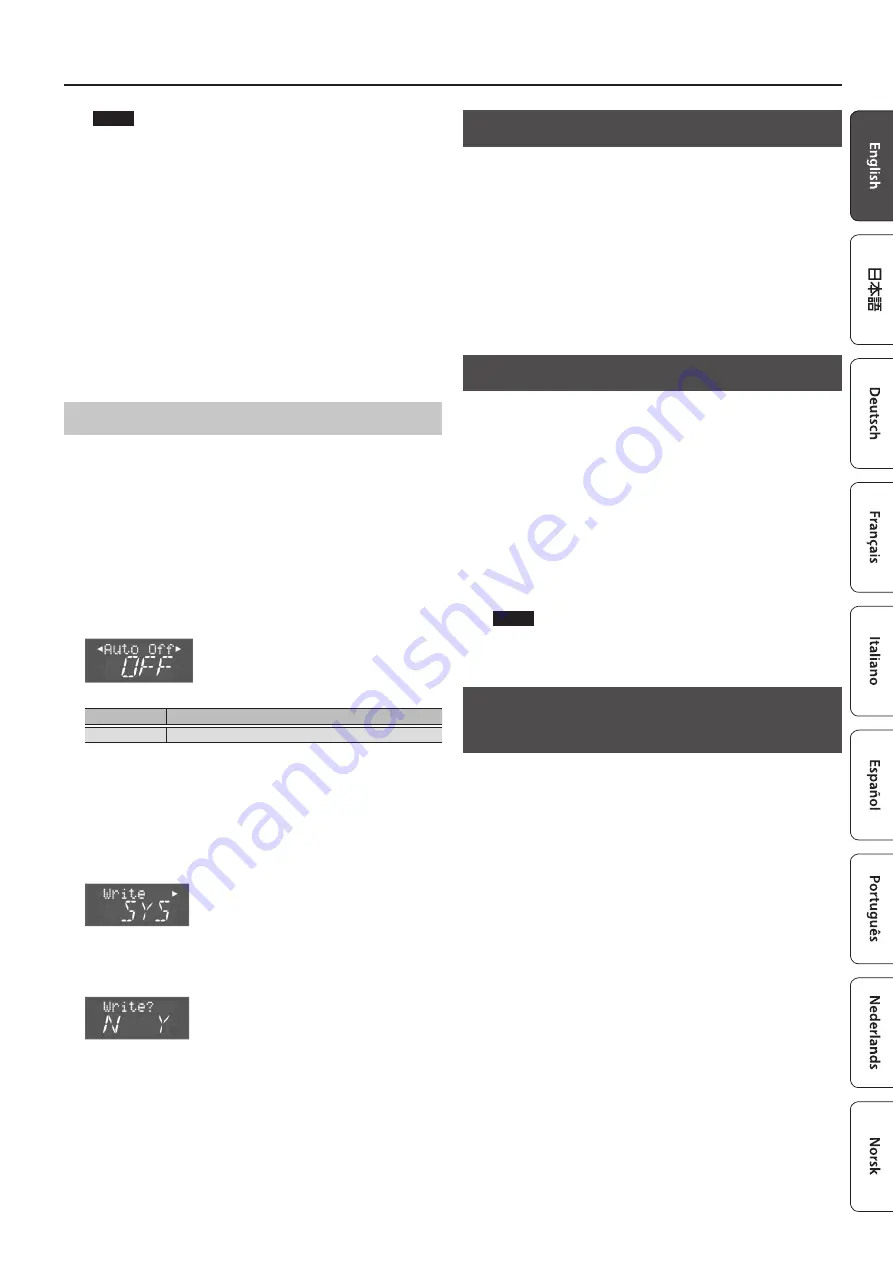
Auto Off Setting

This parameter allows you to specify how long the FR-4x should 

wait before switching itself off while you are not using it.
If you don’t want to use this function, turn it “OFF.”

1. 

Press the [MENU/WRITE] button.

2. 

Use the cursor [

K

] [

J

] buttons to select “System,” and 

then press the [ENTER/YES] button.

3. 

Use the cursor [

K

] [

J

] buttons to select “Auto Off.”

4. 

Use the VALUE [-] [+] buttons to edit the value.

Parameter

Value

Auto Off

OFF, 10 (min), 30 (min), 240 (min)

This setting is lost when the FR-4x is powered-off.
If you want to keep the setting, save the system settings as follows.

5. 

Long-press the [MENU/WRITE] button.

The Write screen appears.

6. 

Use the VALUE [-] [+] buttons to select “SYS.”

7. 

Press the cursor [

J

] button.

A confirmation message appears.

8. 

Press the [ENTER/YES] button to save.

When saving is finished, the screen indicates “Complete.”
If you decide to cancel, press the [EXIT/NO] button.

9. 

Press the [EXIT/NO] button several times to return to 

the previous screen.

Listening to the Demo Songs

Several demo songs are built into the FR-4x.

1. 

Hold down the [SONG LIST] button.

The demo songs begin playing.

2. 

To change demo songs, use the VALUE [-] [+] 

buttons.

3. 

When you press the [EXIT] button or the [SONG 

LIST] button, playback stops and you return to the 

previous screen.

Connecting Headphones

The FR-4x has one jack for plugging in headphones. This allows you 

to play without having to worry about bothering others around 

you, even at night.

1. 

Plug the headphones into the PHONES jack located 

on the FR-4x’s connection panel.

Use stereo headphones.
The FR-4x’s speakers are switched off when you connect 

headphones.
If desired, you can make the FR-4x’s speakers stay on even if 

headphones are connected.

&

 [SHIFT] + [5/12] button (p. 17)

NOTE

If headphones are connected, do not place the FR-4x with its 

jacks downward.

Restoring the Factory Settings (FACTORY 

ALL RESET) 

Here’s how to restore all of the FR-4x’s settings to their factory-set 

state.

1. 

Press the [MENU/WRITE] button.

2. 

Use the cursor [

K

] [

J

] buttons to select “Utility,” and 

then press the [ENTER/YES] button.

3. 

Use the cursor [

K

] [

J

] buttons to select “FctryALL.”

4. 

To restore the settings of the FR-4x to their factory-

set state, press the [ENTER/YES] button.

A message is displayed during the factory reset process; when 

finished, the screen indicates “Complete.”
If you decide to cancel, press the [EXIT/NO] button.

5. 

Press the [EXIT/NO] button several times to return to 

the previous screen.

Summary of Contents for FR-4X

Page 1: ...Accordion Sounds 10 Selecting an Orchestral Sound for the Right Hand Keyboard 10 Selecting an Orchestral Sound Not Assigned to a Register Button 10 Returning to Accordion Sounds 10 Selecting an Organ...

Page 2: ...ther strap by repeating steps 3 5 The ends of the straps will be as shown in the illustration 7 Pass the opposite end of the strap through the holder ring on the side of the jacks 8 Place the Velcro f...

Page 3: ...he side with the indicator see illustration faces upwards and the side with textual information faces downwards The indicator will light when you plug the AC adaptor into an AC outlet Indicator AC ada...

Page 4: ...ap 4 Remove the battery snap of the cord from the battery holder 5 Insert ten rechargeable nickel metal hydride batteries into the battery holder Insert each battery correctly in accordance with the p...

Page 5: ...mplete If you decide to cancel press the EXIT NO button 9 Press the EXIT NO button several times to return to the previous screen Listening to the Demo Songs Several demo songs are built into the FR 4...

Page 6: ...te volume X LT X Light Adequate volume change can be obtained by moving the bellows even more gently than the Light setting LIGT Light Volume change can be obtained even by moving the bellows gently T...

Page 7: ...ber at the right edge of the upper line in the display changes to the number of the button that you pressed The right hand treble provides 14 registers for each accordion set A B button Register butto...

Page 8: ...or advanced players as an alternative to the standard bass mode typically used for performing These two modes each have a different arrangement of left hand button keyboard For details on the Free Bas...

Page 9: ...er connection jack side Front as seen from the performer display side Right hand keyboard FR 4xb 5 5 On the left hand button keyboard the buttons enclosed in dark gray shading are the bass rows and th...

Page 10: ...Brass OctBrass 5 Mid Pipe 12 Tenor Sax 2 Ten Sax2 6 Harmonica 13 Clarinet 7 Flamenco Guitar Flmnc Gt 14 Flute 1 Selecting an Orchestral Sound Not Assigned to a Register Button The FR 4x FR 4xb contain...

Page 11: ...ROCK 6 POPULAR 13 CHURCH 7 LIGHTJAZ 14 BLUES Selecting an Organ Sound Not Assigned to a Register Button The FR 4x FR 4xb contain 32 different organ sounds To select an organ sound that s not assigned...

Page 12: ...t hand register buttons to select a sound for the chord rows Selecting an Orchestral Sound Not Assigned to a Register Button An internal orchestral sound can also be selected for the left hand registe...

Page 13: ...e left hand register buttons to select a sound of the bass rows Selecting an Orchestral Sound Not Assigned to a Register Button An internal orchestral sound can also be selected for the left hand regi...

Page 14: ...tination bank 4 Press the cursor J button Use the VALUE buttons to select the save destination number 5 Press the cursor J button several times Use the cursor K J buttons and VALUE buttons to enter a...

Page 15: ...V file instead of MP3 data Selecting a Song from a USB Flash Drive 1 Connect your USB flash drive sold separately to the FR 4x s USB MEMORY port 2 Press the SONG LIST button The display shows the cont...

Page 16: ...and keyboard sectionn is velocity sensitive Left hand keyboard section This section normally plays accompaniment parts The left hand button keyboard has two modes In Bass and Chord mode two or three r...

Page 17: ...n OCT Lowers the range of the right hand keyboard by one octave 2 9 button OCT Raises the range of the right hand keyboard by one octave 3 10 button SORDINA Turns the sordina effect on off On an acous...

Page 18: ...s they are velocity sensitive They also allow you to play drum sounds 23 Bellows resistance regulator and air button The bellows resistance regulator allows you to specify the bellows inertia the forc...

Page 19: ...ver from the following URL and install it For details on installation refer to the following URL http www roland com support 30 INPUT jack Devices such as an audio player can be connected to this jack...

Page 20: ...e lost as the result of equipment failure incorrect operation etc To protect yourself against the irretrievable loss of data try to make a habit of creating regular backups of the data you ve stored i...

Page 21: ...MEMO...

Page 22: ...Reference Cap To do this first remove the button you wish to replace by turning it counterclockwise then install the new button and screw it clockwise...

Page 23: ...F CONFORMITY Compliance Information Statement Model Name Type of Equipment Responsible Party Address Telephone FR 4X FR 4XB Digital Accordion Roland Corporation U S 5100 S Eastern Avenue Los Angeles C...

Page 24: ...5 1 0 0 0 5 3 9 8 7 0 1...

Reviews: