The Crop Mark Feature
Follow the same procedure to perform alignment for mark 3 (and if the [4-POINT START]
setting is selected, for mark 4 as well).
When you’ve finished performing alignment for mark 3 (or mark 4), press
to display the screen shown in the figure.
Remove the alignment tool and install the blade holder.
If for some reason you want to go back to an earlier step in these settings, such as to redo alignment,
pressing
displays the previous screen, where you can redo the settings.
Press
.
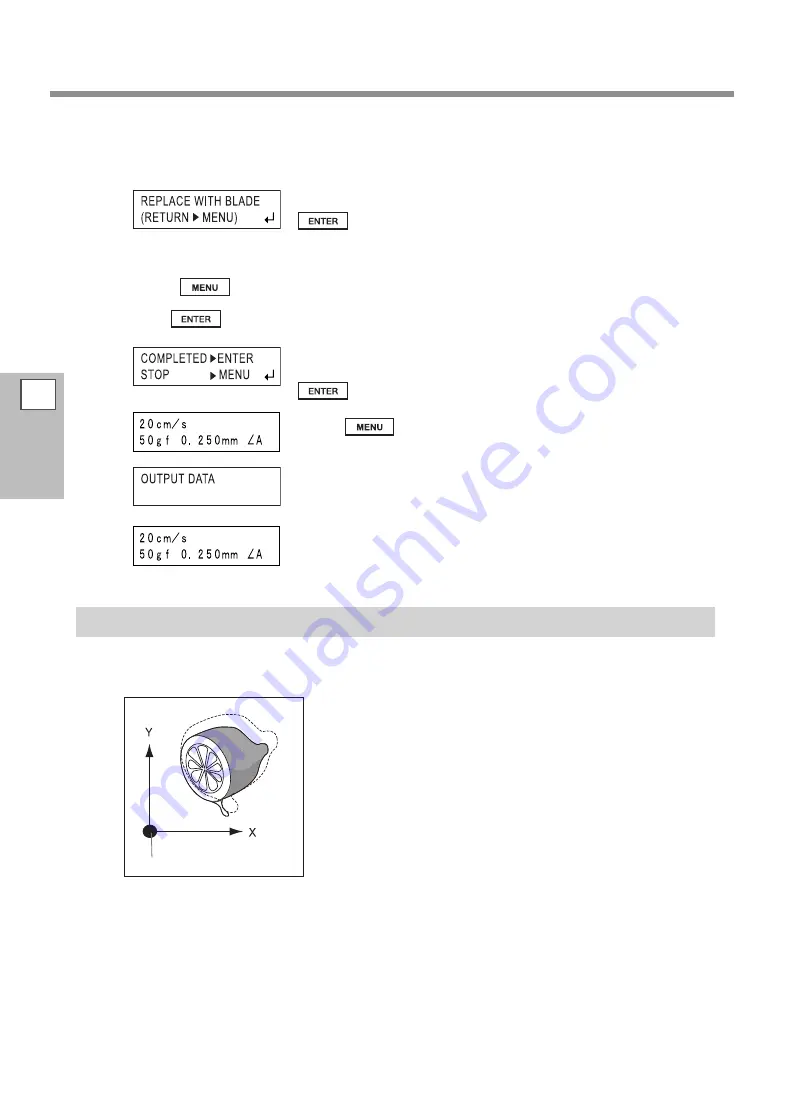
The screen shown in the figure appears.
When you’ve finished making the settings, then to perform cutting, press
.
Pressing
cancels the settings and returns you to the screen shown
in the figure.
Make sure that the screen shown in the figure flashes, then
send the data from the computer.
Cutting starts when the data is received.
When cutting finishes, the screen shown in the figure appears.
If the Printing and Cutting Positions Are Misaligned
If the printing and cutting positions are misaligned, as shown in the figure below, use the display menu to
adjust [OFFSET X] and [OFFSET Y] as described below.
If it is displaced to the right…
If it is displaced to the right, make the value of [OFFSET X] larger. If it is
displaced to the left, make the value smaller. In the case shown in the
figure, the [OFFSET X] value needs to be made larger.
If it is displaced upward…
If it is displaced upward, make the value of [OFFSET Y] larger. If it is
displaced downward, make the value smaller. In the case shown in the
figure, the [OFFSET Y] value needs to be made larger.
Offset direction
Origin point
3
Part of
Practice
68
Summary of Contents for Camm-1Pro GX-300
Page 23: ...1 Getting Started 21 Menu List Menu List ...
Page 24: ...1 Getting Started Menu List 22 ...
Page 25: ...1 Getting Started Menu List 23 ...
Page 26: ...24 ...
Page 46: ...44 ...
Page 101: ...RolandDG Corp has licensed the MMP technology from the TPL Group ...
Page 102: ...R2 120604 ...


