Recording your performance as audio data
Backing Keyboard BK-5 OR
r
55
13.
Recording your performance as audio data
Your BK-5 OR allows you to record everything it can transmit to its outputs, i.e. rhythm or song playback, your playing,
your singing, and any audio signal transmitted to the BK-5 OR. (The metronome signal is not recorded.)
Feel free to connect the master outputs of an external
mixing console to the BK-5 OR’s AUDIO INPUT (STEREO)
socket if you want to record your band or the signals of
an accordion, additional synthesizers, pianos, drum
machines, etc., as well.
The resulting audio file is stored in the WAV format (not
mp3), which allows you to burn your recordings onto a
CD using your computer.
NOTE
You will need a USB memory to record your performance.
Recording
NOTE
The following is based on the assumption that the “Rec Audio
Sync” parameter (page 72) is active.
1.
Connect the USB memory to which you wish
to save the audio data.
NOTE
2.
Prepare everything you want to record:
• Select the rhythm or song you want to use as accom-
paniment
• Set the levels and effects, etc.
3.
Set the desired balance between the
rhythm/song and the real-time parts using
the BALANCE buttons.
You may also want to set the “Audio In Level” param-
eter (page 72).
4.
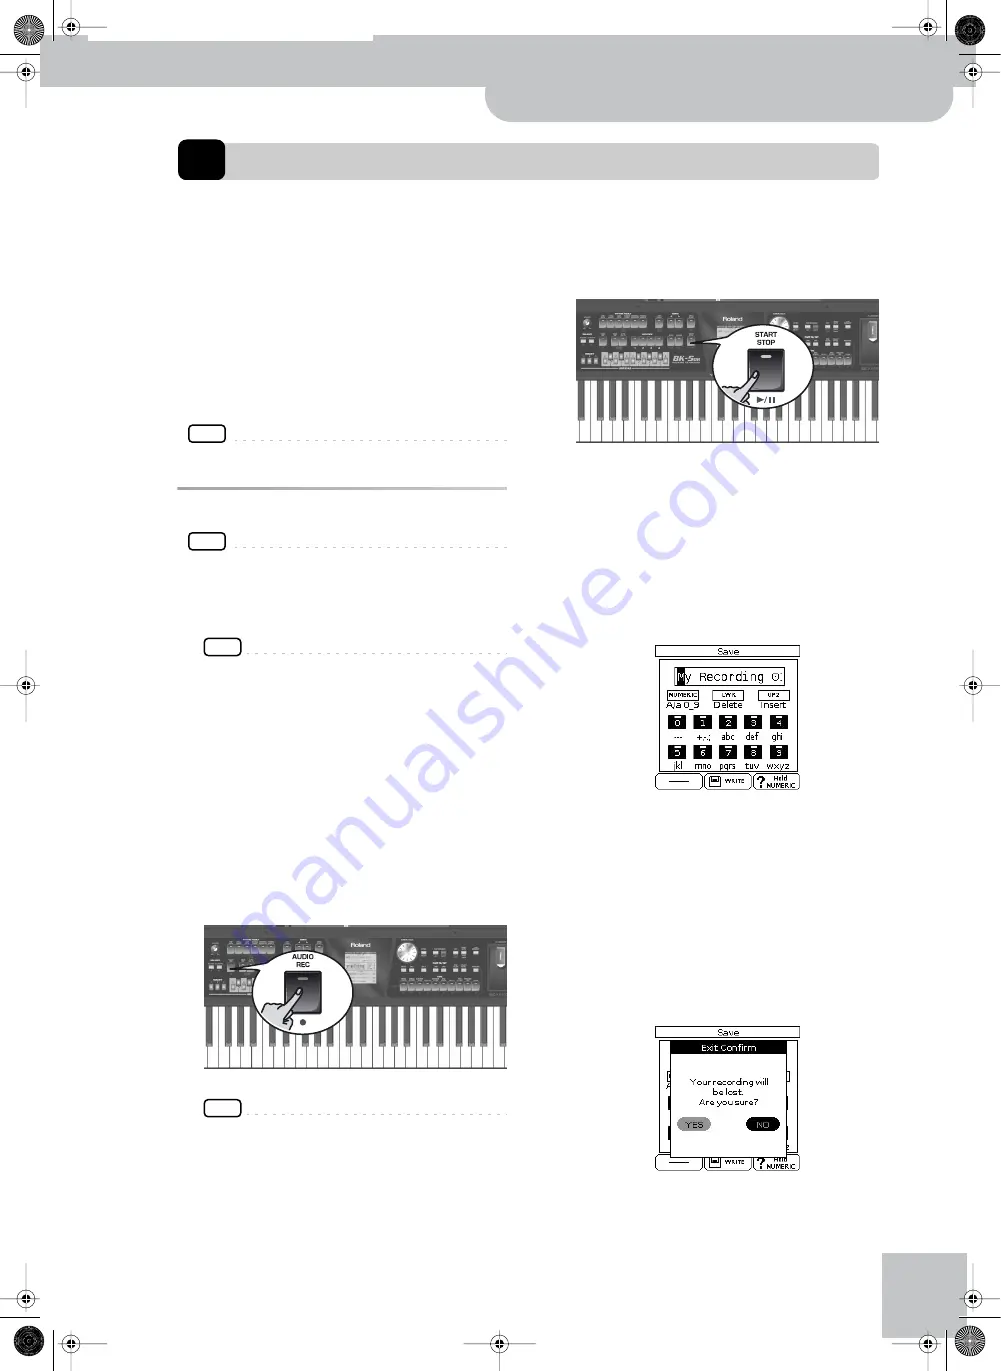
Press the [AUDIO REC] button (its indicator
flashes).
NOTE
If you pressed the [AUDIO REC] button by accident, press
and hold it until its indicator goes dark again.
5.
Press the [START/STOP] button.
The indicators of the [AUDIO REC] and [START/STOP]
buttons light and the BK-5 OR starts playing back the
selected rhythm or song and recording. Everything
you play on the keyboard is recorded.
6.
At the end of the song, press the
[AUDIO REC] or [START/STOP] button to stop
recording.
Rhythm or song playback and recording stop. The fol-
lowing message appears:
You can now…
(a) Save the song under a new name.
‰ “Saving your recording as an audio file” on p. 56
(b) Save the song under the name suggested by the
BK-5 OR (“My recording001”).
‰Press the [WRITE] button. After a few seconds, the
display will return to the main page. In this case, your
audio file is saved in the “My Recordings” folder.
(c) Decide to discard your recording, because you are
unhappy with it.
‰ Press the [EXIT] button. The display changes to:
‰ Rotate the [CURSOR
÷
VALUE] dial to select “YES”,
then press [ENTER/SELECT] to erase your recording.
BK-5or_US.book Page 55 Monday, February 13, 2012 12:19 PM


