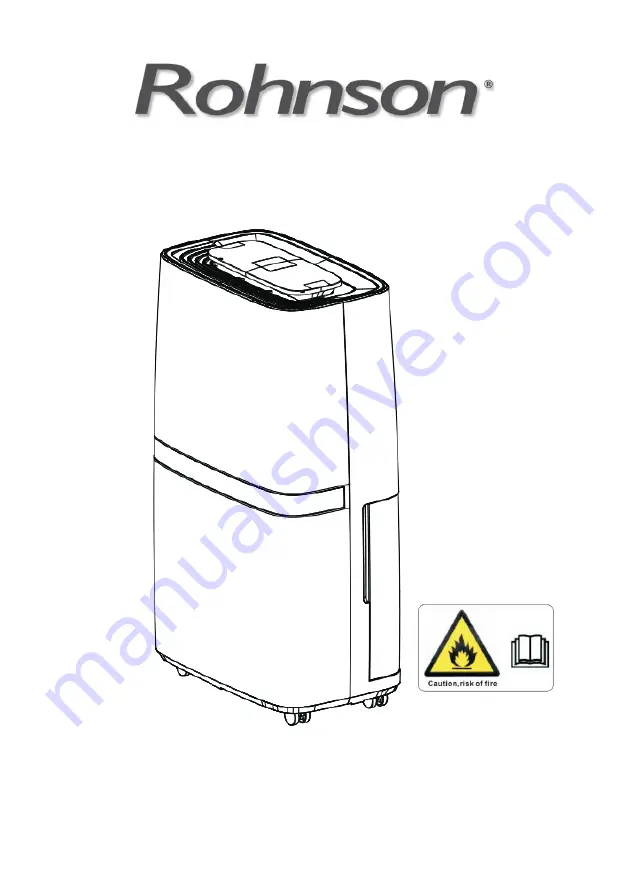
R-9420r Genius Wi-Fi
DEHUMIDIFIER
Thank you for choosing our product. For proper operation, please read and keep this manual carefully.
Instruction Manual
Page 1: ...R 9420r Genius Wi Fi DEHUMIDIFIER Thank you for choosing our product For proper operation please read and keep this manual carefully Instruction Manual...
Page 2: ...ore Operation 4 Operation Instructions Operation Method 5 Drainage Option 8 Maintenance Clean and Maintenance 10 Malfunction Troubleshooting 12 Defrost Procedure 14 Note Graphics in this manual are on...
Page 3: ...C or above 32 C Allow at least 20 30 cm of air space on all sides of the unit Close all doors windows and other outside openings of the room to improve the working effect Please keep the air inlet out...
Page 4: ...er dripping objects Memory function is included in this dehumidifier When nobody is taking care of the unit please turn it off and remove the power plug or disconnect power Do not repair or disassembl...
Page 5: ...Parts Name Front Side Back Side 3 CONTROL PANEL ROLLERS WATER BUCKET Air Outlet AIR FILTER...
Page 6: ...oth sides of the water bucket and pull it out following the arrow direction moved a little after long time transportation If it s not placed properly move it to the correct position by hand Please rem...
Page 7: ...e method Each time pressing the effective button on the control panel will give out a beep sound Notes 1 Stant By Button Set humidity set the range of 30 80 If you press this button for 5 sec you will...
Page 8: ...Timer Off Under the condition that this function is turned on press the button TIMER until the timer screen 00 h Set Timer On When unit is off press this button and the Timer Indicator will be blink...
Page 9: ...re remembered So when power is restored the unit will start back up in the settings it was in when power was lost 1 Alarm Warning Other Instructions Dry Cloths In this option the unit work appropriate...
Page 10: ...ose is connected water will be drained out through it instead of into the bucket 1 Hold the handles on both sides of the water bucket and pull it out following the arrow direction Attention Pull out t...
Page 11: ...d Note that drain hose should not be pressed otherwise water can not be drained out 4 Replace the bucket Make sure the drain hose goes through the bucket s drain Note When you want to take off the dra...
Page 12: ...arning Otherwise the evaporator will catch dust and affect unit s performance Do not dry the air filter with fire or electric hair dryer Otherwise the air filter may be unshaped or caught on fire Don...
Page 13: ...will start to defrost automati cally Compressor will stop for a brief period of time fan will operate in high fan speed Little or no effect in dehumidifyng normal operation Due to temperature rising o...
Page 14: ...er is full in the bucket Bucket has been removed Empty the bucket and replace it If you want the air drier press button to lower the for unit to dehumidify continuously normally but it can Humidity is...
Page 15: ...10 85 Power input DC 3V 3 6V IMPORTANT INFORMATION FOR CORRECT DISPOSAL OF THE PRODUCT IN ACCORDANCE WITH EC DIRECTIVE 2002 96 EC At the end of its working life the product must not be disposed of as...