


Operating the Instrument
R&S
®
RTO2000
89
Getting Started 1332.9719.02 ─ 08
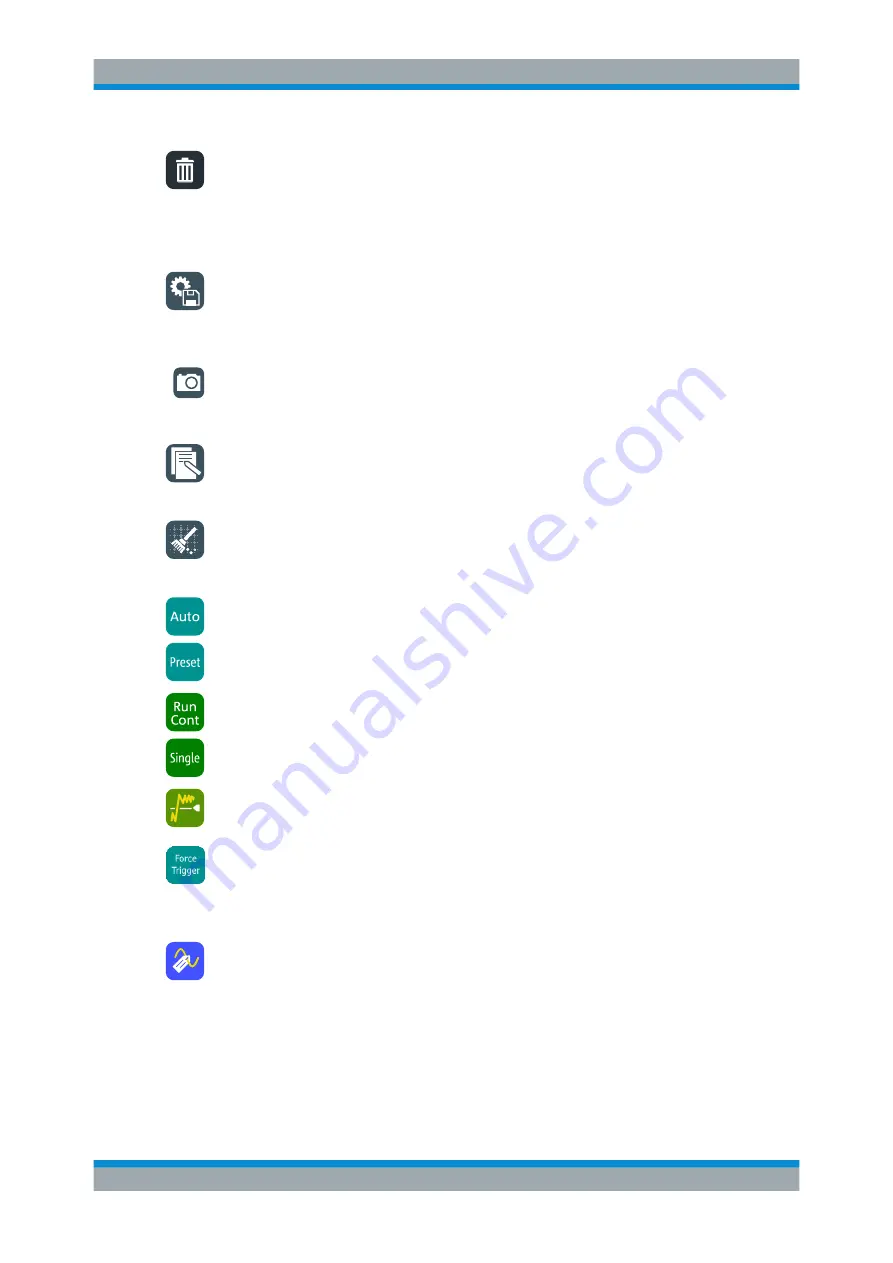
Delete
Removes zoom and histogram areas and their diagrams; measurement areas and their
associated results; and mask segments. The icon also switches off a waveform.
Tap the icon and then tap the area or diagram to be deleted, or the waveform to be
switched off.
Save Settings
Saves the current instrument settings in a saveset. The filename is created according
to the autonaming pattern. You can reload the saveset using the "Load saveset
(Graphical recall)" toolbar icon, or using [Save Recall] > "Save/Recall" > "Settings".
Save Screenshot
Saves a screenshot of the current display using the settings defined in "File" menu >
"Print Setup".
Create Report
Creates a report of the current measurement settings and results using the settings
defined in "File" menu > "Report Setup".
Clear all
Deletes all measurement results including long term measurement and statistics, all
waveforms, and the history.
Autoset and Preset
Performs an autoset, or a preset to a default state. The icons have the same function-
ality as the corresponding keys on the front panel. They are useful when you control
the instrument remotely.
Run / Stop and Run Single
Starts and stops the continuous acquisition, or starts a defined number of acquisition
cycles. The icons have the same functionality as the corresponding keys on the front
panel. They are useful when you control the instrument remotely.
Find Trigger Level
Analyses the signal and sets the trigger level to the middle of the signal peaks.
Force Trigger
Starts an immediate single acquisition. If the acquisition is running in normal mode and
no valid trigger occurs, use "Force Trigger" to confirm that a signal is available. Then
you can use the displayed waveform to determine how to trigger on it.
Label
Defines a waveform label that names or explains the waveform. Tap the icon and then
tap the waveform to be labeled. If you tap the display background, the label is assigned
to the selected waveform. Enter the label text using the onscreen keyboard. The text is
shown in the same color as the waveform. You can drag the label to another position.
Toolbar
Summary of Contents for R&S RTO2000 Series
Page 1: ...R S RTO2000 Oscilloscope Getting Started Getting Started Version 08 1332971902 P C2...
Page 6: ...Contents R S RTO2000 6 Getting Started 1332 9719 02 08...
Page 34: ...Instrument Tour R S RTO2000 34 Getting Started 1332 9719 02 08 Keys and Controls...
Page 72: ...Trying Out the Instrument R S RTO2000 72 Getting Started 1332 9719 02 08 Saving Data...


