background image

16

    XM Dynamic Measurement Module Terminal Base 

Publication

 ICM-IN003D-EN-P - March 2013

5. Position the terminal base unit up tight against the neighboring 

terminal base; make certain the hook on the terminal base slides under 
the edge of the terminal base unit. 

6. Gently push the side connector into the side of the neighboring 

terminal base to complete the backplane connection.

7. Secure the terminal base to the wall with two #6 self-tapping screws.

Wiring 

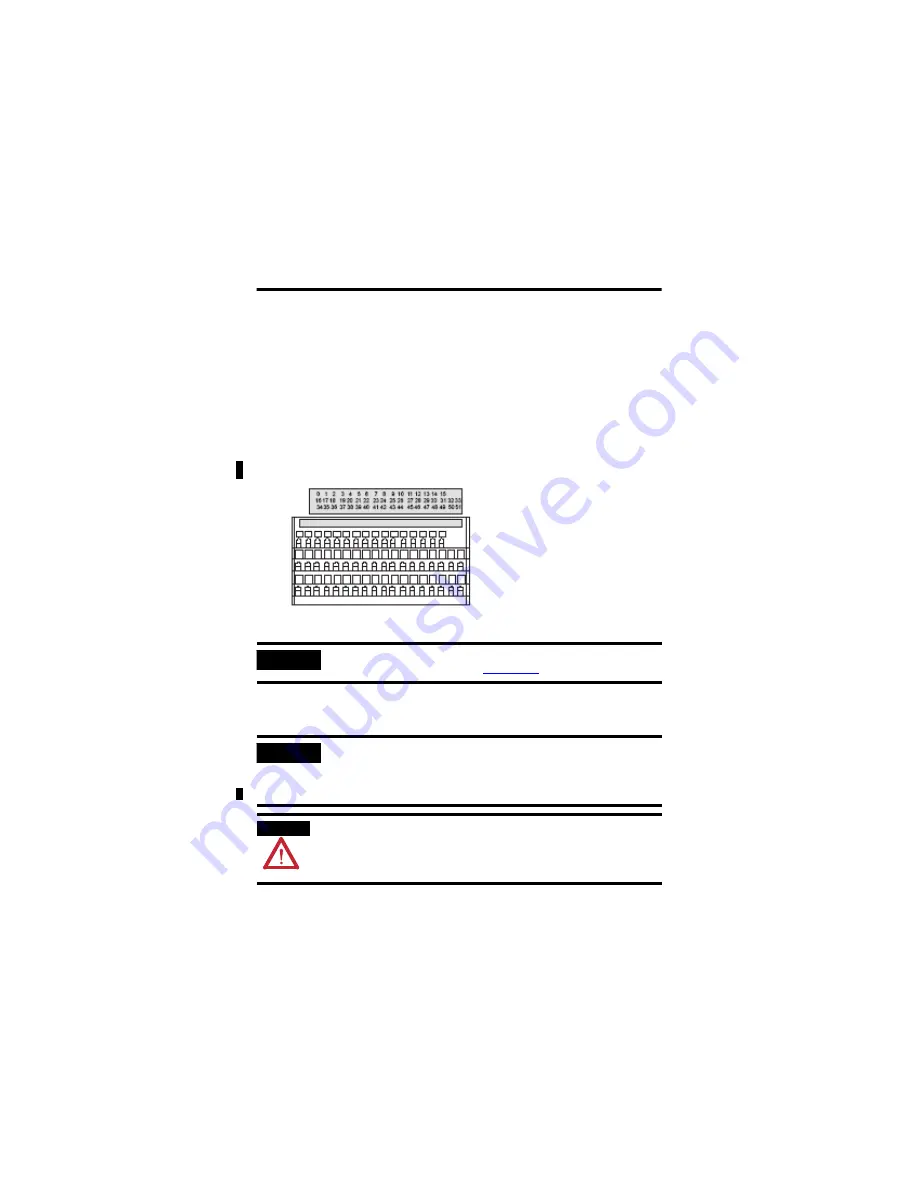
Terminal Assignments

IMPORTANT

For more wiring connection information, see the XM Dynamic Measurement 
Module User Manual, publication

 ICM-UM002

IMPORTANT

The terminal block assignments are different for different terminal base 
units. The following table applies only to the 1440-TBS-J. Refer to the 
installation instructions for the specific terminal base unit for its terminal 
assignments.

WARNING

If you connect or disconnect wiring while the field-side power is on, an 
electrical arc can occur. This could cause an explosion in hazardous location 
installations. Be sure that power is removed or the area is nonhazardous 
before proceeding.

1440-TBS-J

Summary of Contents for Allen-Bradley 1440-TBS-J

Page 1: ...l 4 European Hazardous Location Approval 5 Prevent Electrostatic Discharge 6 About the Terminal Base 6 Before You Begin 8 Power Requirements 8 Wiring Requirements 9 Grounding Requirements 9 Terminatin...

Page 2: ...installation Rockwell Automation Inc cannot assume responsibility or liability for actual use based on the examples and diagrams No patent liability is assumed by Rockwell Automation Inc with respect...

Page 3: ...be present and appropriately designed to prevent personal injury resulting from accessibility to live parts The enclosure must have suitable flame retardant properties to prevent or minimize the sprea...

Page 4: ...e le plus d favorable code de temp rature le plus faible peut tre utilis pour d terminer le code de temp rature global du syst me Les combinaisons d quipements dans le syst me sont sujettes inspection...

Page 5: ...9 15 and EN 60079 0 ATTENTION This equipment is not resistant to sunlight or other sources of UV radiation WARNING This equipment must be mounted in an ATEX certified enclosure with a minimum ingress...

Page 6: ...to be nonhazardous ATTENTION This equipment is sensitive to electrostatic discharge which can cause internal damage and affect normal operation Follow these guidelines when you handle this equipment...

Page 7: ...tab 2 Keyswitch set to the position required for the installed module 3 Male XM Bus connector 4 96 pin female I O connector 5 Terminal base unit 6 Locking tab 7 8 9 Terminal strips for connecting tra...

Page 8: ...r to the specification for the specific modules for power requirements XM Modules with Separate Power Connections ATTENTION To comply with the CE Low Voltage Directive LVD all connections to this equi...

Page 9: ...e sure of safe electrical operating circumstances and to help avoid potential EMI and ground noise that can cause unfavorable operating conditions for your XM system DIN Rail Grounding The DIN rail mu...

Page 10: ...24V power to the XM modules Transducer Grounding Be sure that the transducers are electrically isolated from earth ground Cable shields must be grounded at one end of the cable and the other end left...

Page 11: ...adapter with XM modules the ControlNet adapter has an internal terminating resistor The other terminating resistor must be installed at the opposite end of the bus A second terminating resistor is ins...

Page 12: ...1 or 199 DR4 at a slight angle WARNING If you insert or remove the module while backplane power is on an electrical arc can occur This could cause an explosion in hazardous location installations Be s...

Page 13: ...otate the terminal base onto the rail 4 Press down on the terminal base unit to lock the terminal base on the DIN rail If the terminal base does not lock into place use a screwdriver or similar device...

Page 14: ...l base Make sure the hook on the terminal base slides under the edge of the terminal base unit 4 Press down on the terminal base unit to lock the terminal base on the DIN rail If the terminal base doe...

Page 15: ...on a wall or panel 1 Lay out the required points on the wall panel as shown in the drilling dimension drawing below Maintain at least 25 4 mm 1 0 in air space around your XM system installation 2 Dri...

Page 16: ...ing Terminal Assignments IMPORTANT For more wiring connection information see the XM Dynamic Measurement Module User Manual publication ICM UM002 IMPORTANT The terminal block assignments are different...

Page 17: ...h buffer 6 Buf 0 22 Buf 1 40 Tach 7 Not connected 23 Not connected 41 Sig Common 8 Not connected 24 Not connected Power 42 Not connected 9 Functional Earth 25 Functional Earth 43 24V common 10 Not con...

Page 18: ...Power Terminals I O Terminals 24V DC 3 A max Class 2 SELV PELV 24V DC 3 A Class 2 SELV PELV 24V DC 60 mA Class 2 SELV PELV Wire Size 0 34 2 1 mm2 22 14 AWG solid or stranded copper wire rated at 75 C...

Page 19: ...g 10 500 Hz Operating shock IEC 60068 2 27 Test Ea Unpackaged Shock 15 g Nonoperating shock IEC 60068 2 27 Test Ea Unpackaged Shock 20 g Emissions CISPR 11 IEC 61000 6 4 Class A ESD Immunity IEC 6100...

Page 20: ...and Canada See UL File E65584 UL Listed for Class I Division 2 Group A B C D Hazardous Locations certified for U S and Canada See UL File E194810 CE European Union 2004 108 EC EMC Directive compliant...

Page 21: ...Certification link at http www ab com for Declarations of Conformity Certificates and other certification details KC Korean Registration of Broadcasting and Communications Equipment compliant with Art...

Page 22: ...tructions publication ICM IN002 Provides information about mounting the Dynamic Measurement module and technical specifications Dynamic Measurement Module User Manual publication ICM UM002 Provides de...

Page 23: ...XM Dynamic Measurement Module Terminal Base 23 Publication ICM IN003D EN P March 2013 Notes...

Page 24: ...to ensure that they are fully operational when shipped from the manufacturing facility However if your product is not functioning and needs to be returned follow these procedures Documentation Feedbac...

Reviews: