


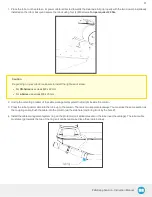


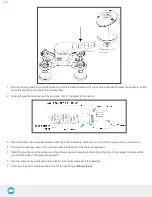


4. Move the robot so the robot tool flange is parallel to the ground: change the feature reference to Base and modify the tool pos-
ition like the following: RX=0°, RY= 180°, RZ=0°.
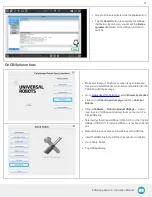
5. Modify the Tool Position X value (base reference) to 333.35 mm (TCP must be 0).
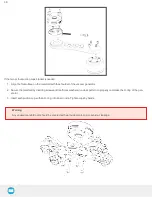
Warning
Move the robot slowly and watch the movement to avoid collisions.
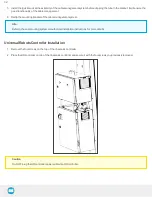
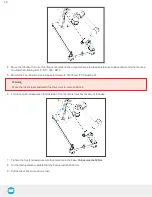
6. Turn the column clockwise so that the side of the robot wrist touches the side of the base.
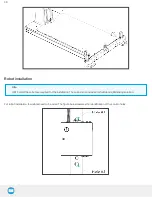
7. Tighten the four (4) screws to secure the column onto the base. Torque must be 50 Nm.
8. On the teach pendant, validate that the X value is still 333.35 mm.
9. Put the robot back in position of use.
36
Summary of Contents for PALLETIZING SOLUTION
Page 12: ...Palletizing Solution Instruction Manual 12...
Page 72: ...6 1 2 AirPick Vacuum Gripper Fig 6 1 AirPick general dimensions 72...
Page 73: ...Palletizing Solution Instruction Manual 6 1 3 Extra Reach Bracket 73...
Page 74: ...6 1 4 Bracket for two 2 Suction Cups Fig 6 2 Two air nodes bracket s dimensions 74...
Page 80: ...80...
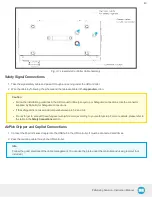
Page 95: ...1 2 2 Safety Connections Fig 12 2 Universal Robots Controller Safety Connections Schema 95...