background image

Installation and Operating Instructions 

Issue: 1


Description: 

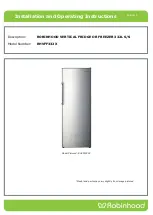
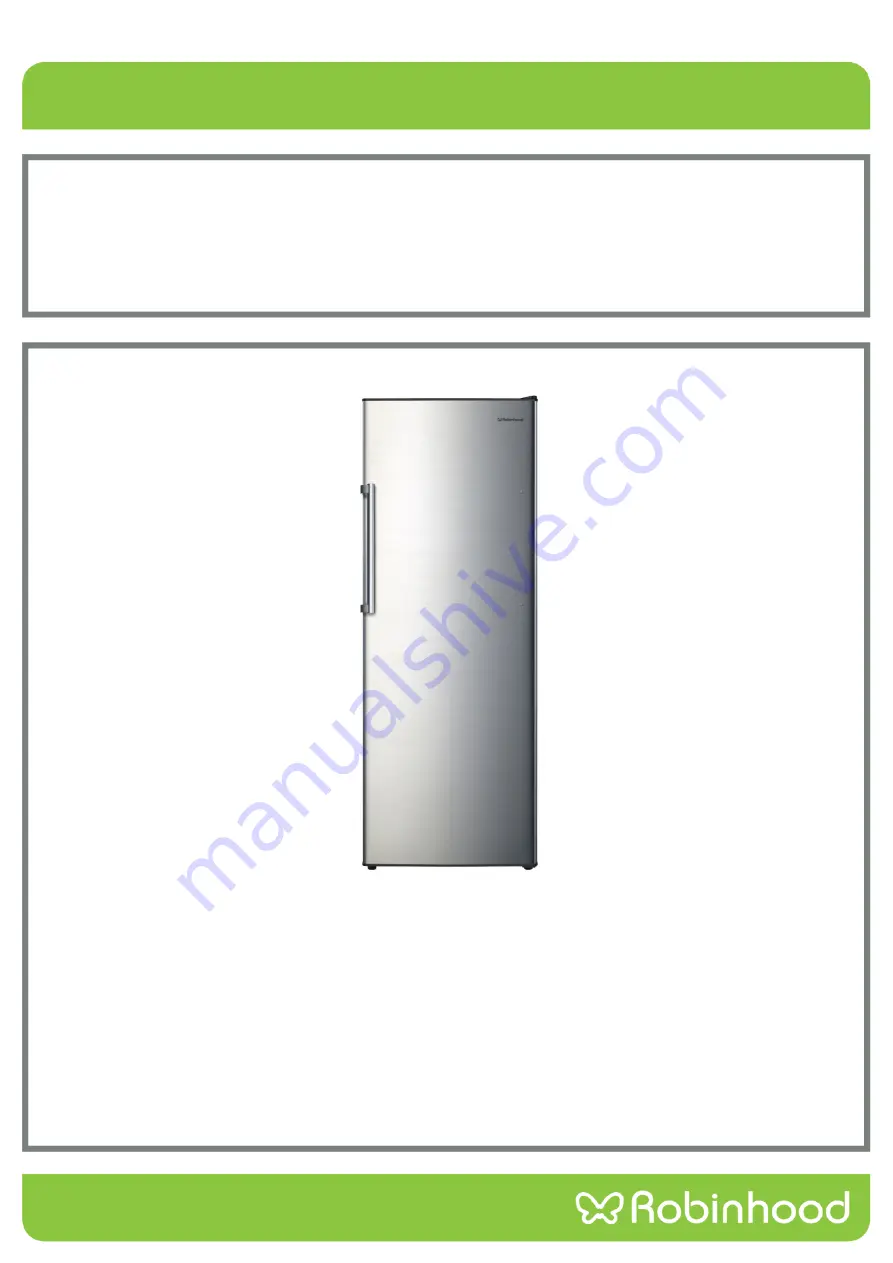
ROBINHOOD VERTICAL FRIDGE OR FREEZER 332L S/S 

Model Number: 

RHVFF332X 


Model Pictured: RHVFF332X 


*Model and parts may vary slightly from image pictured 


Summary of Contents for RHVFF332X

Page 1: ...tallation and Operating Instructions Issue 1 Description ROBINHOOD VERTICAL FRIDGE OR FREEZER 332L S S Model Number RHVFF332X Model Pictured RHVFF332X Model and parts may vary slightly from image pictured ...

Page 2: ...ur proof of purchase along with any other important documents about this product for future reference Due to continual product development Robinhood reserves the right to alter specifications or appearances without notice Important Safety Instructions 1 Installation Instructions 2 Appliance Details 5 Operating Instructions 6 Care and Maintenance 7 Troubleshooting 9 Warranty Certificate Australia 1...

Page 3: ...ge the refrigerant circuit 13 WARNING Do not use electrical appliances inside the food storage compartments of the appliance 14 WARNING When positioning the appliance ensure the supply cord is not trapped or damaged 15 WARNING Do not locate multiple portable socket outlets or portable power supplies at the rear of the appliance 16 Do not use mechanical devices or other means to accelerate the defr...

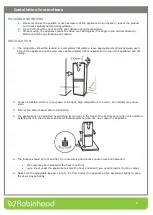
Page 4: ...etween the top of the appliance and the ceiling 2 Choose a location which is not exposed to sunlight High temperature or humid as humidity may cause stain 3 Pull out the bottom panel before installation 4 The appliance can be adjusted by switching its two legs in the front of the bottom panel when it is unstable Rotating them in the clockwise and anti clockwise direction can rise up or down the ap...

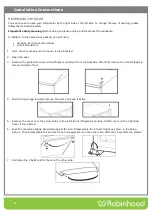
Page 5: ...nected 2 Open the door 3 Remove the protective cover with a Philips screwdriver from the backside After that remove the 3 shelf tapping screws and save them 4 Push the top hinge forward remove the door and keep it aside 5 Remove the cover over the screw holes on the left side of refrigerator housing Attach cover on the right side Cover is force fitted 6 Push the machine slightly backward against t...

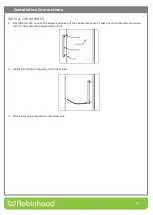
Page 6: ...1 Use Allen wrench to open the screws and take out the handle component Twist out connection screw and use card lift up screw hole plug and take it out 2 Install the handle component on the right side 3 Stick screw hole plug into the left screw hole ...

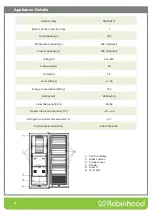
Page 7: ...city L 308 Optional Voltage V 220 240 Frequency Hz 50 Current A 1 4 Voice dB A 45 Energy consumption kWh y 314 Refrigerant R600a 67g Gross Net weight KG 65 58 Freezer interior temperature C 15 22 Refrigerator interior temperature C 1 7 Dimensions WxDxH mm 600x703x1644 1 Control display 2 Glass shelves 3 Crisper cover 4 Drawer 5 Switch 6 Door bins ...

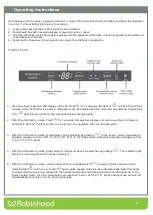
Page 8: ...he child lock is unlock Press for 3 seconds temperature display unit can be switched to Celsius or Fahrenheit light of will be turned on according to the operation done mentioned earlier 3 After the child lock is unlock temperature can be adjusted by pressing In the freezer mode temperature adjusted ranges are from 22 C to 15 C 8 F 5 F In the fridge mode temperature adjusted ranges are from 1 C to...

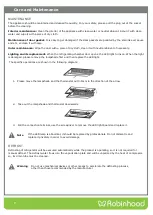
Page 9: ...remove the lampshade first and then replace the LED light The specific operations are shown in the following diagram 1 Please move the lampshade and the thermostat out 3 5mm in the direction of the arrow 2 Take out the lampshade and thermostat downwards 3 Pull the connection terminal use the screwdriver to remove the LED light board and replace it Note If the LED lamp is abnormal it should be repl...

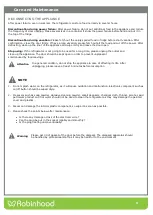
Page 10: ...open in order to prevent unpleasant smell caused by food leavings Attention In a general condition do not stop the appliance in case of affecting its life After unplugging please leave at least 5 minutes before resumption NOTE 1 Do not splash water on the refrigerator as it will cause oxidation and malfunction Electronic component such as on off button should be wiped dryly 2 Cleansers such as soa...

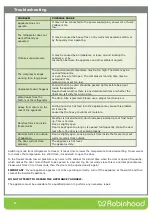
Page 11: ...ause this problem Or it may be caused by the heavy environment moisture Moisture forms on inside freezer walls Weather is hot and humid which increases internal rate of frost build up This is normal Door is slightly open Door is kept open too long or is opened too frequently Open the door less often The door is not sealed properly Moisture forms on outside of appliance Door is slightly open causin...

Page 12: ...rent You are responsible for the expense of making a claim under this warranty This warranty is given by Shriro Australia Pty Ltd ABN 28 002 386 129 Telephone 1800 648 556 Facsimile 1800 628 577 Email customercare robinhood com au www robinhood com au Attention Customer Services Manager Warranty exclusions 1 The warranty does not apply where in Shriro s opinion The defect is caused by misuse wear ...

Page 13: ...dic cleaners Heat damage including from washing the product at high temperatures Impact or mishandling the product including the impact caused by objects scraped along thrown or dropped on the product surface or excessive weight being placed on the product Structural or support changes in or affecting the building or the application where the product has been installed Failure to clean or maintain...

Reviews: