Please read this manual before use
ROBER
TS
Sound for Generations
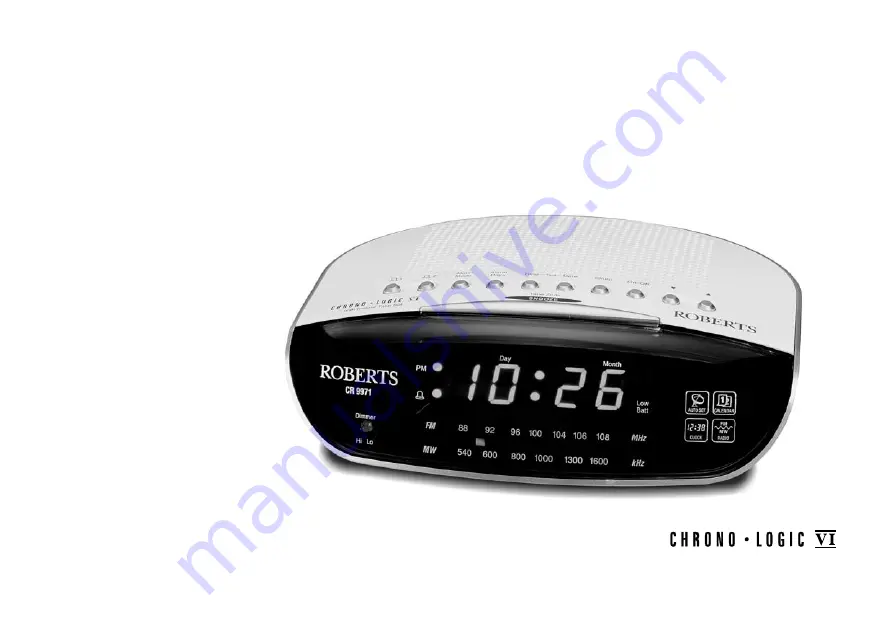
CR9971
2 Band Auto Set Dual Alarm
Clock Radio
Page 1: ...Please read this manual before use ROBERTSSound for Generations CR9971 2 Band Auto Set Dual Alarm Clock Radio...
Page 2: ...8 Setting alarm day 9 Weekday alarm 9 Weekend alarm 10 Everyday alarm 10 Monday to Saturday alarm 11 Sunday only alarm 11 Checking alarm times 12 Checking alarm mode 12 Snooze control 13 Sleep timer...
Page 3: ...elpline on 020 8758 0338 Mon Fri Controls Top 1 8 9 11 7 2 1 Alarm 1 button 2 Alarm 2 button 3 Alarm mode button 4 Alarm days button 5 Time button 6 Snooze Time Zone button 7 Date button 8 Sleep butto...
Page 4: ...Controls Front 12 PM indicator 13 Alarm indicator 14 Low battery indicator 15 LED display 16 Dial scale 17 Auto dimmer 16 17 12 3 15 13 14...
Page 5: ...If you need any further advice please call our Technical Helpline on 020 8758 0338 Mon Fri Controls Right side 18 Wave band selector switch 19 Volume control 20 Tuning control 18 19 20 4...
Page 6: ...Base Controls 21 21 Battery compartment 22 Headphone socket 5 22...
Page 7: ...lso automatically adjust for summer winter time The mains plug is used to connect your apparatus to the AC mains supply In order to completely disconnect the apparatus from the AC mains supply the mai...
Page 8: ...Up or Down buttons 7 Setting the year manually 1 TosettheyearholddownboththeTimeandDatebuttons Thedisplay will change to show the year 2 Whilst holding down the Time and Date buttons set the correct...
Page 9: ...the correct 12 hour cycle is selected 8 Setting alarm mode The alarms can be set to wake you by either the buzzer or the radio 1 Whilst holding down the Alarm 1 or Alarm 2 buttons repeatedly press and...
Page 10: ...buttons depending on which alarm you wish to set day for 2 Whilst holding down Alarm 1 or Alarm 2 buttons repeatedly press and release the Alarm Days button until display shows 1 5 3 The alarm will so...
Page 11: ...hold down the Alarm 1 or Alarm 2 button Whilst holding down the Alarm 1 or Alarm 2 button repeatedly press the Alarm mode button until the display shows Everyday alarm 1 Press and hold down the Alarm...
Page 12: ...lding down the Alarm 1 or Alarm 2 button repeatedly press the Alarm mode button until the display shows Sunday only alarm 1 Press and hold down the Alarm 1 or Alarm 2 buttons depending on which alarm...
Page 13: ...the Alarm 1 or Alarm 2 buttons to return to normal time To adjust the alarm time refer to instructions on pages 8 9 Checking alarm mode 1 Press and hold down either Alarm 1 or Alarm 2 buttons dependin...
Page 14: ...can program your clock radio to play the radio for up to 90 minutes and then switch off 1 Press the Sleep button The display will show the sleep time 2 To increase or decrease the amount of time the r...
Page 15: ...d switch 3 Tune in to the desired station using the Tuning control 4 Adjust volume using the Volume control 5 The Wire aerial located on the rear of your clock radio is for FM reception Thewireshouldb...
Page 16: ...clock radio to the household AC mains supply the battery no longer supplies power to your clock radio s computer memory A fresh backup battery can supply power to your clock radio s computer memory f...
Page 17: ...on to AC mains supply during battery replacement This will provide power whilst the original battery is removed 4 Open the battery cover located on the underside of the clock radio by pushing the cove...
Page 18: ...cted e g 12 2 Whilst holding down the Snooze Time Zone button adjust the time zone using the Up or Down buttons See following table for details of time zones and their offsets relative to GMT Zone Off...
Page 19: ...echnical Helpline on 020 8758 0338 Mon Fri 18 Headphone socket A 3 5mm Headphone Socket located on the rear of your clock radio is provided for use with either headphones or an earpiece Inserting a pl...
Page 20: ...Back up Battery 1 x CR2032 Lithium 3 5 year life Frequency Coverage FM 87 5 108MHz MW 515 1635 kHz Circuit features Loudspeaker 8 ohms Aerial System FM Wire Aerial MW Built in Ferrite aerial The Comp...
Page 21: ...o objects filled with liquids such as vases shall be placed on the apparatus The name plate is located on the underside of the unit Mains supply The CR9971 will operate from a supply of AC 230volts 50...
Page 22: ...Notes 21...
Page 23: ...2 Consequential damage 3 Receivers with removed or defaced serial numbers Procedure Any claim under this guarantee should be made through the dealer from whom the instrument was purchased It is likely...
Page 24: ...ROBERTS RADIO TECHNICAL SERVICES 97 99 Worton Road Isleworth Middlesex TW7 6EG Technical Helpline 020 8758 0338 Mon Fri Website http www robertsradio co uk Issue 2...