Chapter 3 Functions for Master Making
56
Adjusting the Gradation of Photos
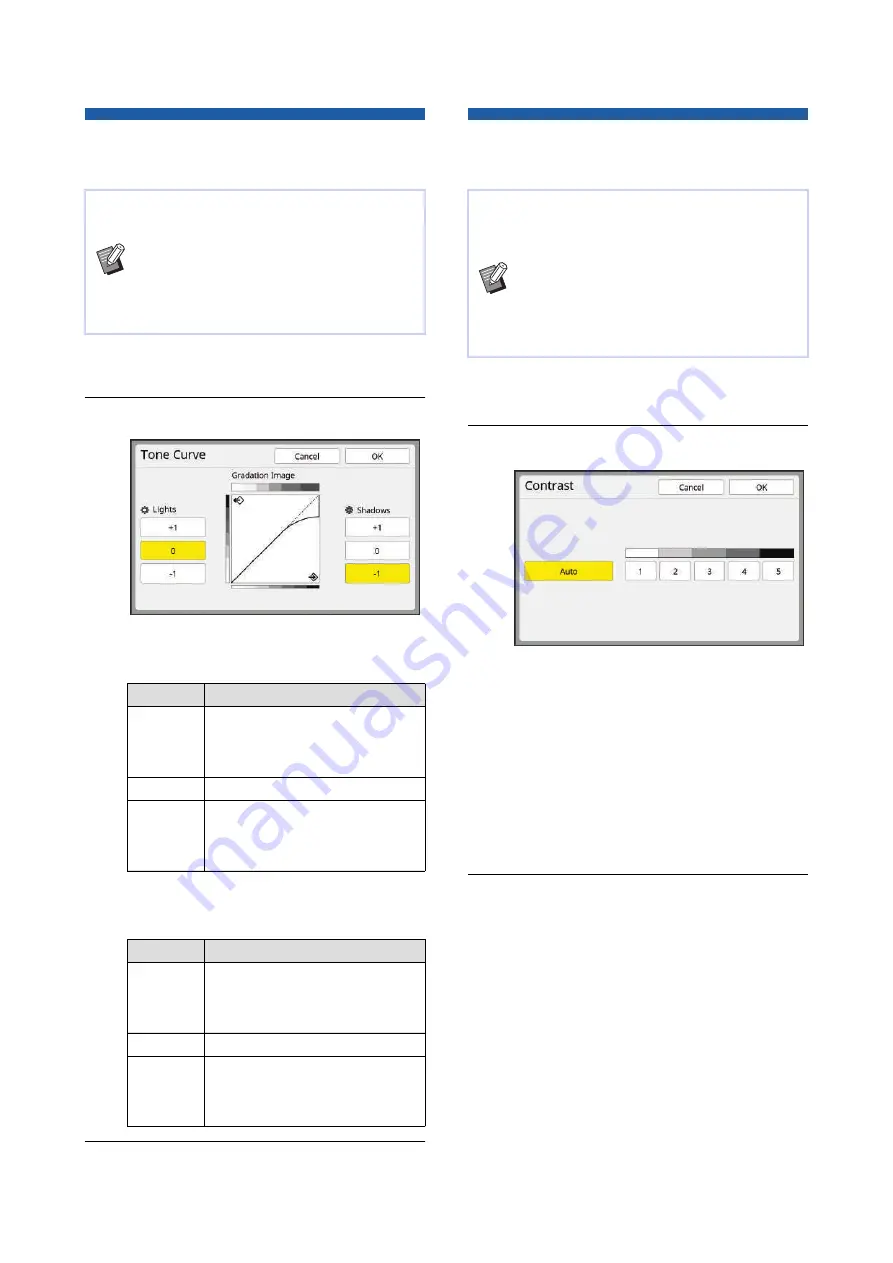
[Tone Curve]
1
Touch [Tone Curve] in the [Func-
tions] tab screen.
2
Touch a target setting button.
■
[Lights]
You can adjust the expression of the bright
parts in the photo.
■
[Shadows]
You can adjust the expression of the dark parts
in the photo.
3
Touch [OK].
Adjusting the Contrast of the
Original [Contrast]
1
Touch [Contrast] in the [Basic] tab
screen.
2
Touch a target setting button.
■
[Auto]
You can select this button only when [Line] is
selected in [Image] (
When you select [Auto], the contrast is
adjusted optimally according to the paper color
of the original.
■
[1] to [5]
You can adjust the scanning density in five lev-
els.
Select [1] for the lowest density.
Select [5] for the highest density.
3
Touch [OK].
You can adjust the tone of the bright parts and dark
parts in a photo in incremental levels.
B
[Tone Curve] can only be selected when a
setting other than [Line] is specified for
B
Cannot be used with the following function.
C
[Color Separation] - [Photo Color Separation]
Setting
Description
[+1]
Reduces the range that is
expressed in bright colors.
The fine parts within the bright
range becomes more visible.
[0]
Applies standard processing.
[-1]
Enlarges the range that is
expressed in bright colors.
Some fine parts within the bright
range may not be visible.
Setting
Description
[+1]
Enlarges the range that is
expressed in dark colors.
Some fine parts within the dark
range may be blurred.
[0]
Applies standard processing.
[-1]
Reduces the range that is
expressed in dark colors.
The fine parts within the dark
range becomes more visible.
You can adjust the contrast according to the condi-
tions such as the paper color and the tint of the orig-
inal.
B
You can change the default setting in
[Scanning Contrast] (
[Admin.].
B
The [Contrast] setting cannot be changed
when [Ink Saving] (
Summary of Contents for MH 9350
Page 21: ...Chapter 1 19 1 About This Machine ...
Page 31: ...29 2 Chapter 2 Basic Operations ...
Page 53: ...51 3 Chapter 3 Functions for Master Making ...
Page 97: ...95 4 Chapter 4 Functions for Printing ...
Page 109: ...107 5 Chapter 5 Useful Functions ...
Page 130: ...Chapter 5 Useful Functions 128 ...
Page 131: ...129 6 Chapter 6 Functions for Scanning ...
Page 137: ...135 7 Chapter 7 Setting the Operation Conditions ...
Page 159: ...157 8 Chapter 8 RISO Console ...
Page 165: ...163 9 Chapter 9 Replacing Consumables ...
Page 177: ...175 10 Chapter 10 Maintenance ...
Page 181: ...179 11 Chapter 11 Troubleshooting ...
Page 205: ...203 12 Chapter 12 Appendix ...
Page 215: ...Chapter 12 Appendix 213 12 V View edit 48 W WAKE UP key 23 Z Zoom 71 ...


