Chapter 3 Functions for Master Making
55
3
Selecting a Method to Process the
Gradation of Photos
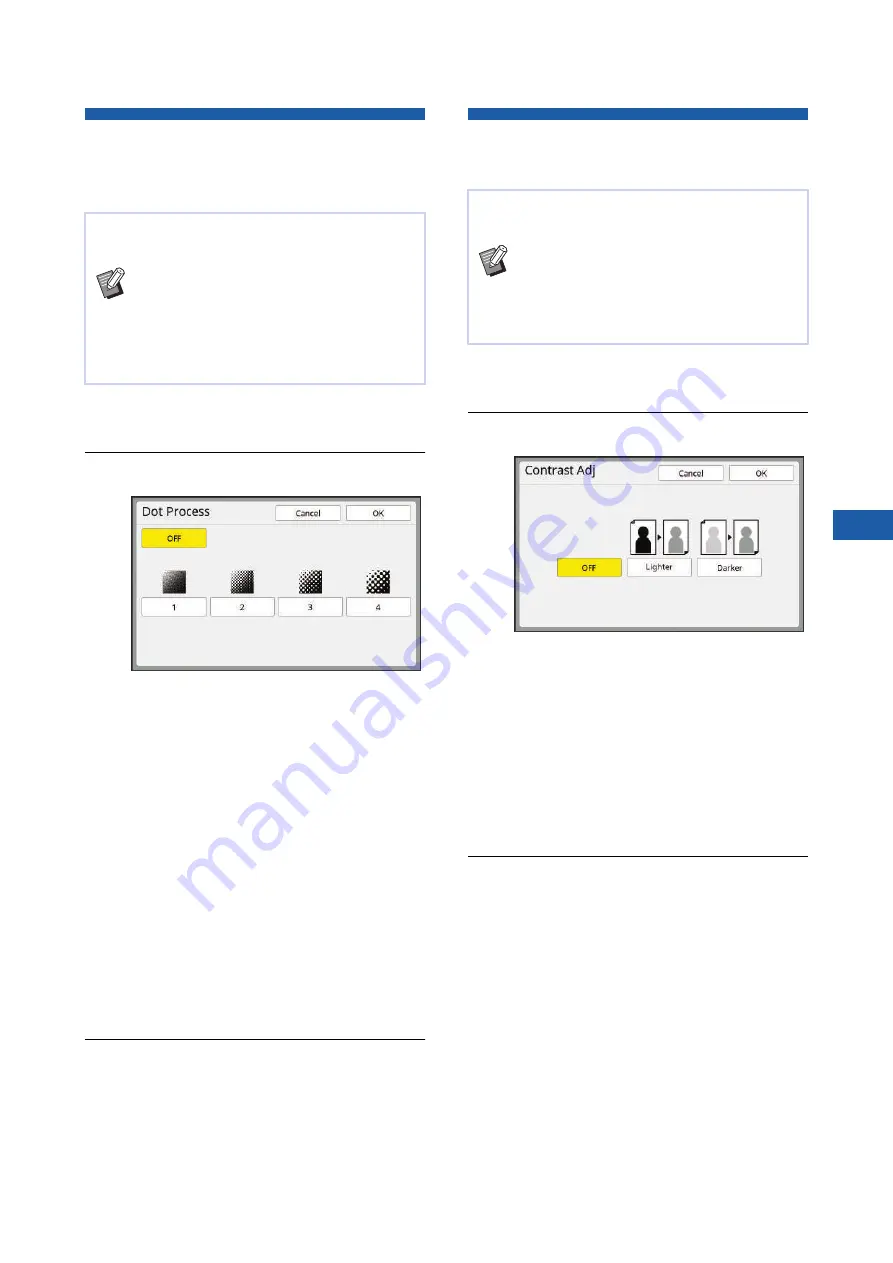
[Dot Process]
1
Touch [Dot Process] in the [Func-
tions] tab screen.
2
Touch a target setting button.
■
[OFF]
Gradation of photos is processed by an error
diffusion method.
The gradation is expressed by changing the
density of dots that are irregularly arranged.
■
[1] to [4]
Gradation of photos is processed by a dot pro-
cess method.
The gradation is expressed by changing the
size of dots that are regularly arranged.
You can select the pattern of the screen ruling
(the number of dots per inch). The higher the
screen ruling, the finer the arrangement of dots,
which allows for smooth expression of the gra-
dation.
[1]: Equivalent to 212 lines
[2]: Equivalent to 106 lines
[3]: Equivalent to 71 lines
[4]: Equivalent to 53 lines
3
Touch [OK].
Adjusting the Darkness and Light-
ness of Photos [Contrast Adj]
1
Touch [Contrast Adj] in the [Func-
tions] tab screen.
2
Touch a target setting button.
■
[OFF]
The [Contrast Adj] processing is not performed.
■
[Lighter]
Darker parts are expressed more clearly.
Select this option when a dark object is not
clearly seen in an overall dark photo.
■
[Darker]
Lighter parts are expressed more clearly.
Select this option when a bright object is not
clearly seen in an overall bright photo.
3
Touch [OK].
You can set the processing method to express the
gradation of a photo.
B
[Dot Process] can be selected only when
[Photo] or [Duo] has been set for [Image]
(
B
Cannot be used with the following function.
C
[Color Separation] - [Photo Color Sepa-
ration]
You can change a blurry photo to a sharp final out-
put.
B
[Contrast Adj] can be selected only when
[Photo] has been set for [Image] (
B
Cannot be used with the following function.
C
[Color Separation] - [Photo Color Sepa-
ration]
Summary of Contents for MH 9350
Page 21: ...Chapter 1 19 1 About This Machine ...
Page 31: ...29 2 Chapter 2 Basic Operations ...
Page 53: ...51 3 Chapter 3 Functions for Master Making ...
Page 97: ...95 4 Chapter 4 Functions for Printing ...
Page 109: ...107 5 Chapter 5 Useful Functions ...
Page 130: ...Chapter 5 Useful Functions 128 ...
Page 131: ...129 6 Chapter 6 Functions for Scanning ...
Page 137: ...135 7 Chapter 7 Setting the Operation Conditions ...
Page 159: ...157 8 Chapter 8 RISO Console ...
Page 165: ...163 9 Chapter 9 Replacing Consumables ...
Page 177: ...175 10 Chapter 10 Maintenance ...
Page 181: ...179 11 Chapter 11 Troubleshooting ...
Page 205: ...203 12 Chapter 12 Appendix ...
Page 215: ...Chapter 12 Appendix 213 12 V View edit 48 W WAKE UP key 23 Z Zoom 71 ...


