


Functions for Master-Making
Dual-Color Printing with 1 Original [Easy 2Color]
107
Setting an Original with the Separation Sheet
For the “Separation Sheet”, you must scan the Area Specification Sheet prior to scanning the original.
1
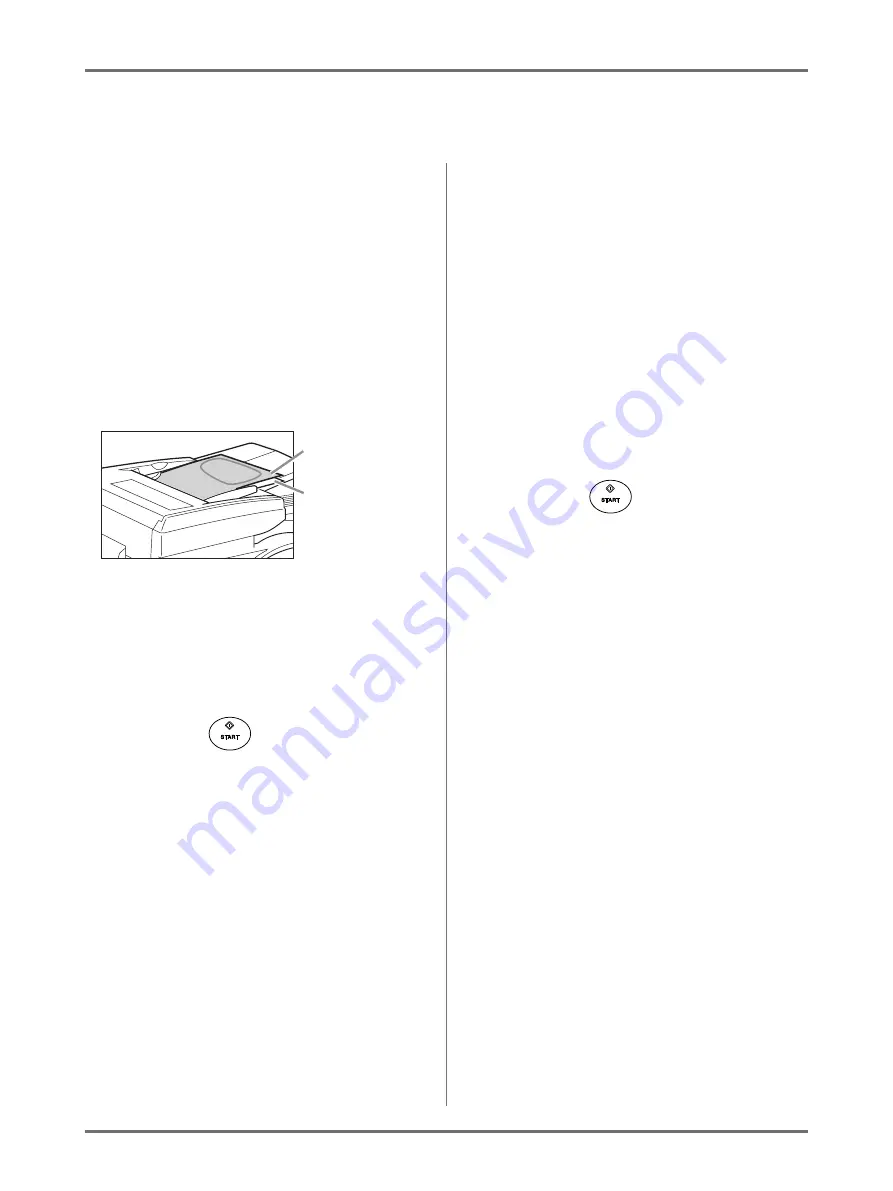
Place the Separation Sheet.
When placing on the Glass Platen
Place the Separation Sheet on the Glass
Platen face-down by aligning the center, and
close the Platen Cover.
When placing in the optional ADF
unit
Set the original face-up.
To place the original, see
You can set the original and the Separation
Sheets at one time. In that case, set the Sepa-
ration Sheet on top of the original.
Important!:
• See “Originals” (
paper that you can use with the ADF unit.
2
Configure print functions.
Make various settings as needed.
3
Press the
key.
The scanning of Separation Sheets starts.
Once the scan has completed, the Master Making
Basic Screen appears.
4
Place the original.
When placing on the Glass Platen:
Remove the Separation Sheet from the glass
platen and place the original as described in
step 1.
Note:
• Scrap books, etc. should be placed on Glass
Platen.
When placing one sheet at a time
into the ADF unit:
Place the original as described in step 1.
When placing two sheets together
into the ADF unit:
The original is automatically scanned.
5
Press the
key.
The scanning of original starts.
Afterwards, perform the same operation as the
master-making and printing process.
Separation Sheet
Original


