Displaying the RISO Console Screen
6
RISO Console
Accessing the RISO Controller IS300 from your web browser enables you, among other things, to utilize the job man-
ager for output data, and to monitor the printer. This software is called “RISO Console”.
The software makes available a variety of convenient functions, including the
[Create new queue]
function that
reduces the time taken to set printing conditions, and the
[Hold queue]
function that enables quick printing by simply
retrieving the data registered in advance.
The basic functions and the operation method of the RISO Console are explained here.
For details on the functions for the administrator, see “Administrator Settings”.
For user authority (guest user / general user / administrator), see “Logging in to the Print Controller”.
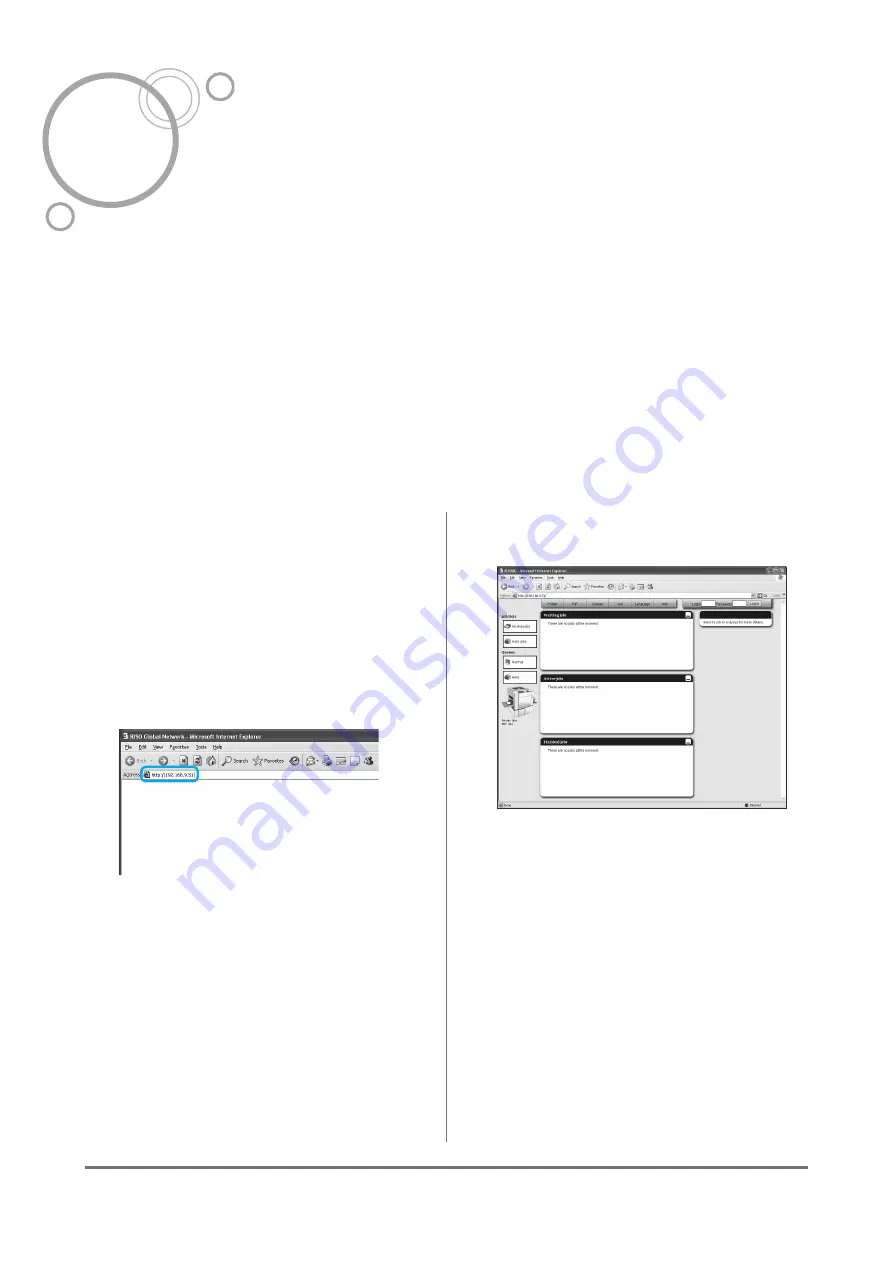
Displaying the RISO Console Screen
1
Launch your Web browser.
See your computer operating manual or Help.
2
Enter the IP address in the address
bar of the URL.
In the address bar, enter http://the IP address of
the IS300.
The administrator sets the IP address. Enter the
IP address (i.e. 192.168.9.51) confirmed by the
administrator.
3
Press the [ENTER] key.
The screen of the RISO console is displayed.
Note:
• We recommend creating a desktop shortcut as
an easy way of displaying the RISO Console
screen.
• When accessing to the print controller by https
(encrypted communication), enter
https://(the IP address of the IS300) in the
address bar.
It is also possible to access the print controller
automatically by https (encrypted communica-
tion).
• The RISO Console screen can be also dis-
played from
[WWW]
on the RISO Management
Tool.
Summary of Contents for IS300
Page 1: ......
Page 2: ......
Page 83: ...Using the Included Utility Software Using SMAP Windows only 81 ...
Page 85: ...Appendix Troubleshooting 83 ...
Page 87: ......
Page 88: ......


