236
opening the document, you can modify or print the document.
5.9.2 Edit Function Diagram Program
5.9.2.1 Place Function Block
While you set up a new document, you can write your control Program in the new program
interface. The method and process of placement is as follows:
The method of placing function block is as follows: choose function block needed from the
workspace left of the program interface.
Operation Procedure:
1. Choose corresponding function group. “Constant”, “Basic”, ”Special” list and various blocks
can be selected .Refer to the function block instruction chapter 5 for detail instruction of
function blocks
2. Click the block you needed with left button of the mouse
3. Move the mouse to the proper place in the program interface, click with left button of the
mouse, then complete the placement of a block.
4. According to above operation, put all modules in program interface.
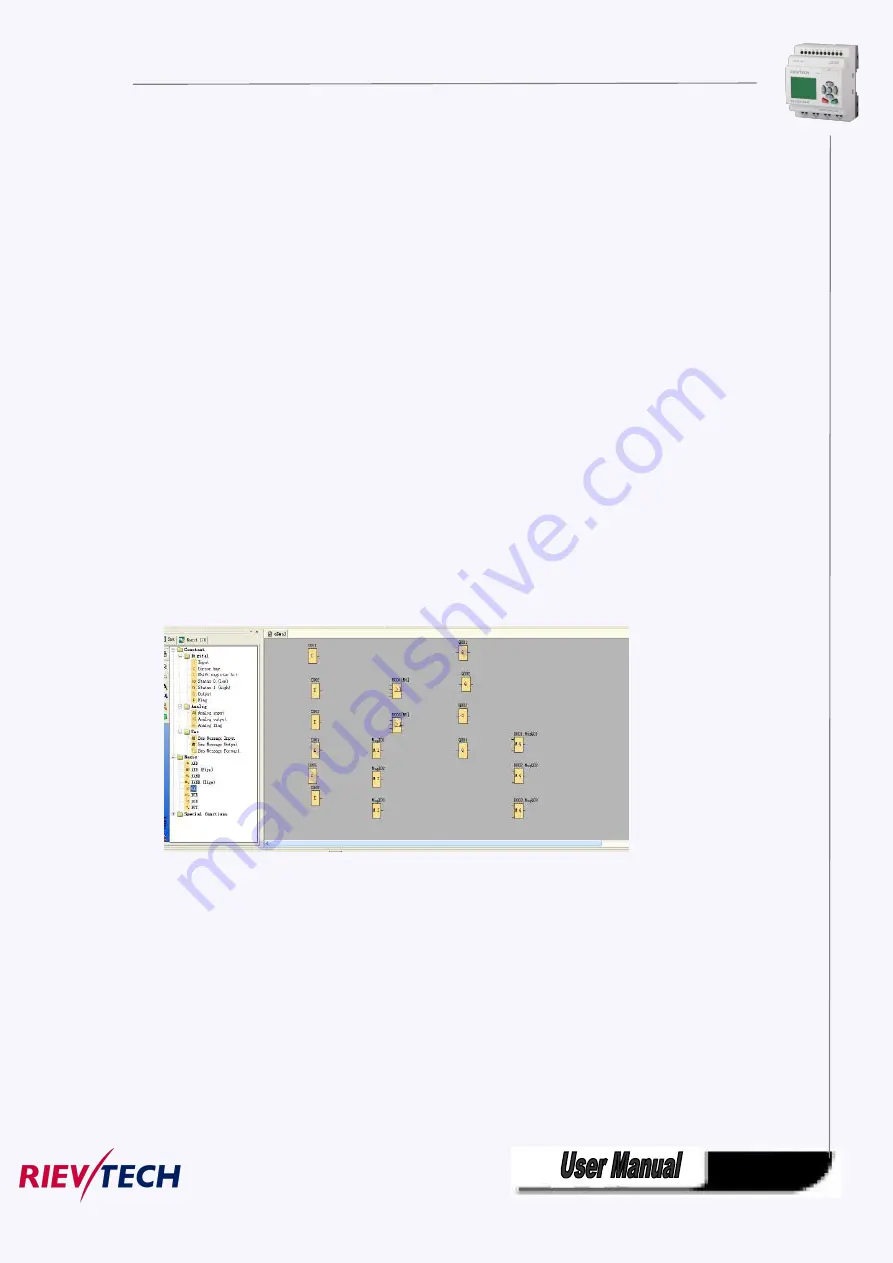
E.g.: To complete all the function block of one certain system control, as Fig 7.10.1 shown, put
all function modules into the edit program interface.
Fig 7.10.1 Place block
5.9.2.2 Edit Property of Function Block
After put all function block in edit box, it’s necessary to setup property of every function block.
This is the most important step to write function block Program.
Operation Method:
1. In the function block Program interface, click some block twice with left button of the mouse,
or pitch on a block and press right button of the mouse, then an edit menu appears, and then
click “Properties…” of this menu. As shown in Fig 11.6:
Summary of Contents for ELC-12AC-R-N
Page 1: ...Applied to ELC PR series Ver 3 0 Programmable Relay User s Manual Rievtech Electronic Co Ltd...
Page 27: ...27 PR 14 and PR 18 series 1 PR 18 CPU 2 PR E extension PR 24 series...
Page 31: ...31 AC type digital inputs Analog Inputs DC 0 10V Analog inputs current Inputs 0 20mA...
Page 40: ...40...
Page 120: ...120 C Analog input value of CPU and extensions D Analog output value of CPU and extensions...
Page 121: ...121 E F digital flag status F AF analog flag value...
Page 122: ...122 G M status H AM value...
Page 221: ...221 7 Click Install button to install Program is being installed...
Page 250: ...250...
Page 256: ...256 You can read the parameters from the PLC...
Page 258: ...258...
Page 267: ...267 TCP Sever 192 168 0 227 port 8004 is ok TCP Sever 192 168 0 227 port 8005 is ok...
Page 268: ...268 TCP Sever 192 168 0 227 port 8006 is ok TCP Sever 192 168 0 227 port 8007 is ok...
Page 269: ...269 TCP Sever 192 168 0 227 port 8008 is ok TCP Sever 192 168 0 227 port 8009 is ok...
Page 290: ...290 Slave1 IP 192 168 0 101 TCP server port 8001 Slave2 IP 192 168 0 102 TCP server port 8002...
Page 317: ...317 Network settings You can view the network parameters in such table...
Page 331: ...331 B005 Read the I1 IA status from the slave1 to the F11 F20 of the master Setting as follows...
Page 332: ...332 B006 Read the I1 IA status from the slave2 to the F21 F30 of the master Setting as follows...
Page 346: ...346 7 4 2 The scheme of xLogic The circuit diagram of industry gate...
Page 353: ...353 7 6 2 The scheme of xLogic Components K1 main contactor...
Page 357: ...357 4 cursors Cursor key Type 1x MODBUS code 02 C1 C4 256 259 BIT R...
Page 392: ...392...


