


Click the Product info button. (You can
find product info in the menu on the
left.)
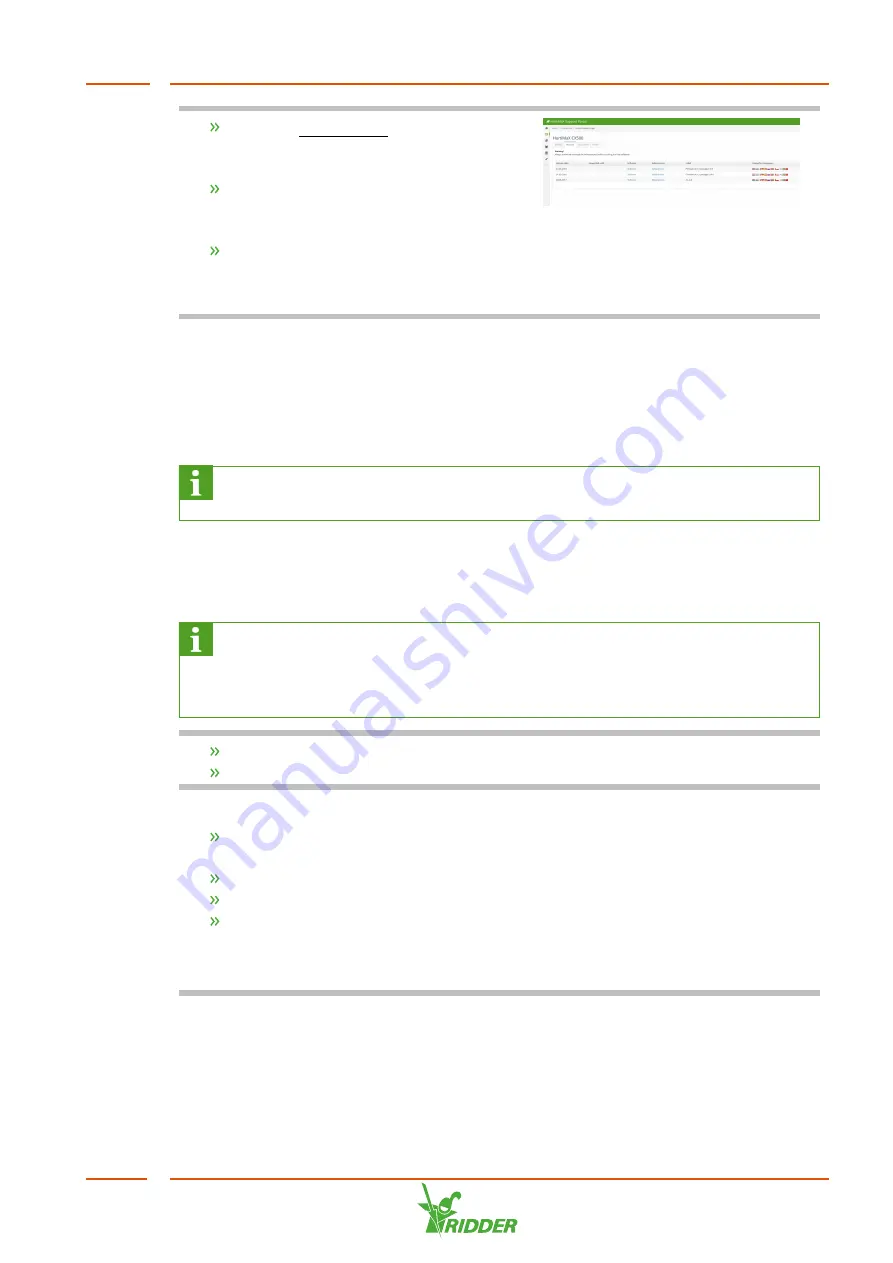
Select the software (for example:
HortiMaX CX500 or Synopta) until you
reach the
Product Gallery Page
.
Click the
Versions
tab.
Here you can see the latest version of the
software.
5.2
Software configuration
The HortiJet Pro is controlled by a HortiMaX CX500. The HortiMaX CX500 is configured
by the dealer with the CX Assistant. Each version of HortiMaX CX500 has its own
version of CX Assistant.
For more information on the CX Assistant, see the “CX Assistant tutorial”
guide.
5.2.1
Creating the configuration
The CX Assistant program has extensive setting options. Below is an example of an
initial basic configuration.
The steps in this section are examples. Depending on the situation and the
preferences of the grower, it is possible to deviate from these steps. For
example: an agitator in a fertilizer tank is optional, and the number of dosing
channels will vary for each HortiJet.
Launch the CX Assistant.
Click the
Main
tab.
The method for using the CX Assistant is as follows:
On the left-hand side you will see the available components; on the right-hand
side are the selected components.
Click on a component (on the left) to select it.
Drag the component across from the left side to the right side of the screen.
Select a component on the right to 'open' it. Specific components can then be
added to it.
Use this method for the following steps.
HortiJet Pro
31