75
3
Taki
ng Pi
ct
ur
es
2
Press the
4
button.
The setting is saved and the camera returns to capture mode.
About the red-eye phenomenon
Taking pictures using the flash may cause the subject’s eyes to appear red in the
resulting picture. This phenomenon occurs when the light from the flash is reflected
in the subject’s eyes. It can be reduced by increasing the illumination in the area
around the subject and/or decreasing the subject distance and adjusting the lens to
wider angle setting. Setting the flash mode to
c
(Auto + Red-eye) or
d
(Flash On +
Red-eye) is also an effective way of reducing red eyes.
If the subject’s eyes appear red despite such precautions, they can be corrected by
the Red-eye Edit function (p.137).
Saving the Flash Mode setting
1
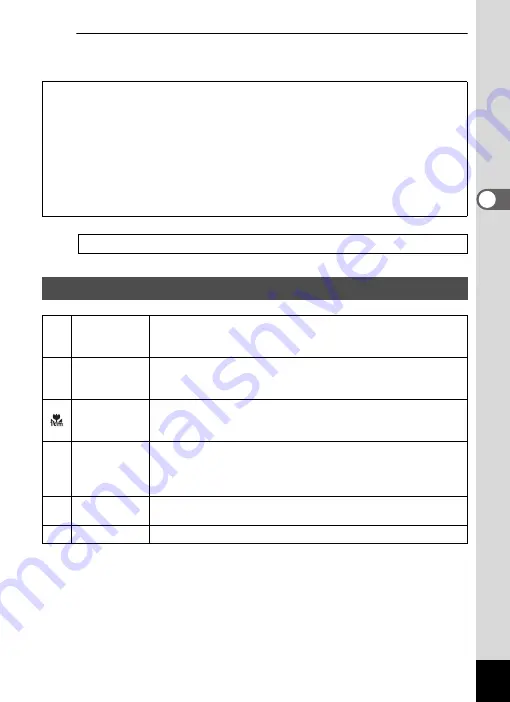
Selecting the Focus Mode
=
Standard
This mode is used when the distance to the subject is from 50 cm
to
∞
. The camera is focused on the subject in the autofocus area
when the shutter release button is pressed halfway.
q
Macro
This mode is used when the distance to the subject is from 10 cm
to 60 cm. The camera is focused on the subject in the autofocus
area when the shutter release button is pressed halfway.
1cm Macro
This mode is used when the distance to the subject is from 1 cm
to 30 cm. The camera is focused on the subject in the autofocus
area when the shutter release button is pressed halfway.
3
Pan Focus
This mode is used when you ask someone to take pictures for
you, or when taking pictures of the scenery through the window
of a car or train. The entire picture, from the front to the back, is
focused.
s
Infinity
This mode is used for taking distant objects. The flash is set to
a
(Flash Off).
\
Manual Focus This mode lets you adjust the focus manually.


