Clearing Misfeeds
• Jammed paper may be covered in toner. Be careful not to get toner on your hands or clothes.
• Toner on prints made immediately after clearing a paper jam may be insufficiently fused and can
smudge. Make test prints until smudges no longer appear.
• Do not forcefully remove jammed paper, as it may tear. Torn pieces remaining inside the machine
will cause further jams and possibly damage the machine.
• Paper jams can cause pages to be lost. Check your print job for missing pages and reprint any
pages that did not print out.
• If the alert indicator lights up continuously or flashes, switch to copier mode and check the
displayed message.
Removing Jammed Paper from Tray 1
If "Internal Misfeed" or "Misfeed: Tray 1" appears on the display, follow the procedure below to remove
it.
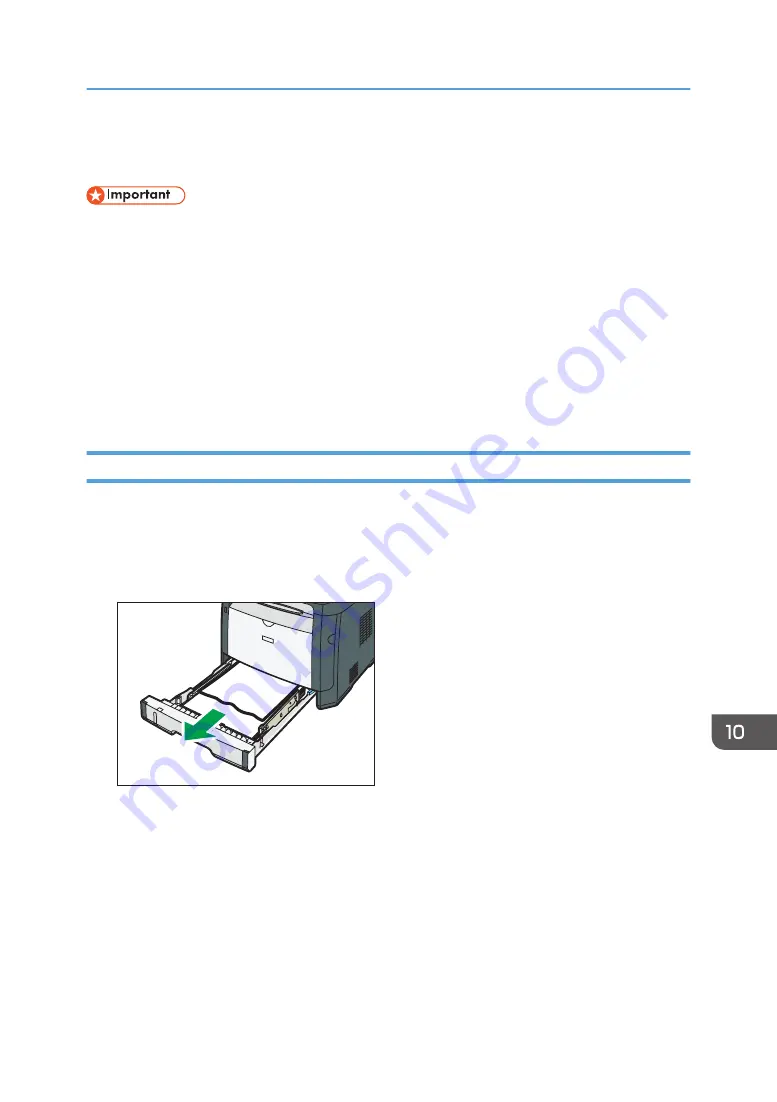
1.
Pull tray 1 halfway out, and check for jammed paper. If there is jammed paper, remove it
carefully.
DSG176
2.
Carefully slide tray 1 back in until it stops.
3.
If paper is loaded in the bypass tray, remove the paper.
4.
Close the bypass tray.
Clearing Misfeeds
281
Summary of Contents for SP 320SFN
Page 2: ......
Page 14: ...Smart Organizing Monitor 1 Click Help on the Printer Configuration screen DSG253 12 ...
Page 18: ...16 ...
Page 36: ...1 Guide to the Machine 34 ...
Page 81: ...2 Press the Clear Stop key DSG129 Basic Operation of Copying 79 ...
Page 136: ...5 Scanning Originals 134 ...
Page 138: ...DSG273 6 Sending and Receiving a Fax 136 ...
Page 222: ...7 Configuring the Machine Using the Control Panel 220 ...
Page 293: ...DSG187 5 Lower the ADF Clearing Misfeeds 291 ...
Page 320: ...11 Configuring Network Settings Using OS X 318 ...
Page 376: ...MEMO 374 ...
Page 377: ...MEMO 375 ...
Page 378: ...MEMO 376 EN GB EN US EN AU M289 8616A ...
Page 379: ... 2016 ...
Page 380: ...M289 8616A AU EN US EN GB EN ...


