Caution
•
Before installing options, the machine should be turned off and unplugged for
at least thirty minutes. Components inside the machine become very hot, and
can cause a burn injury if touched.
•
Before moving the machine, unplug the power cord from the outlet. If the cord
is unplugged abruptly, it could become damaged. Damaged plugs or cords can
cause an electrical or fire hazard.
•
When lifting the machine, use the grips on both sides. The machine could break
or cause an injury if dropped.
PS430
(Code: G520)
For Machine Code: G035
INSTALLATION GUIDE
G520-8610B
○○○○○○○○○○○○○○○○○○○○○○○○○○○○○○○○○○○○○○○○○○○○○
○○○○○○
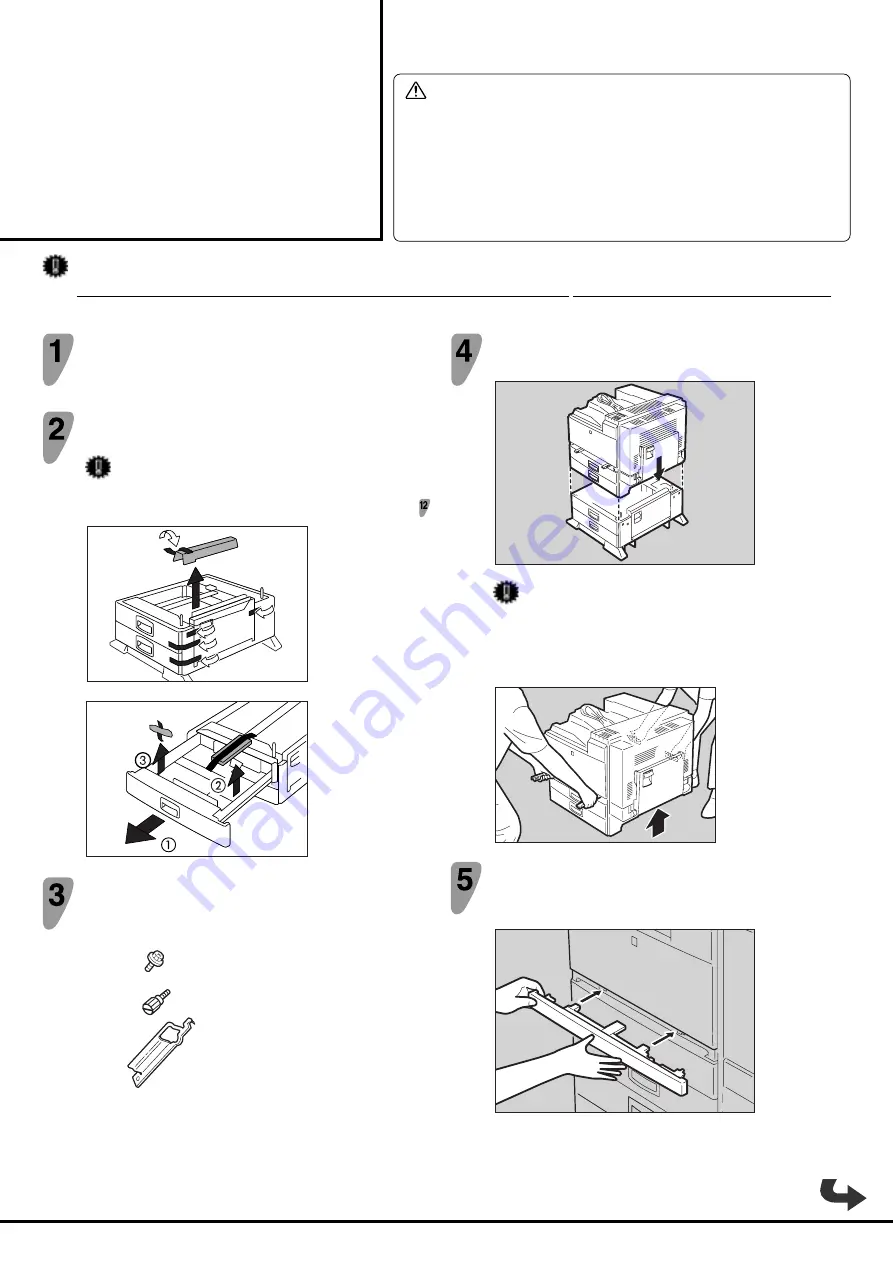
Confirm that the printer is turned off, and pull the plug out
of the wall outlet.
Remove the tape that holds the paper bank, and remove
the packing material.
Important
❒
Do not remove the tape that holds the connector cable on the
backside of the paper bank in this step. It is removed at step .
TAPP801E
TAPP811E
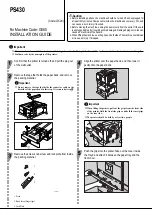
Remove the screw, knob screw and lock plate from inside
the packing material.
1
2
3
TAPD011E
1. Screw
2. Knob Screw (Finger type)
3. Lock Plate
○○○○○○○○○○○○○○○
○○○○○○○○○○○○○○○○○○○○○○○○○○○○○○○○
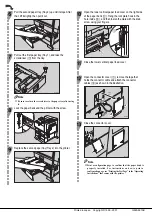
Align the printer over the paper bank, and then lower it
gently onto the paper bank.
TAPP021E
Important
❒
When lifting the printer, pull out the grips from the front side
of the printer. Hold the front side grips, and hold the inset grips
on the rear side.
❒
The printer should be held by at least two people.
TAPH120E
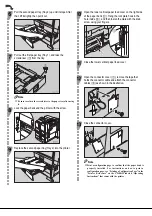
Push the grips into the printer. Take out the cover inside
the Tray 2 and attach it between the paper tray and the
front cover.
TAPP040E
Important
❒
The instructions for installation in this installation guide and in the "Setup Guide" may differ. In this case, follow the instructions in this guide.
❒
Confirm a code by the nameplate of the printer.


