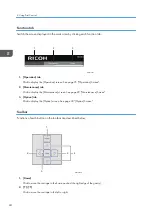
3. [Stop]
Click to stop the carriage.
4. [ ]/[ ]
Click to move the media forward (toward you) or backward.
[Operation] Screen
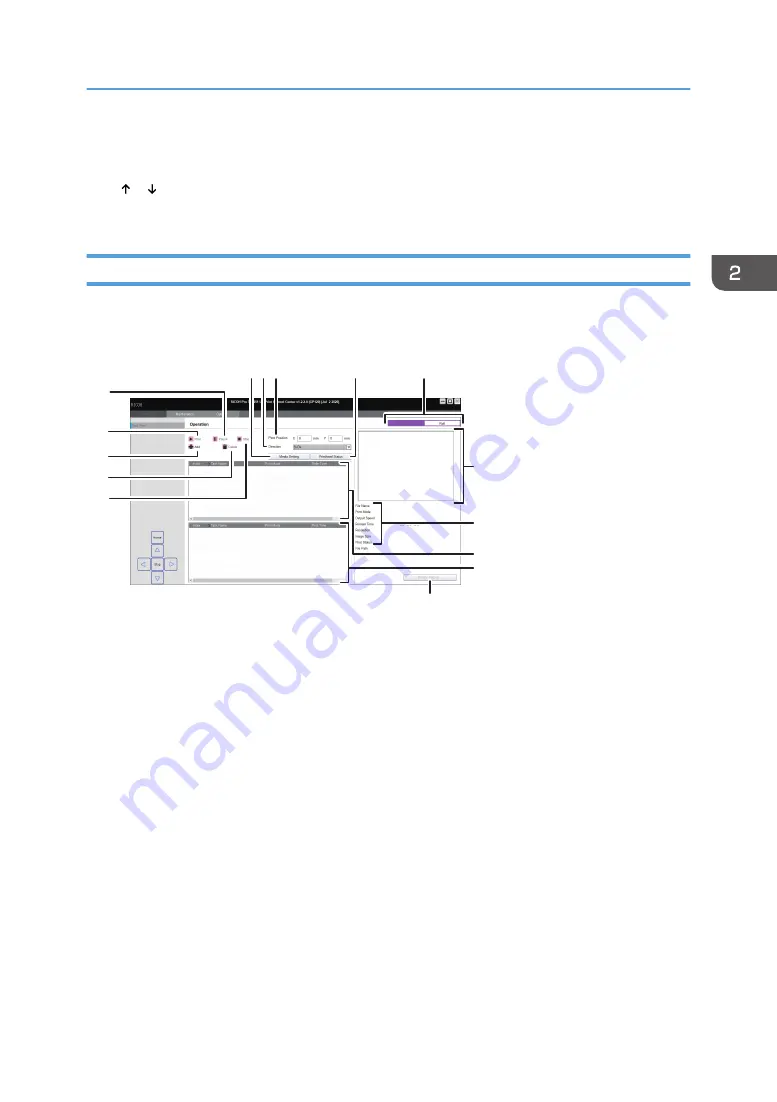
You can print while checking the task information and printing status.
M0DTOC5054
1 2 3
9
6
4
7
8
15
14
12
13
11
5
10
1. [Media Setting]
You can measure the thickness of the media and move the carriage to the height set in the setting items.
2. Direction
Click to check the print direction.
3. Print Position
You can change print-start position. If you want to change the start position of the registered task, select the
task to change the print-start position settings.
4. [Printhead Status]
Click to display the [Medium Thickness] screen and print a nozzle check pattern. See "Test Printing",
Operating Instructions.
5. Mode switching (Flatbed/Roll)
Click to switch printing modes (Flatbed/Roll).
If a printing mode is switched, the task list, print history, and settings on each screen will also be switched for
the selected printing mode.
6. Preview area
Displays a preview of the task selected in the task list.
How to Use the Print Control Screen
25
Summary of Contents for Pro TF6251
Page 2: ......
Page 5: ...Cleaning the Feed Roller 82 Cleaning the Pinch Roller 83 7 Appendix List of Print Modes 85 3 ...
Page 6: ...4 ...
Page 76: ...4 Troubleshooting 74 ...
Page 88: ...MEMO 86 ...
Page 89: ...MEMO 87 ...
Page 90: ...MEMO 88 EN GB EN US EN AU M563 7003A ...
Page 91: ... 2020 2021 Ricoh Co Ltd ...
Page 92: ...M563 7003A AU EN US EN GB EN ...


