Adjusting the Drop Position Automatically
This function corrects the misalignment of the ink dropping position automatically so that it reduces
image quality defects.
You cannot print a test pattern on narrow media. When adjusting the drop position automatically, use
media that has a width of 297 mm (approx. 11.7 inches) or more.
1.
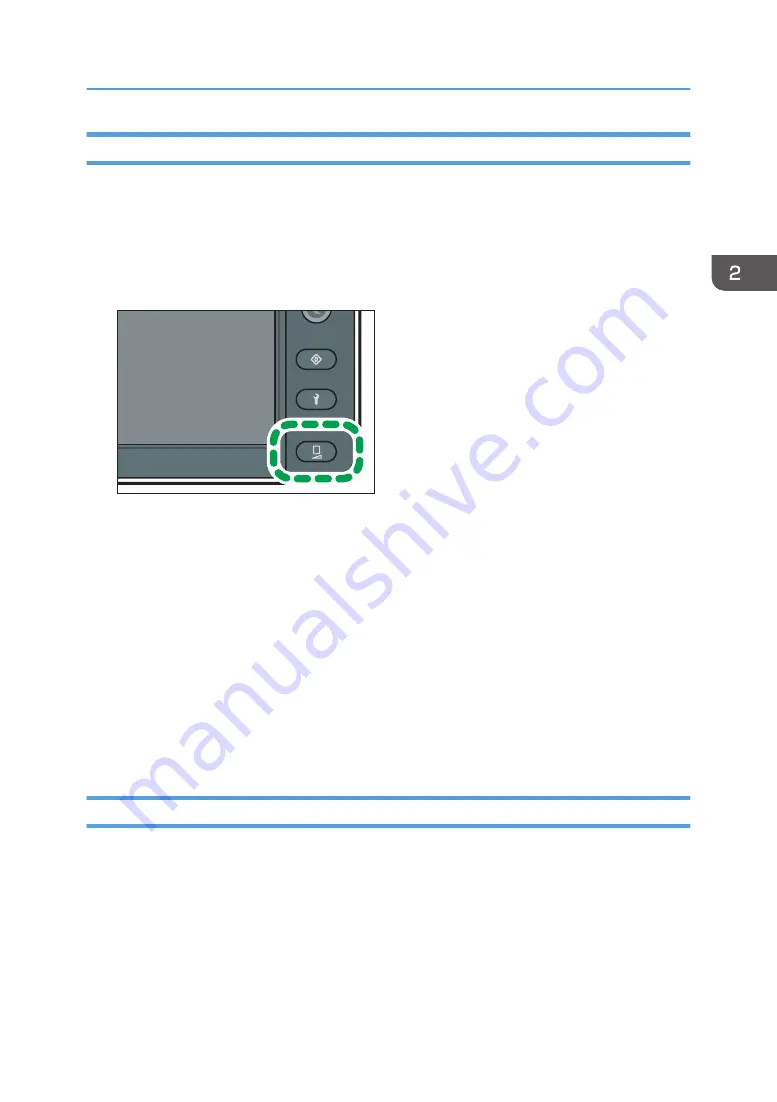
Press the [Standard Procedure] key.
DWU103
2.
Press [Drop Position Adjustment].
3.
Press [Auto].
4.
Select a print mode from [6 Pass / 8 Pass], [12 Pass], [16 Pass], or [32 Pass].
If the ink configuration used for the machine is 4C+W, you can select [12 Pass (White)].
5.
Press [Execute].
The test pattern of the drop position adjustment is printed, and then drop position adjustment is
performed.
6.
Press [Confirm].
7.
Press [Close] twice.
8.
Press [End].
Adjusting the Drop Position Manually
If image quality defects cannot be reduced even after adjusting the drop position automatically or you
want to adjust visually, adjust the drop position manually.
When using transparent or colored media, adjust the drop position manually.
You cannot print a test pattern on narrow media. When adjusting the drop position manually, use media
that has a width of 420 mm (approx. 16.5 inches) or more.
Adjusting the Drop Position
97
Summary of Contents for Pro L5130
Page 2: ......
Page 8: ...7 Appendix Trademarks 257 6 ...
Page 50: ...1 Getting Started 48 ...
Page 90: ...DWT216 2 Basic Operations 88 ...
Page 132: ...11 Press End 3 Convenient Usage 130 ...
Page 136: ...5 Press Close 6 Press End 3 Convenient Usage 134 ...
Page 154: ... Base line position on the media guide 4 Configuring and Managing the Machine 152 ...
Page 228: ...10 DWT208 11 DWT209 12 DWT210 5 Troubleshooting 226 ...
Page 234: ...5 Troubleshooting 232 ...
Page 261: ...MEMO 259 ...
Page 262: ...MEMO 260 EN GB EN US EN AU M0BY 7564A ...
Page 263: ......
Page 264: ...EN GB EN US EN AU M0BY 7564A 2018 2019 Ricoh Co Ltd ...


