


4.
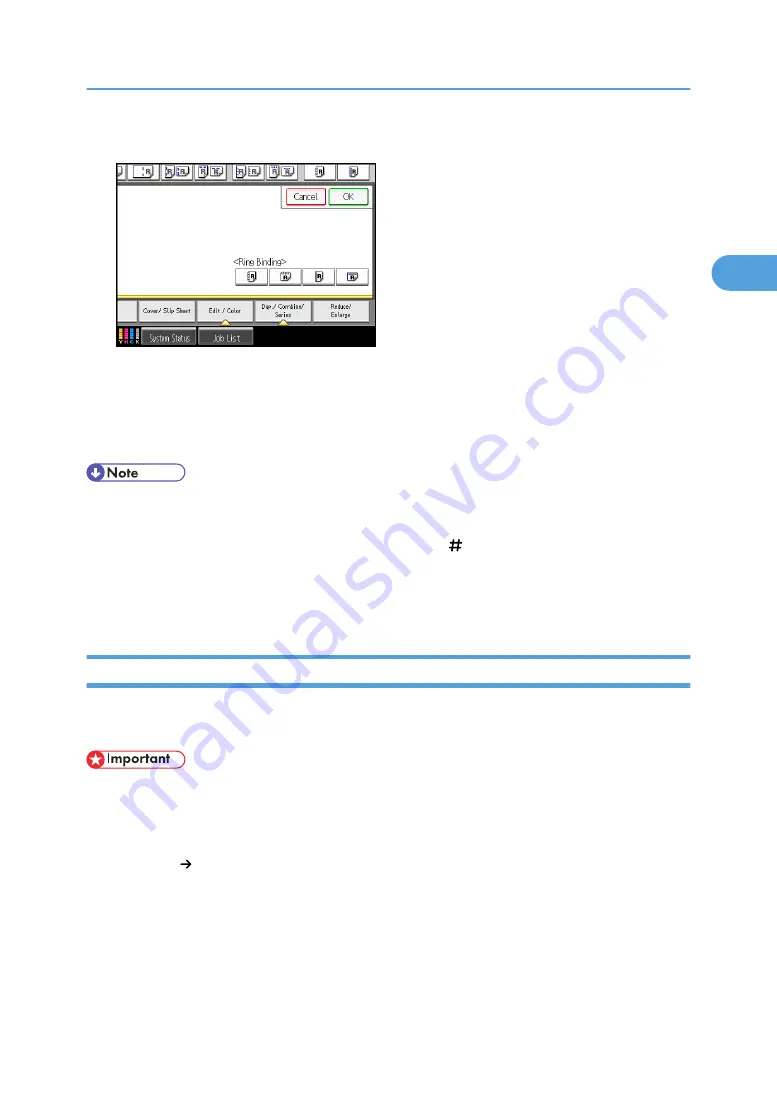
Select one of the punch hole positions.
5.
Press [OK].
6.
Enter the number of copy sets using the number keys.
7.
Specify other copier functions, if necessary.
8.
Press the [Start] key.
• When placing an original on the exposure glass, start with the first page to be copied. When placing
originals in the ADF, set so that the first page is on the top.
• When placing originals on the exposure glass, press the [ ] key after all the originals have been
scanned.
• For details about how to insert pages into a ring bound booklet, see “Inserting Pages into an Existing
Ring Bound Booklet”, Troubleshooting.
Perfect Binding
This section explains how to perfect bind originals scanned from the ADF. You can specify the binding
position, cut position, and the finishing size.
• The following copier functions are not available when perfect binding output:
• Image Repeat
• Punch
• Book 2 Sided
• Mix 1 & 2 Sided
• Shift tray off in sort/stack
• Interposer
• Series Copies
• Ring Binding
Finishing
107
2
Summary of Contents for Pro C901S
Page 2: ......
Page 30: ...Certain keys do not appear on the simple screen 28...
Page 48: ...1 Placing Originals 46 1...
Page 150: ...3 Color Copying 148 3...
Page 177: ...BZH116 1 Press Stamp 2 Press Page Numbering Stamps 175 4...
Page 226: ...4 Advanced Copying 224 4...
Page 252: ...5 Document Server 250 5...
Page 279: ...2010...
Page 280: ...Copy Document Server Reference Operating Instructions D095 2128 EN US...


