Printing Scanned Image Files
150
8
Printing Scan Data
Follow the steps below to print the
scanned data using the Print Scan set-
tings.
AAAA
Press the
{{{{
2
}}}}
key.
Note
❒
You can skip this step when the
Print Scan standby screen is dis-
played. See p.17 “St and by
screens” for information about
the Print Scan standby screen.
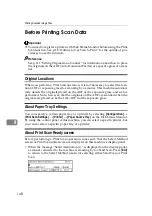
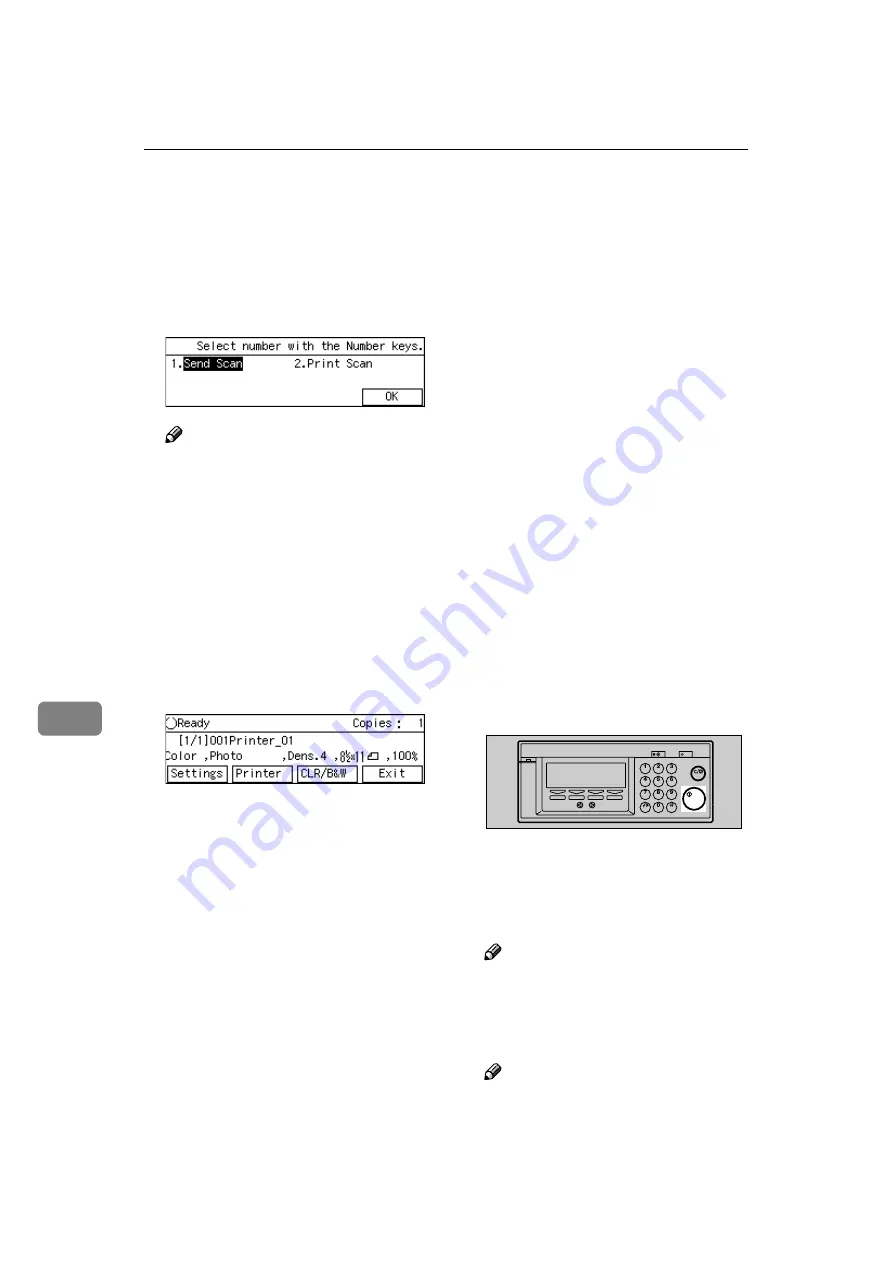
The Print Scan standby screen is
displayed.
BBBB
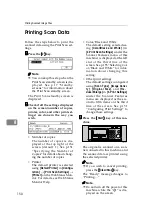
Check if all the settings displayed
on the screen (number of copies,
printer, color, and other print set-
tings) are done in the way you
wish.
• Number of copies
The number of copies is dis-
played at the top right of the
screen (default: 1). See p.151
“Specifying the Number of
Copies” for details about chang-
ing the number of copies.
• Printer
The default printer is selected
using
[
Default Printer
]
in
[
Configu-
ration
]
→
[
Print Scan Settings
]
→
[
Printer
]
on the Web Status Mon-
itor. For details, see Web Status
Monitor Help.
• Color/Black and White
The default setting selected us-
ing
[
Color/Black and White
]
(in
[
3.Print Scan Settings
]
under the
Scanner Features menu of this
machine) is displayed at the left
end of the third line of the
screen. See p.155 “Selecting Col-
or/Black and White” for infor-
mation about changing this
setting.
• Other print settings
The default settings configured
using
[
Scan Type
]
,
[
Image Densi-
ty
]
,
[
Original Size
]
, and
[
Re-
duce/Enlarge
]
in
[
5.Print Settings
]
under the Scanner Features
menu are displayed as the sec-
ond to fifth items on the third
line of the screen. See p.151
“Configuring Print Settings” to
change these settings.
CCCC
Press the
{{{{
Start
}}}}
key of this ma-
chine.
The original is scanned on a scan-
ner connected to this machine, and
the scanned data is printed using
the selected printer.
Note
❒
If you wish to cancel printing,
press the
{{{{
Clear/Stop
}}}}
key.
The “Ready” message changes to
“Printing....”
Note
❒
Do not turn off the power of this
machine while the “
B
” is dis-
played on the screen.
AHQ004S
Summary of Contents for Network Scanning Unit A
Page 8: ...vi ...
Page 28: ...What You Can Do With This Machine 20 1 ...
Page 36: ...Setting Up the Machine 28 2 ...
Page 118: ...Configuring the Scanner Settings 110 3 ...
Page 138: ...Sending Scan File by E mail 130 5 ...
Page 148: ...Sending Scan File by Scan to Folder 140 6 ...
Page 154: ...Sending Scan File by Scan to FTP 146 7 ...
Page 164: ...Printing Scanned Image Files 156 8 ...
Page 168: ...Sending Scan Files Using Delivery Server 160 9 ...
Page 172: ...Using the Network TWAIN Scanner Function 164 10 ...
Page 204: ...196 EN USA G829 8602 ...
Page 206: ...Network Scanning Unit Type A Operating Instructions EN USA G829 8602 ...


