eWriter
Solutions
TM
Designed for the way your work flows.
Ricoh eQuill
TM
Quick Start Guide
Release 1.0.0
© 2011 Ricoh Company, Ltd.
Getting Started
Step 1 — Charge the eQuill
a.
Connect the small end of your Micro-
USB cable into the Ricoh eQuill Clip-
board.
b.
Connect the larger end into a USB port,
or the proper port on the AC adapter.
If using USB, the USB port must have
adequate current for charging. Note:
You can also place your eQuill in a multi-
unit charger.
c.
When the Ricoh eQuill Clipboard is fully
charged, the LED light is solid blue.
Step 2 — Turn It On
a.
Slide the On/Off button to the left. The
On/Off button is located at the top of the
eQuill.
b.
The LED light will blink blue while the
Ricoh eQuill Clipboard is starting up.
Note: If the LED blinks red three times,
or there is no blinking, charge the unit.
c.
When the Ricoh eQuill Clipboard is
ready for use, the light will stop blinking.
d.
Log in using the password supplied by
your administrator (if appropriate).
Step 3 — Go to your Inbox
a.
Use the stylus (specialized pen) to tap
the Inbox icon.
b.
Once you tap the Inbox icon, this takes
you to the Inbox page.
User Interface
The following figure shows the Inbox and
eQuill icons. Refer to “User Interface” in the
eQuill User’s Guide
.
Step 4 — Open a Document
a.
Tap on any document name to open it.
b.
If there are no documents, see the
eQuill
User’s Guide
or your administrator to
add.
Step 5 — Write On It
The stylus is custom manufactured for the
Ricoh eQuill and is made to produce high
resolution markings. The stylus is used just
like a pen on paper — it writes and erases.
Step 6 — Submit (One-Button Routing)
When you press the Submit button, the doc-
ument is routed to the next step of your
workflow, no matter how many different
workflows and servers your business sup-
ports. The typical places it would be routed
to are an email address or backend system.
See the
eWriter Workflow Services Adminis-
trator’s Guide
to learn how to set the routing
destination.
Battery Indicator
You can determine that your Ricoh eQuill
Clipboard needs to be charged by checking
the power indicator at the top right of the
screen. If it is down to one bar, you should
charge your eQuill. If your eQuill is out of
power, you will not be able to turn it on, mark
on it, and in some cases, even see the
power indicator. If you try to power on the
device when it is out of power, the LED indi-
cator will flash three times.
Turning Off the eQuill
Slide the On/Off button (top of eQuill), and
hold for seven seconds. The light will blink
blue when you first press the button.
LED Lights
In normal use, LEDs will only be used during
booting and shutting down. When in use,
blinking LEDs indicate eQuill status. When
off, you only get solid LEDs indicating charg-
ing status.
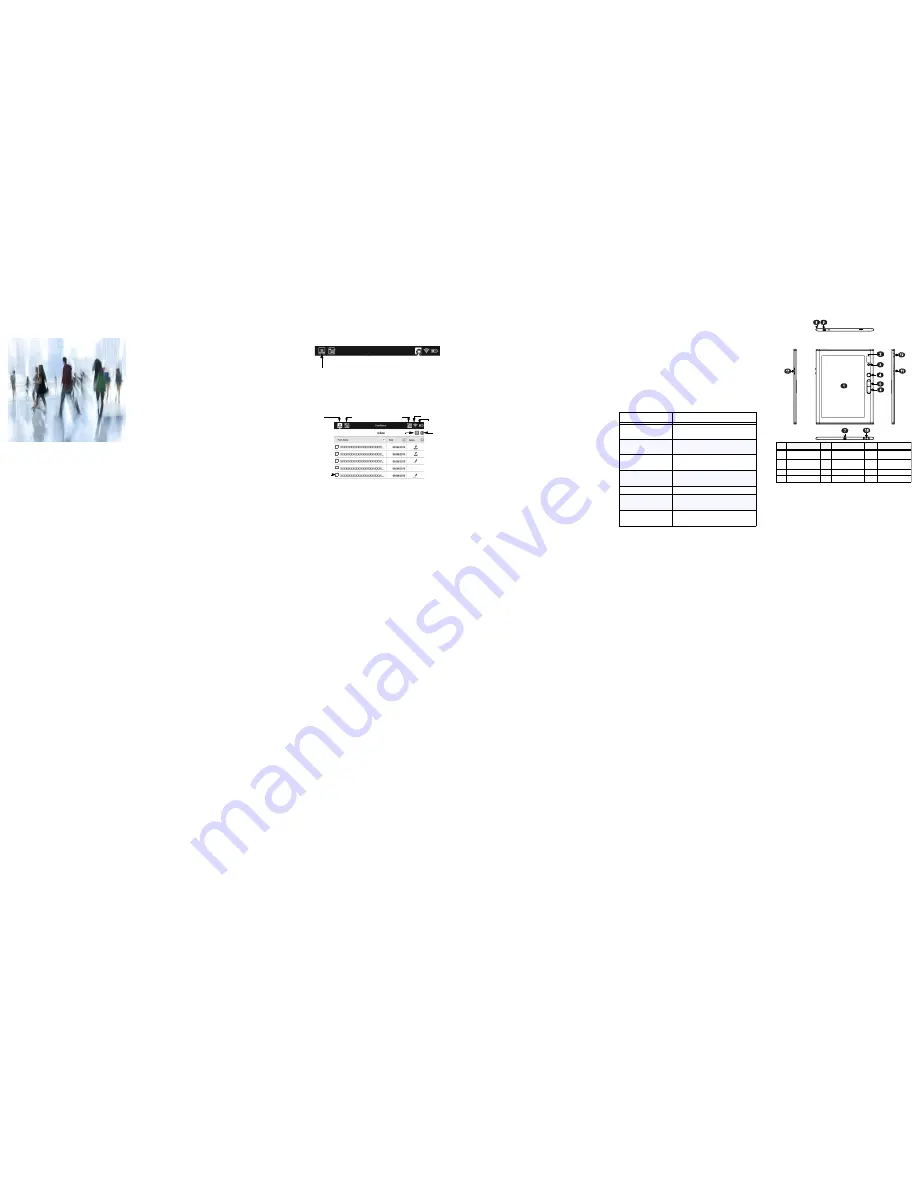
eQuill Layout
Inbox Icon
Inbox
Template
Settings
Wireless Signal
Battery
Delete
Refresh
Doc
Blank Forms
LED Light
Description
No lights
Unit is not charging; no
external power.
Red light blinks
Unit tried to perform an unsuc-
cessful operation. Get help.
Blue light blinks
Unit is performing an opera-
tion. Wait until completion.
Red light blinks 3x
only while charging
Power is critically low. Charge
the unit.
Solid blue
Unit is fully charged.
Solid purple
Unit is partially charged, but
may still be used.
Solid red
Insufficient battery power.
Charge before use.
No
Description
No
Description
No
Description
1
eQuill display
5
Backward Page
Flip Button
9
On/Off Button
2
Camera Display
6
Forward Page
Flip Button
10
Charging Contact
3
Shutter Button
7
Power Connector
11
Accessory Plug
4
Submit Button
8
LED Indicator
12
Camera Lens
—
2
—
—
3
—
—
4
—
—
5
—
—
6
—


