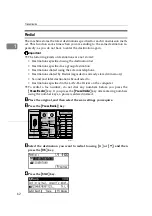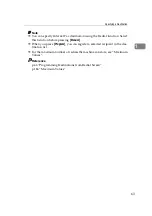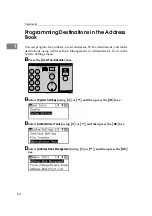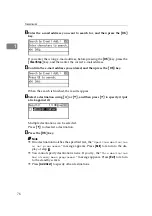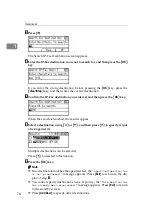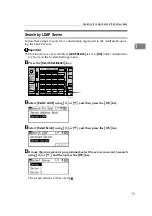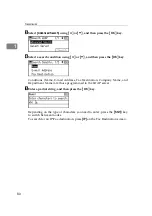
Programming Destinations in the Address Book
65
1
E
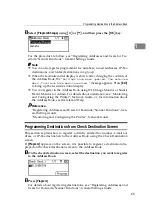
Select
[
Program/Change
]
using
{U}
or
{T}
, and then press the
{
OK
}
key.
For the procedure to follow, see “Registering Addresses and Users for Fac-
simile/Scanner Functions”, General Settings Guide.
Note
❒
You can also register programmed fax numbers, e-mail addresses, IP-Fax
destinations, and folder destinations in a group.
❒
When the facsimile initial display is shown, after changing the contents of
the Address Book, the “
Settings have been updated. The selected
dest./functions have been cancelled.
” message appears. Press
[
Exit
]
to bring up the facsimile's initial display.
❒
You can register in the Address Book using Web Image Monitor or Smart-
DeviceMonitor for Admin. For details about installation, see “Monitoring
and Configuring the Printer”, Network Guide, or, for information about
the Address Book, see the relevant Help.
Reference
“Registering Addresses and Users for Facsimile/Scanner Functions”, Gen-
eral Settings Guide
“Monitoring and Configuring the Printer”, Network Guide
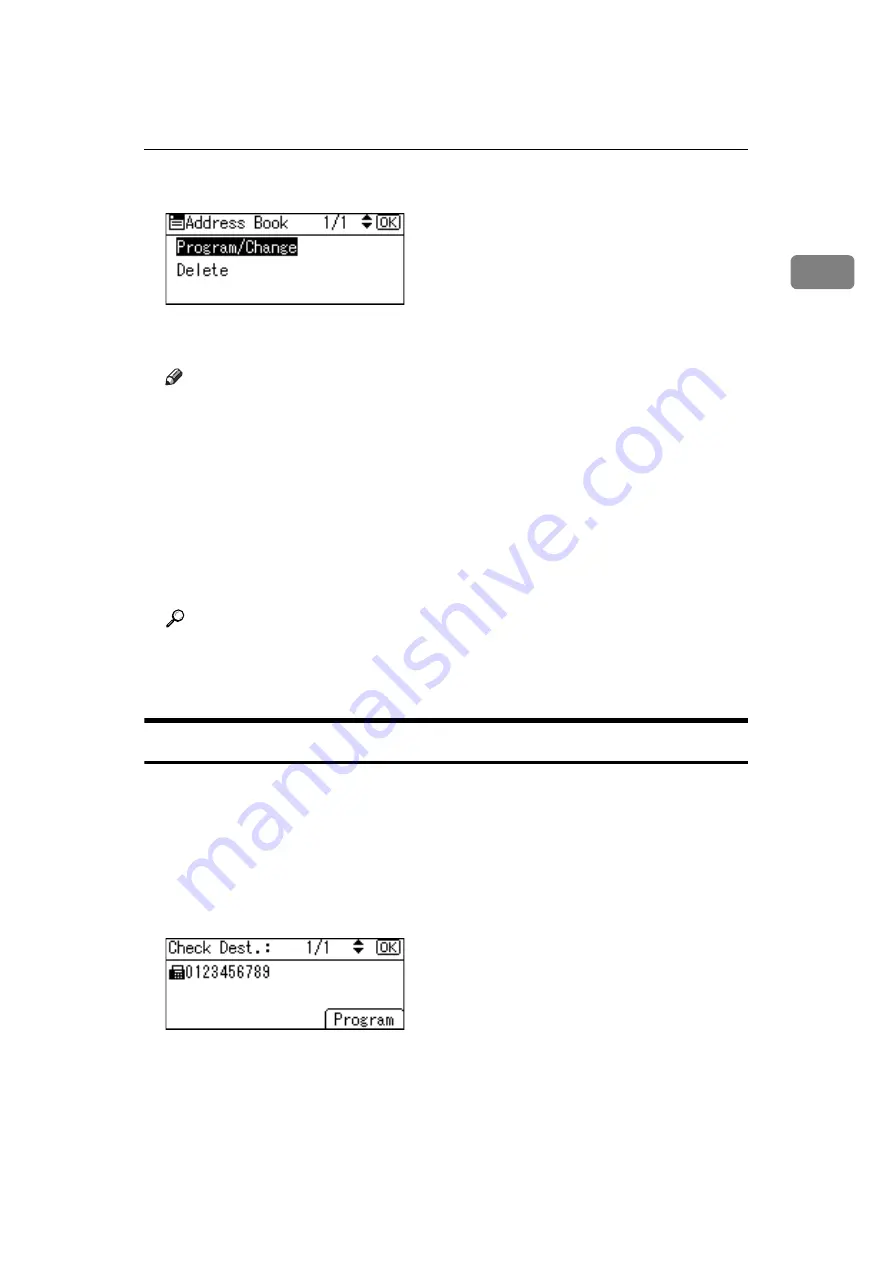
Programming Destinations from Check Destination Screen
This section explains how to register a directly entered fax number, e-mail ad-
dress, or IP-Fax destination to the Address Book using the Check Destination
screen.
If
[
Program
]
appears on the screen, it is possible to register a destination dis-
played on the check destination screen to the Address Book.
A
On the check destination screen, select the destination you want to register
to the Address Book.
B
Press
[
Program
]
.
For details about registering destinations, see “Registering Addresses and
Users for Facsimile/Scanner Functions”, General Settings Guide.
Summary of Contents for Aficio MP 2500
Page 10: ...viii ...
Page 22: ...12 ...
Page 126: ...Send Settings 116 2 ...
Page 148: ...Reception 138 3 ...
Page 166: ...Changing Confirming Communication Information 156 4 ...
Page 202: ...192 EN USA D327 7623 ...
Page 204: ...FAX Option Type 2500 Operating Instructions Facsimile Reference EN USA D327 7623 ...


